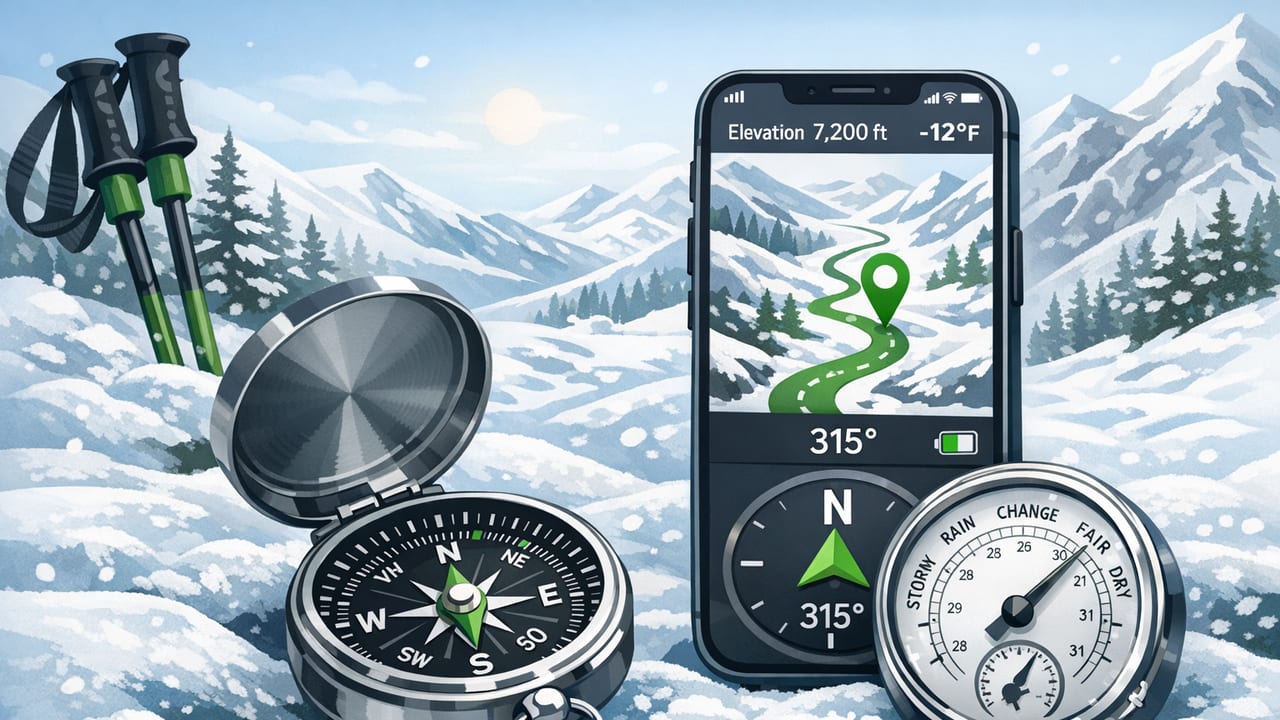
Winter conditions magnify small navigation errors. A summer trail can disappear under snow, cairns get buried, and “obvious” landmarks look unfamiliar in flat light or whiteout. Your iPhone can help—especially with its compass (magnetometer) and barometer—but only if you use them with winter-specific habits.
This guide focuses on winter hiking compass and barometer iPhone tips: how to calibrate, how to interpret pressure trends, how to keep sensors reliable in cold weather, and how to build a simple decision workflow that reduces wrong turns when visibility drops.
Safety note: A phone is not a substitute for a paper map, local knowledge, or an emergency plan. In winter, bring redundant navigation and a way to call for help (and know if your route has service).
Why compass + barometer matters more in winter
In winter, you often navigate by bearing rather than by trail features. A compass helps you hold a direction when the ground offers few clues. A barometer helps you detect weather changes (pressure trends) and can support altitude awareness when you’re trying to confirm your position along a ridge, drainage, or pass.
- Compass (heading): keeps you oriented when the trail is hidden or you’re traversing a featureless slope.
- Barometer (pressure): helps you anticipate incoming storms and verify whether you’re gaining/losing elevation as expected.
Before you start: winter-proof your iPhone setup
1) Keep the phone warm (sensor stability + battery)
Cold reduces battery capacity and can trigger sudden shutdowns. Keep your iPhone in an inner pocket close to your body; avoid leaving it in an outer pack pocket. If you use the phone frequently, consider a thin insulating pouch.
2) Use offline resources
GPS may work without cell service, but maps often won’t. Download offline maps in your preferred navigation app before you leave. Also, ensure any compass/barometer tool you rely on works offline.
3) Enable quick access without draining power
- Use Low Power Mode early, not only when the battery is already low.
- Reduce screen brightness and set Auto-Lock short.
- Prefer Airplane Mode in weak-signal areas (you can re-enable GPS/Wi‑Fi/Bluetooth as needed) to stop battery-hunting.
How to get reliable iPhone compass readings in winter
Understand what “good” looks like
Your iPhone compass is sensitive. It can be accurate enough for hiking bearings, but winter gear adds new sources of interference: metal trekking poles, ice axes, snowshoes, heated gloves with wires, power banks, and even magnetic clasps on jackets.
Step-by-step: calibrate and verify (fast field routine)
- Move away from metal: take a few steps away from your pack, poles, or a vehicle.
- Calibrate: if your compass app prompts calibration, do it. If not prompted, rotate the phone through different orientations (slow, controlled movements).
- Set a known reference: pick a visible feature (a ridge line, a trail sign, a prominent tree line) and note the bearing.
- Cross-check: compare with (a) a physical compass, or (b) a map bearing to the same feature. If they differ significantly, recalibrate and re-check.
Common winter compass mistakes (and fixes)
- Using the compass near your poles/axe: hold the phone away from metal (arm’s length helps).
- Trusting a single reading: take 2–3 readings and average them if the heading jumps.
- Forgetting declination: some apps handle this; some don’t. If you navigate by map bearings, ensure you know whether you’re using true vs magnetic north.
- Walking while watching the screen: in snow/ice this is a fall risk. Take a bearing, pocket the phone, then walk to a landmark.
Pro tip: “Aim small” with leapfrogging landmarks
Instead of trying to follow a bearing for 500 meters in a white field, pick a close landmark on your bearing (a rock, small tree cluster, terrain edge). Walk to it, then pick the next. This reduces drift—especially in wind or uneven snow.
How to use your iPhone barometer for winter weather awareness
Your iPhone’s barometer reports atmospheric pressure. The absolute number matters less than the trend over time. In winter, a rapid pressure drop can coincide with strengthening winds, worsening visibility, and incoming precipitation—conditions that make navigation harder and increase exposure risk.
What to track: pressure trend (not just the current value)
Log pressure when you start, then again every 30–60 minutes (or whenever weather feels like it’s shifting). A simple note like “Start: 1012 hPa” and “+1 hr: 1007 hPa” is enough for practical decisions.
| Pressure trend | What it often signals | Winter hiking implication |
|---|---|---|
| Steady or slowly rising | Stabilizing conditions | Visibility may improve; still watch for local effects |
| Slow drop (over hours) | Change likely later | Consider earlier turnaround if you’re far from shelter |
| Rapid drop (noticeable within 1–3 hours) | Front approaching; wind/snow possible | Expect navigation difficulty; shorten route or descend |
| Drop + wind increase | Storm strengthening | Prioritize safe terrain, avoid ridgelines/whiteout zones |
Important: Pressure also changes with altitude. If you climb quickly, you’ll see pressure fall even in stable weather. That’s why trend interpretation works best when paired with context: “Are we climbing? Is wind picking up? Is cloud ceiling lowering?”
Barometer + altitude: a practical cross-check
Many hiking situations boil down to “Are we at the right elevation for this turnoff, saddle, or contour?” GPS altitude can be noisy; barometer-based altitude can be steadier if it’s calibrated to a known elevation. Use a trailhead sign, map spot elevation, or a known pass height to calibrate early, then rely on elevation changes more than absolute numbers.
A simple winter navigation workflow (compass + barometer)
Here’s a field routine that balances speed, battery, and safety:
- At the trailhead: download/confirm offline maps; note starting pressure; calibrate compass away from the car.
- At each decision point (junction, open slope, ridgeline):
- Confirm your planned bearing to the next landmark.
- Check pressure trend since the last note.
- If visibility is dropping, shorten your “landmark leap” distance.
- Every hour: log pressure + a quick weather note (wind, clouds, precip).
- Turnaround triggers: decide in advance what conditions end the outing (e.g., pressure falling fast + wind rising; or you can’t hold a reliable bearing due to whiteout).
Battery-saving iPhone tips specific to winter navigation
- Use the compass in short bursts (10–20 seconds), then lock the screen.
- Prefer text notes for pressure logs instead of leaving graphs open.
- Carry a power bank, but keep it warm too. Cold batteries charge poorly.
- Use wired headphones/mic carefully: cords can snag; keep interactions simple to reduce fumbling with gloves.
Mini troubleshooting guide
Compass heading jumps or spins
- Step away from metal objects (including your own gear).
- Recalibrate with slow rotations.
- Remove magnetic accessories (some phone mounts, cases, or clasps can interfere).
- Cross-check with a physical compass before committing to a bearing in low visibility.
Barometer readings look “wrong”
- Remember altitude effects: a climb will drop pressure even in fair weather.
- Compare your pressure notes with observed conditions (wind, clouds). Trends are more useful than the exact value.
- If your app offers altitude calibration, set it at a known elevation.
Optional: log pressure changes with a simple iOS snippet
If you like data, iOS provides barometric pressure via CMAltimeter (where available). The snippet below samples relative altitude/pressure and prints a simple trend indicator. This is illustrative (not a full hiking app) but shows what’s possible.
import CoreMotion

let altimeter = CMAltimeter()

if CMAltimeter.isRelativeAltitudeAvailable() {
    altimeter.startRelativeAltitudeUpdates(to: .main) { data, error in
        guard let data = data, error == nil else { return }
        let kPa = data.pressure.doubleValue   // kilopascals
        let hPa = kPa * 10.0                  // convert to hectopascals
        let meters = data.relativeAltitude.doubleValue

        print(String(format: "Pressure: %.1f hPa | Rel Alt: %.1f m", hPa, meters))
    }
}
For winter decision-making, you don’t need code—just consistent pressure notes and honest interpretation.
Frequently asked questions
Should I trust my iPhone compass in a whiteout?
Use it as one input, not the only one. In a whiteout, a reliable bearing plus short landmark leapfrogging can help, but you should also use terrain awareness, map/route knowledge, and conservative turnaround rules.
Does Airplane Mode affect compass or barometer?
Compass and barometer are sensor-based and don’t require cell service. Airplane Mode mainly helps battery life by stopping the phone from searching for signal. GPS can still work if enabled (varies by settings).
What’s the single best habit for winter phone navigation?
Take a bearing, pick a near landmark, pocket the phone. It improves safety (less screen-watching on ice) and saves battery.
Putting it all together
Winter hiking rewards simple, repeatable checks: calibrate your iPhone compass away from metal, navigate by short bearings between landmarks, and track barometric pressure as a trend alongside what you see and feel in the weather. Combined with offline maps, warm battery management, and clear turnaround triggers, these habits make your phone a practical backcountry tool rather than a fragile gamble.
If you prefer keeping these tools in one offline toolkit, a single iOS app like Level Tool can combine compass and barometer readings with other field utilities—just remember that good winter navigation is still about redundancy and judgment, not any one screen.
