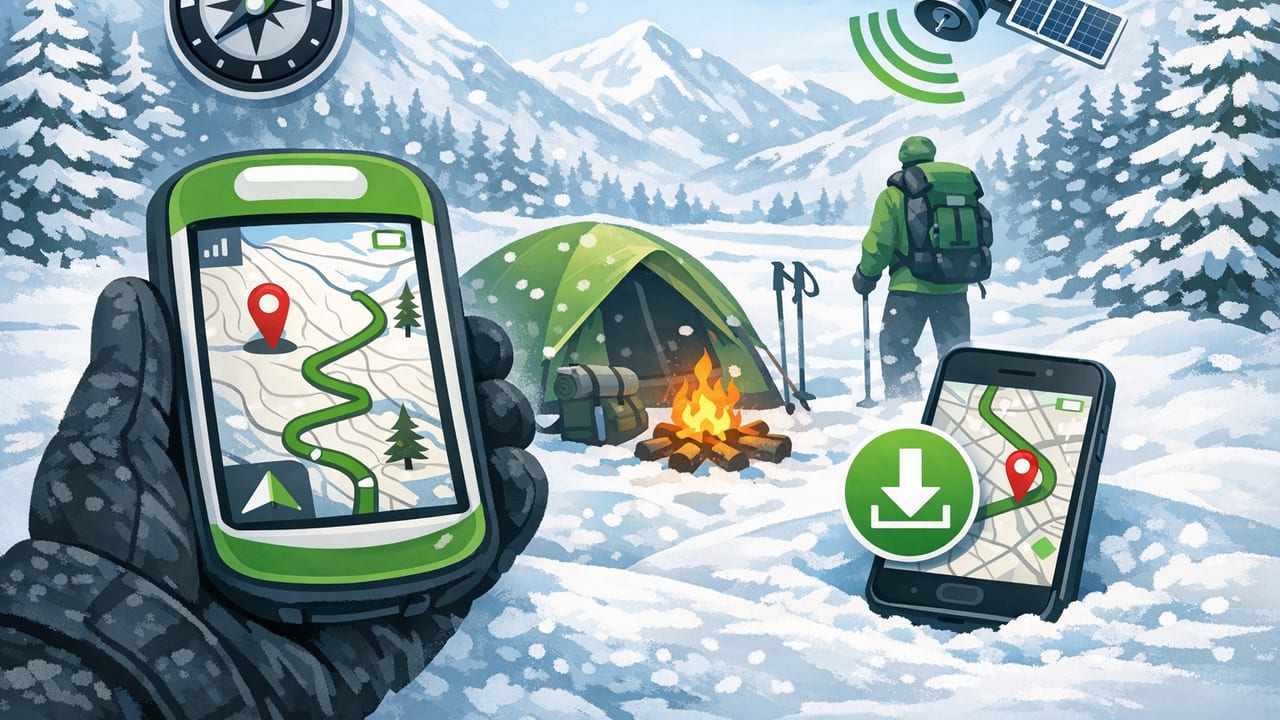
Winter turns “normal” navigation into a higher-stakes skill. Trails disappear under snow, landmarks look unfamiliar, batteries drain faster, and weather can erase tracks in minutes. The good news: an iPhone can be a dependable navigation tool if you prepare properly and treat offline maps as your primary plan—not a backup.
This guide walks through a practical, field-tested workflow for winter camping navigation with offline maps: what to download, how to build a route you can follow in white conditions, how to use compass bearings when GPS wobbles, and how to manage power so your phone is still useful on day two.
Why offline maps matter more in winter
In summer, you can often recover from small navigation mistakes by following a visible trail or orienting to obvious terrain. Winter adds constraints:
- Snow cover hides tread, blazes, junction signs, and footprints.
- Short daylight compresses your margin for error.
- Cold reduces battery capacity, and windchill accelerates it.
- Storms reduce visibility, making “just keep the ridge on your left” unreliable.
- Cell coverage is often worse (and sometimes absent) in winter zones.
Offline maps fix one major failure point: you can still see terrain, your position, and your planned route without needing data. But “offline maps” only work when you’ve downloaded the right layers and you know how to navigate without constant GPS refresh.
Offline map essentials: what to download before you leave
Different apps package offline maps differently, but your winter kit should usually include the same core layers and data types.
1) Topographic base map (with contour lines)
Contours are your winter truth. When the trail vanishes, the landform remains. Download a topo layer that clearly shows:
- Contour intervals (ideally 20–40 ft / 10–20 m depending on region)
- Major ridges, bowls, drainages, saddles, and passes
- Named features (lakes, peaks, cols)
2) Satellite imagery (optional but helpful)
Satellite layers can help you confirm clearings, treeline boundaries, or big rock slabs. In winter, imagery may be less reliable due to seasonal change, but it’s still useful for “big picture” confirmation.
3) Your route as a GPX track (not just waypoints)
A GPX track gives you a breadcrumb line to follow even if trail markers are buried. Waypoints alone can leave large “unknown” gaps in between. Export your intended route and any alternates as tracks.
4) Critical waypoints (with notes)
Create waypoints for decision points and hazards:
- Trailheads, parking pullouts, and “last reliable” turnoffs
- Water sources (and a note if they freeze)
- Avalanche terrain boundaries or no-go slopes
- Safe camp zones (wind protection, tree cover, flat benches)
- Bailout routes to roads or shelters
5) Map tiles for a buffer zone
Don’t download only the trail corridor. In winter, a detour around a cornice or a navigation error can move you off route. Download a buffer (commonly 2–5 miles / 3–8 km around your route), plus the nearest road network for bailout.
| Download Item | Minimum Coverage | Why It Matters in Winter |
|---|---|---|
| Topo map tiles | Route + 2–5 mi (3–8 km) buffer | Terrain-based navigation when trails vanish |
| Satellite tiles | Key areas (trailhead, passes, camp zones) | Confirm open areas, treeline, clearings |
| GPX tracks | Main route + alternates | Follow a line even with no tread visible |
| Waypoints + notes | Decision points + hazards | Reduce “guessing” at junctions and in storms |
| Offline reference | Local emergency numbers + plan | Useful without signal; helps decision-making |
Pre-trip workflow: build a winter-proof navigation plan
Use this quick workflow the day before you leave (or earlier if you need permits/forecast checks):
- Choose a primary route and two exits. In winter, “there and back” may not be the safest exit.
- Mark “no-regret turnarounds.” Pick a time, distance, or weather threshold where you will turn back.
- Identify navigation cruxes. Common cruxes: ridge transitions, creek crossings, and treeline exits.
- Pre-calculate bearings for crux segments. If visibility collapses, you can still travel safely on a bearing.
- Download offline maps on Wi‑Fi. Then enable Airplane Mode and confirm the maps still load.
- Screenshot the essentials. Save a screenshot of your route overview, camp zone, and bailout road access. Screenshots load instantly and don’t depend on the mapping app behaving perfectly.
A simple “bearing card” you can store offline
Create a note on your phone (and optionally write it on a small card) with bearings and distances for the hardest segments. Example:
- Treeline to saddle: 030° for 0.6 mi
- Saddle to camp bench: 078° for 0.4 mi
- Camp bench to bailout road: 210° for 2.1 mi (steep—use if safe)
In a whiteout, that list can prevent “wandering navigation,” where small corrections turn into big errors.
In the field: navigating with offline maps (without burning your battery)
A common mistake is leaving the map app running with high-accuracy GPS polling all day. That works—until your phone dies. A winter-friendly strategy is to navigate in checkpoints.
Checkpoint navigation method
- Before you move: Confirm your next objective (a ridge, a saddle, a waypoint).
- Move: Travel for 5–15 minutes using terrain cues (ridgeline direction, drainage shape, tree density).
- Check: Wake the phone, confirm position relative to contours and the track, then put it away again.
This approach reduces screen-on time and keeps your phone warmer (because it’s stored in an inner pocket).
When GPS position jumps or drifts
In forested valleys or narrow canyons, GPS accuracy can degrade. Don’t over-correct based on a single “dot” update. Instead:
- Wait for two or three readings and look for consistency.
- Use terrain confirmation: “Am I on the ridge crest or on the side slope?”
- Cross-check with a compass heading (see below).
Compass + offline maps: the winter combo that still works
Offline maps show you the terrain; a compass tells you the direction you’re actually traveling. Together, they’re resilient when visibility and GPS reliability drop.
Set declination (or know how your app handles it)
Magnetic north and true north differ by declination, and that difference changes by location. Some compass tools can apply declination automatically; others expect you to account for it. Before your trip:
- Look up local declination (many offline navigation apps display it).
- Decide whether your bearings are recorded as true or magnetic.
- Be consistent across your map, compass, and bearing list.
Using a bearing to hold a line in low visibility
If you must move in poor visibility, a bearing can reduce the chance of drifting off a ridge or into avalanche terrain. The basic technique:
- Pick a safe target line (e.g., ridge crest direction) and confirm it on the map.
- Set your bearing and choose a visible intermediate target (a distinct tree or rock) in that direction.
- Walk to the target, repeat.
In deep snow, small course errors compound quickly. Short “target hops” work better than trying to stare at a compass continuously.
Weather awareness without service: pressure trends and decision-making
Winter storms don’t just reduce comfort—they change navigation risk. A sudden drop in barometric pressure can signal incoming weather even when you’re offline. If you have an on-device pressure reading, you can monitor trends:
- Falling pressure over 1–3 hours often suggests worsening weather.
- Rapid drops can correlate with fronts and stronger wind.
- Stable or rising pressure can suggest improving conditions (though not guaranteed).
Use trends as a prompt to reassess: Are you approaching a navigation crux? Is there a sheltered camp option sooner? Do you need to turn around while travel is still straightforward?
Battery strategy for cold-weather navigation
Offline maps don’t help if the phone shuts down. Cold reduces lithium battery performance, sometimes dramatically. Use a layered approach:
- Keep the phone warm: store it in an inner jacket pocket, not an outer pack pocket.
- Use Airplane Mode when you don’t need signal (searching for service drains power).
- Lower screen brightness and use Dark Mode where available.
- Disable background refresh for nonessential apps before the trip.
- Bring a power bank and a short cable; charge with the phone and bank kept warm.
If your phone becomes very cold and shuts down, warm it gradually (inside layers) before attempting to restart. Avoid placing it directly against a hot stove surface.
Emergency navigation: when you need to bail out
In winter, the safest choice is often to exit early—before conditions force you into complex terrain. A bailout plan should be navigable with offline maps and minimal screen time.
Build bailout routes like “mini-trips”
- Save them as separate tracks with clear names (e.g., “Bailout to Road via Creek”).
- Mark hazards: steep gullies, avalanche paths, thin ice crossings.
- Mark the last known reliable landmark before the bailout turn.
What to record for rescuers (offline)
If you need to communicate with SAR when you regain signal, having clear info prepared helps. Keep a note with:
- Your planned route and alternates
- Vehicle location and trailhead name
- Party size and gear (shelter, stove, sat messenger)
- Medical concerns
Optional: GPX track basics (and a tiny example)
If you exchange routes with friends, you’ll often use GPX. A GPX file contains tracks and waypoints that many iOS mapping apps can import. Here’s a minimal track snippet so you can recognize the structure:
<gpx version="1.1" creator="Example">
  <trk>
    <name>Winter Camp Approach</name>
    <trkseg>
      <trkpt lat="44.12345" lon="-71.12345"></trkpt>
      <trkpt lat="44.12380" lon="-71.12410"></trkpt>
    </trkseg>
  </trk>
</gpx>
Practical tip: prefer a track for following a route in snow (continuous line), and use waypoints for decisions and hazards (discrete points with notes).
A quick winter offline navigation checklist
Rule of thumb: In winter, navigate as if your last GPS update might be your last for an hour.
- Topo tiles downloaded + tested in Airplane Mode
- Route track + at least one alternate track imported
- Crux waypoints labeled (saddles, junctions, treeline exits)
- Declination understood and applied consistently
- Bailout route saved and easy to switch to
- Phone stored warm; power bank packed and accessible
- Turnaround thresholds written down
Choosing tools: what matters most for iPhone winter navigation
When selecting offline mapping and sensor tools, prioritize:
- True offline operation: maps and key features must work with no signal.
- Fast access: quick launch, easy track switching, readable contours.
- Sensor reliability: a compass that supports calibration and declination handling.
- Battery-friendly behavior: works well with checkpoint navigation, not constant tracking.
Many campers pair an offline map app with simple sensor utilities (compass, barometer) that also run offline. For example, Level Tool includes offline compass and barometer tools alongside other measurement utilities, which can be convenient if you prefer an all-in-one toolkit on iOS.
