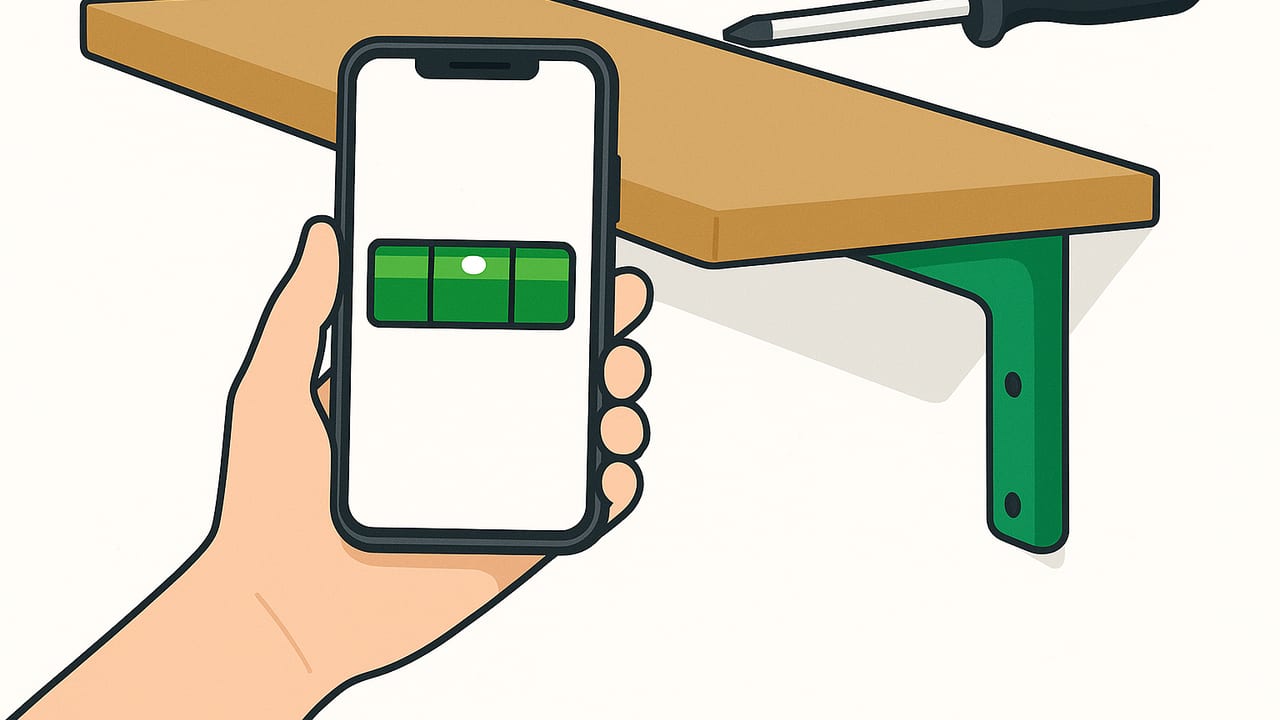
If you want shelves that look great and don’t sag or slide, accuracy matters. The good news: you can achieve laser-straight results with a tool you already carry. This guide shows you exactly how to use a smartphone bubble level for hanging shelves, with professional tips for alignment, fasteners, and different wall types. Whether you’re installing floating shelves above a desk or a heavy-duty pantry system, you’ll find a repeatable workflow that delivers clean, safe results.
Why a Smartphone Bubble Level Works (and When It Doesn’t)
Modern phones contain precise motion sensors—an accelerometer and gyroscope—that detect orientation relative to gravity. A bubble-level app translates that data into a visual level you can read just like a traditional spirit level. For most shelf projects, that precision is more than adequate, provided you calibrate properly and follow a few setup steps.
Accuracy Snapshot
- Typical phone level accuracy: ±0.1–0.3° under good conditions.
- Good enough for shelves up to several feet long; over long spans, tiny angles can add up—verify with a longer straightedge if possible.
- Use dual-axis readings (pitch and roll) to confirm the shelf isn’t tilting forward or back as well as side to side.
Limitations to Watch
- Phone case interference: Bulky or uneven cases can prevent flush contact. Remove the case or use a thin, flat-backed case.
- Magnetic accessories: Metal plates and magnets can affect some sensors. Detach them before leveling.
- Surface curvature: Curved shelf edges or rounded brackets make readings unreliable. Use the flattest face you can.
- Calibration drift: Recalibrate if you bump the phone, update the OS, or notice inconsistent readings.
Pro maxim: Measure twice, drill once. Confirm level on both the pilot hole line and the mounted shelf.
What You’ll Need
- Smartphone with a reliable bubble level app
- Shelf, brackets, and fasteners rated for the load
- Pencil, painter’s tape, and a fine-tip marker
- Tape measure or ruler (a phone-based ruler can help for small spans)
- Stud finder (or a phone-compatible metal detection method) for drywall walls
- Drill/driver, bits, and wall anchors suited to your wall type
- Ledger board (optional), shims, and a straightedge
Step-by-Step: Hanging Shelves with a Smartphone Bubble Level
Follow this workflow to get consistent, level results every time.
1) Calibrate your phone level
- Find a known-flat surface: a sturdy countertop or a verified straight board.
- Place the phone flat and zero the reading (if your app supports zeroing).
- Rotate the phone 180° on the same surface. The reading should match (within a tiny margin). If not, recalibrate according to the app’s instructions.
2) Mark the shelf height and span
- Use painter’s tape to mark the intended top edge of the shelf on the wall. Tape lets you erase and adjust without scuffing paint.
- Measure and mark bracket locations according to your shelf manufacturer’s recommendations—typically 2–6 inches from each end, plus a center support for heavier spans.
3) Find studs or plan the right anchors
- For drywall: Use a stud finder to locate framing. If brackets can land on studs, do it—it’s the strongest option.
- If you can’t hit studs, choose anchors matched to the load and wall material (see the wall type section below).
- Lightly mark stud centers or anchor positions with a pencil.
4) Draw a perfectly level reference line
- Open your bubble level app and place the phone flat along a straightedge or ledger board.
- Align the straightedge at the shelf height marks and adjust until the bubble reads level.
- Use the straightedge as a guide to draw a light reference line. This becomes your drill-line baseline.
5) Pre-position brackets and confirm level
- Hold each bracket against the wall so the top aligns with your reference line.
- Use the phone level directly on the top of a bracket or across two brackets to double-check the bubble.
- Mark pilot holes precisely. If holes straddle a stud edge, adjust slightly to hit solid wood or switch to the correct anchor.
6) Drill and mount hardware
- Drill pilot holes appropriate to your fasteners (smaller for screws into studs, sized per anchor instructions for hollow-wall anchors).
- Install anchors if required, flush with the wall surface.
- Mount brackets loosely at first. Leave a little play so you can fine-tune level.
7) Final leveling and shelf install
- Place the phone level across the brackets. Nudge the brackets until the bubble is centered. Tighten screws evenly.
- Set the shelf on the brackets. Put the phone on the shelf and check both side-to-side and front-to-back tilt. Shim if needed.
- Secure the shelf to brackets per the manufacturer’s directions.
Pro Tips for Dead-Level Shelves
- Ledger trick: Temporarily screw a straight board to the wall at the reference line. Rest brackets and the shelf on it while you fasten permanently, then remove the ledger.
- Tape-as-a-stencil: Draw your bracket screw pattern on painter’s tape on a workbench. Transfer the tape to the wall to drill with confidence.
- Dual-axis check: On floating shelves, check both axes—side-to-side and front-to-back. Slight forward tilt is noticeable and can slide objects.
- Long spans: For shelves over about 48 inches, verify with a longer straightedge or a second reading at multiple points.
Wall Types, Anchors, and Load Considerations
The right fastener is as important as a perfect level. Choose anchors based on wall material and shelf load.
Drywall
- Best practice: Hit studs with wood screws whenever possible.
- If no stud: Use toggle bolts (heavier loads) or self-drilling drywall anchors (light to medium loads). Check weight ratings.
- Tip: For a heavy floating shelf, install a hidden cleat directly into studs.
Masonry (brick, block, concrete)
- Use masonry bits, plastic or lead sleeves, or dedicated concrete screws (Tapcon-style).
- Vacuum dust from holes for maximum holding strength.
Plaster
- Old plaster can be brittle. Aim for studs or use toggle bolts designed for lath and plaster.
- Drill slowly to avoid cracking.
Tile
- Use a glass/tile bit, start with low pressure, and keep the bit cool.
- Penetrate tile first, then switch to appropriate anchor for the substrate behind.
Smartphone Level vs. Spirit Level vs. Laser: Which Should You Use?
Each tool has its strengths. Here’s a quick comparison to help you choose the best approach for your project.
| Tool | Typical Accuracy | Cost | Pros | Best For |
|---|---|---|---|---|
| Smartphone bubble level | ±0.1–0.3° | Usually free | Always with you, dual-axis readings, quick calibration | Everyday shelves, quick checks, small-to-medium spans |
| Spirit level (2–4 ft) | ±0.029° (0.5 mm/m) for quality models | Low to moderate | No batteries, reliable, long reference edge | Longer shelves, jobsite durability |
| Line/rotary laser | ±1/16 in at 30 ft (varies) | Moderate to high | Projects level over rooms, multiple brackets align fast | Gallery walls, banks of shelves, remodel projects |
Troubleshooting: Why Doesn’t My Shelf Look Level?
- Optical illusion from uneven ceilings: A ceiling out of level can make a perfectly level shelf look wrong. Compare with a door frame or window trim for context.
- Warped shelf board: Check level at several points along the shelf. If readings differ, the board may be twisted. Shim or replace.
- Bracket fronts not parallel: Some brackets are slightly angled. Level across the tops, not the faces.
- Phone contact issue: Remove the case or place a thin credit-card-like spacer under the camera bump to ensure a flat reading surface.
- Anchor slippage: If an anchor starts spinning or loosening, stop and replace with a heavier-duty fastener.
Safety and Load Planning
A level shelf isn’t automatically a safe shelf. Plan for weight, especially on floating designs.
- Calculate expected load: books, decor, plants, or dishes can add up quickly (10–40+ lb per linear foot).
- Use manufacturer-rated brackets and anchors that exceed your expected load by a safe margin.
- Support at least every 16–24 inches, aligning with studs when possible.
- For floating shelves, use a steel internal bracket anchored to studs or a continuous cleat.
Advanced Techniques with a Phone-Based Level
Beyond basic leveling, your phone can streamline multi-shelf alignments and tricky layouts.
- Mirror one shelf to another: After leveling the first shelf, measure a fixed spacing (e.g., 14 inches) and place your phone level on a spacer block to duplicate height and level for the next shelf.
- Check plumb for side standards: Many apps include a plumb function. Use it to ensure vertical supports are truly vertical before mounting cross pieces.
- Dual-axis for corner shelves: Level both axes to avoid forward tilt and corner gaps.
- Zero-offset leveling: Zero the level on a sloped surface if your design requires referencing an existing slope (e.g., matching a historic, intentionally sloped rail). Then transfer that relative level to your shelf plan.
FAQ
Is a smartphone bubble level accurate enough for hanging shelves?
Yes—especially for shelves under a few feet and typical household loads. Calibrate before use, ensure flat contact, and confirm readings at multiple points.
Should I remove my phone case?
If the case prevents a flat, wobble-free contact, remove it. Flush, rigid contact is essential for accuracy.
Can a phone replace a laser level?
For single shelves or short runs, it’s often all you need. For aligning multiple shelves across a long wall or around corners, a laser can save time—but a careful smartphone workflow still works.
How do I check for forward/back tilt?
Place the phone on the shelf oriented front-to-back and read the second axis. A zero reading indicates no tilt; tiny forward tilt can be fixed with shims.
Putting It All Together
With a calibrated smartphone bubble level, thoughtful layout, and the right anchors, you can hang shelves that are straight, safe, and built to last. The key is a repeatable process: draw a precise reference line, verify level on the brackets and the shelf, and confirm both axes. If you want an iOS app that combines a bubble level with a ruler, compass, and other handy tools in one place, consider Level Tool—it works offline and supports dual-axis leveling for accurate setup without subscriptions.
Done right, your shelves won’t just look straight—they’ll stay that way.
