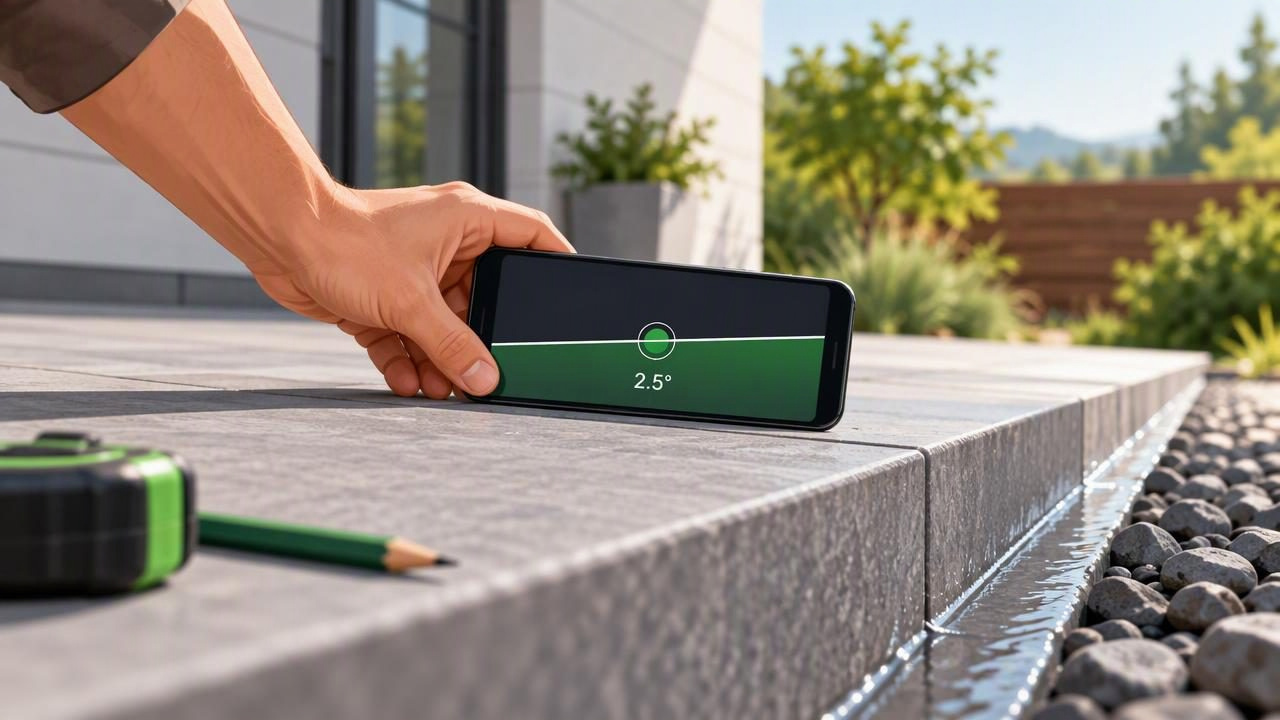
When a project needs a consistent angle, guessing by eye can lead to repeated adjustments. A slope measurement app for faster DIY installation gives you a practical way to check an angled surface, record its reading, and transfer that angle to a component before you fasten it. This can be useful for a sloped handrail, a diagonal support, or other work where one piece needs to follow an existing angle.
An iPhone angle meter does not replace careful layout, a suitable physical reference, or building requirements. Its value is in making the angle easier to check and repeat. For reliable readings, the phone needs stable contact with a surface, a sensible reference, and a consistent measuring routine.
What does a slope measurement app measure?
An angle meter uses a phone’s motion sensors to show its orientation relative to gravity. Depending on the app and how you hold the device, you can use that reading to assess whether a surface is level or tilted. Some tools also let you set a target angle or tolerance, so you can compare a workpiece with a chosen reference rather than relying on visual judgment.
Slope can be described as an angle in degrees or as a ratio. For example, a surface that rises 7 inches over a horizontal run of 10 inches has a slope of 7:10. Its angle is approximately 35 degrees because the angle is calculated from the rise divided by the run. The two descriptions are related, but they are not interchangeable numbers: a 35-degree angle is not a 35% slope.
For many installation tasks, you do not need to calculate a percentage. You need to check that one part follows another or that a component matches a planned angle. An angle meter helps with that comparison when the phone can sit securely against the relevant surfaces.
Example: set a handrail to follow a staircase
Imagine installing a handrail that should run parallel to an accessible, straight stair stringer. Rather than repeatedly stepping back to judge the line, you can measure the stringer angle and use it as a reference while positioning the rail. This is a layout aid—not a way to determine whether the handrail meets local safety or building rules.
- Choose a sound reference. Look for a straight, accessible section of the stringer that represents the direction you want the rail to follow. Avoid relying on a decorative edge or a damaged, bowed, or uneven surface.
- Check the phone’s reference. Place the phone on a stable, known level surface and confirm its baseline. If the reading seems inconsistent, follow the app’s calibration guidance before measuring. Calibration helps establish a reference; it does not correct a poor contact surface.
- Measure the stringer. Set the phone’s measuring edge flush against the straight section. Keep it still and note the angle once the reading settles. If the phone cannot sit flat, use a straightedge held securely against the stringer, then place the phone against the straightedge.
- Transfer the angle. Position the rail or a straight test piece on a stable work surface. Adjust it until the angle meter matches the reference reading, then mark the intended cut or bracket position. Make sure you are comparing the same direction of tilt; an opposite orientation may display a related angle differently.
- Recheck before fastening. Hold the rail in its intended position and compare it with the stringer again. Check the full run visually as well, since matching the angle at one point does not prove that a long component is straight.
For a numerical cross-check, measure one stair’s vertical rise and horizontal run. If the rise is 7 inches and the run is 10 inches, the angle is about 35 degrees. This calculation is useful for understanding the geometry, but measurements from a single step may not represent an entire staircase if the stairs or stringer are irregular.
How to make the process faster without rushing
The time-saving step is to establish one repeatable reference, not to skip checks. Once you have a dependable reading, you can use it for multiple comparable parts instead of estimating each one independently. Write down the angle and which surface you measured. If you are working on more than one side or component, label each reading so you do not mix up directions.
Use the same phone edge, contact method, and orientation whenever possible. A reading taken with the phone’s long edge may not match one taken with its short edge if the surfaces differ or the device is positioned inconsistently. Keep your hands steady, allow the number to settle, and use a target or tolerance function if your app provides one. Sound or haptic feedback can help you notice when a reading reaches a set target without constantly watching the display.
Before making a final cut, test the setup with a scrap piece or a temporary mark. A quick trial can reveal whether the angle has been transferred in the correct direction. Confirm measurements with a tape measure and straightedge where dimensions matter; an angle reading alone does not tell you the rail’s length, height, or mounting position.
Calibration, contact, and repeatability
Calibration and contact solve different problems. Calibration establishes or checks the device’s reference. Contact determines what the phone is actually measuring. If a case lip, camera bump, grip, or uneven surface prevents the phone from lying flat, the reading may reflect the phone’s position rather than the intended plane. Remove an obstructive case if needed, and do not balance the phone somewhere it could fall.
Repeat a measurement to see whether the result is stable. Lift the phone, place it back in the same position, and check again. You can also measure at another point on the same straight surface. Differences may indicate an uneven reference, inconsistent placement, or a surface that is not truly straight. Do not average readings blindly if the workpiece itself changes angle along its length.
A phone-based measurement is most useful for comparisons and layout checks. It is not a certified inspection instrument, and no app reading should be treated as proof that a structure is safe or code-compliant. If a task has strict tolerances or safety implications, use the appropriate professional tools and follow the applicable instructions and regulations.
Common mistakes to avoid
| Mistake | Why it causes trouble | Better approach |
|---|---|---|
| Measuring a rounded or rough edge | The phone may rock or touch at only a few points. | Use a straight, flat reference surface or a securely held straightedge. |
| Changing phone orientation between checks | You may compare different axes or directions. | Use the same edge and orientation for the reference and the transfer. |
| Reading before the display settles | Movement can make the displayed angle fluctuate. | Hold still and wait for a steady reading or target signal. |
| Assuming angle alone guarantees a correct installation | Angle does not confirm position, length, fastening, or code compliance. | Check dimensions, alignment, mounting, and relevant requirements separately. |
| Using a photo as the measurement | Perspective and camera angle can distort apparent slope. | Measure through physical contact with the surface or a suitable straightedge. |
When an app is—and is not—the right tool
A slope measurement app can be convenient when you need to compare a surface with a target, match the angle of one part to another, or repeat a setup during a DIY installation. It is especially practical when your iPhone is already at the worksite and the reference is reachable. Core angle checks in an offline measurement app can also be useful where an internet connection is unavailable.
It is not a substitute for a long physical level when you need to assess straightness over a distance, nor does an angle reading replace a tape measure, square, fastening plan, or code check. On a long rail, for instance, two ends might share an angle while the middle bows. Inspect the full component and confirm that it sits correctly in its actual installation position.
For an angled DIY project, the dependable routine is simple: choose a trustworthy reference, check calibration, make stable contact, repeat the reading, and verify the finished placement. That approach can reduce trial and error while keeping the limits of a phone sensor clear. For more detail on taking an angle reading, see this guide to measuring angles with an iPhone. Level Tool is one iOS option for angle and level checks, with core measurements available offline.
