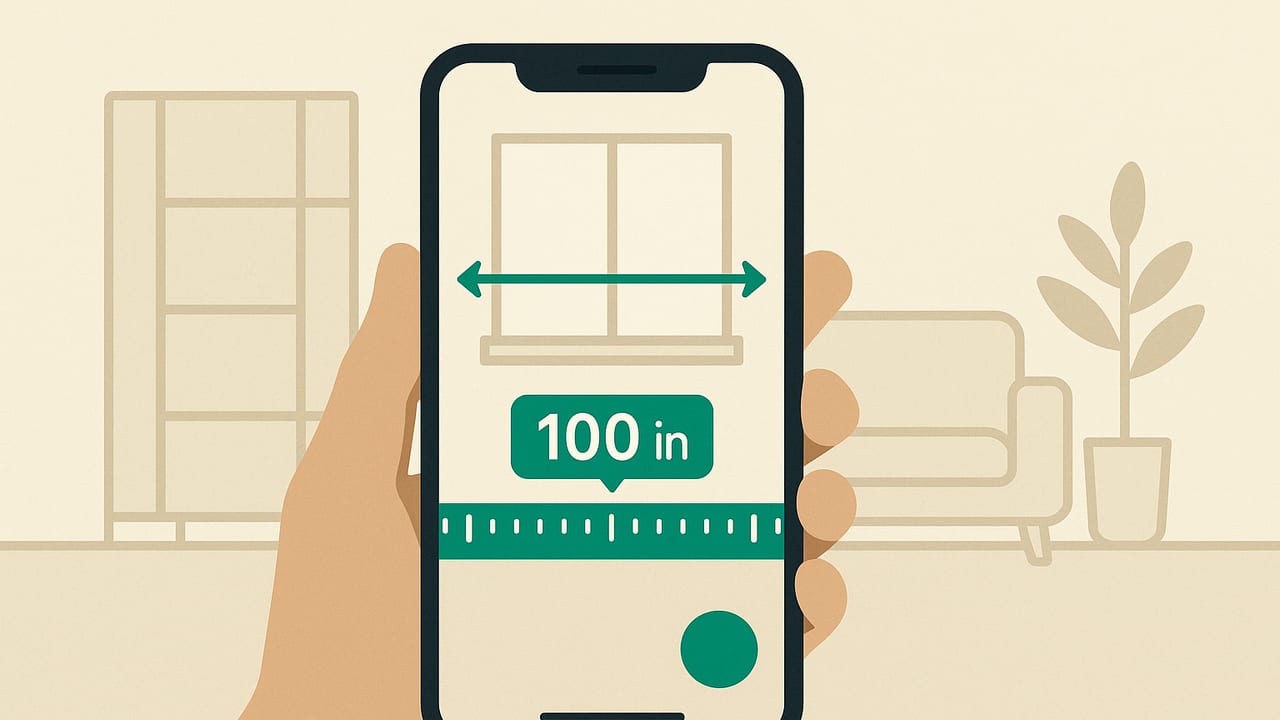
When a sofa won’t fit an alcove by half an inch or a shade returns from fabrication 6 mm too wide, the problem is rarely the furniture—it’s the measurement. That’s why an accurate ruler app for interior designers has moved from convenience to necessity. Used well, a phone-based measuring toolkit can deliver fast, reliable dimensions, streamline site notes, and reduce costly rework.
This guide explains what “accuracy” really means in design practice, how phone ruler apps measure, how to calibrate and validate results, and a complete field workflow you can apply on your next job. You’ll also find pro tips, a comparison table of tools, and strategies to move from field measurements to precise specifications.
What “Accurate” Means in Interior Design
Accuracy requirements vary by task. Use these practical tolerances as planning targets and verify with a secondary method when critical:
- Custom millwork / built-ins: target ±3 mm (±1/8″) on critical spans and reveals.
- Upholstery and slipcovers: ±6 mm (±4/10″) for frame and cushion fits.
- Window treatments: ±3–6 mm (±1/8–1/4″) depending on mount and fabric behavior.
- Tile and panel layouts: ±2–3 mm on cumulative runs; control cumulative error by referencing from a fixed datum.
- Furniture clearance and egress: ±12–13 mm (±1/2″) typical; tighter when squeezing through stair turns.
Design accuracy is not just a single number—it’s a workflow: plan for acceptable tolerance, measure in a way that reduces error, then validate critical dims with a second technique.
How Phone Ruler Apps Actually Measure
Modern apps provide several modes, often combined:
1) On-screen touch ruler
Uses the known physical size of your display to show a precise scale in inches/mm. Best for small objects on a flat surface. Accuracy depends on correct screen calibration and minimal parallax.
2) Camera-based AR measurement
Computer vision and motion sensors estimate distance and project a virtual tape between points you mark in the live camera view. Accuracy improves when you lock onto high-contrast, well-lit edges and keep a steady trajectory.
3) LiDAR-assisted room scale
On devices with depth sensors, apps can map surfaces and corners more robustly, especially in low texture scenes. Designed for room-scale measurements and quick floor plans; still validate critical millwork spans with a second method.
4) Sensor fusion
Apps often blend gyroscope, accelerometer, and magnetometer data to stabilize readings and maintain consistent scale as you move.
Calibrating for Reliable Results
Calibration is the difference between a decent estimate and a dependable spec. Use this quick routine:
- Screen scale check (for touch rulers): Place a known standard on the screen—a credit card (85.60 mm), an A4/Letter sheet, or a steel ruler. Adjust the app’s scale until they match exactly.
- AR/LiDAR sanity check: Measure a known length (e.g., a 1 m tape or 36″ countertop) at typical working distance. Note variance; many designers accept ±3 mm over a meter for non-critical dims.
- Camera geometry: Avoid extreme close-ups at lens edges where distortion is higher; step back and zoom slightly if supported. Keep the phone lens clean.
- Stable stance: Brace elbows against your torso or a surface. Move slowly; pause a moment before placing points.
- Average and cross-check: For critical dims, take two passes from different positions or directions and average. Then verify with a tape or rigid rule.
“Trust your app—but verify mission-critical measurements with a second method.”
Field Workflow: From Room Walkthrough to Clean Spec
Here’s a repeatable, 10-step workflow tailored to an accurate ruler app for interior designers:
- Prep a template: Create a project note with placeholders for room, ceiling height, openings, power/data, radiators, and odd angles.
- Baseline photo set: Shoot wide angles from corners, then key surfaces straight-on. These anchor later annotations.
- Establish a datum: Pick a reference wall and mark it as the zero line. All subsequent dimensions reference this to limit cumulative error.
- Perimeter first: Use AR/LiDAR mode to trace wall lengths clockwise. Note out-of-square by measuring diagonals if the room is rectangular.
- Heights and sill/head lines: Measure floor-to-ceiling, sill heights, jamb widths, and head heights. Capture three ceiling heights (corners + center) if sag or slope is suspected.
- Openings and obstacles: Doors, windows, radiators, columns, soffits, and vents—measure width, height, and offsets from the datum wall.
- Critical spans: For built-ins or appliance nooks, take width at floor, mid, and top; note the smallest value and wall bow direction.
- Clearances: Record paths: hallway widths, stair turns, elevator interior and door clear widths.
- Validation pass: Re-measure two strategic lengths with a tape/rigid rule. If differences exceed your tolerance, redo nearby points.
- Annotate immediately: Overlay dimensions on photos in the app, or sketch a quick plan and label each wall segment. Consistency beats memory.
Pro Techniques to Reduce Error
- Measure edge-to-edge: Align points to crisp edges or high-contrast corners rather than featureless walls.
- Stay perpendicular: For widths or heights, keep the phone perpendicular to the surface. Oblique angles inflate lengths.
- Use mid-range distances: Too close amplifies parallax; too far reduces pixel density. A few steps back is often best.
- Bracket tough dimensions: Measure A→B, then A→C and C→B to see if sums match. Big mismatches signal drift or misplacement.
- Control lighting: Avoid harsh backlight and low light. Soft, even light helps AR edge detection.
- Document context: A dimension plus a labeled photo is far more useful than a dimension alone.
Tool Comparison: Which Measurement Method When?
| Tool | Typical Accuracy | Strengths | Best Use |
|---|---|---|---|
| Steel tape / rigid rule | ±1–3 mm (skilled) | Direct contact, cheap, no batteries | Critical spans, trim, small parts |
| Laser distance meter | ±2–3 mm over room distances | Fast long runs, good in open rooms | Wall-to-wall, ceiling heights |
| AR/LiDAR phone ruler | Within a few mm to a cm, scene dependent | Rapid capture, visual context, annotations | Room surveys, planning, quick checks |
| On-screen phone ruler | ±1 mm on small objects (after calibration) | Immediate, pocketable, no setup | Fabrics, hardware, small components |
In practice, designers mix tools: scan a room quickly with the app, confirm critical spans with a tape or laser, and use the on-screen ruler for small items.
Example: Measuring a Sofa Alcove the Right Way
- Context photos: Shoot the alcove straight-on and from each side.
- Width at three heights: Using AR mode, measure at floor, 18″, and 30″. If widths are 72.50″, 72.25″, and 72.00″, note the smallest (72.00″).
- Depth and obstacles: Measure depth at left and right; note baseboards, outlets, and sconce protrusions.
- Reveal planning: Deduct clearance—e.g., 3/8″ per side for comfortable installation and seasonal movement.
- Validate: Confirm the 72.00″ with a tape. If it reads 72 1/16″, log 72.00″ as the governing dimension and keep 1/16″ as “wall bow” note.
- Annotate: Add labeled overlays to photos: “Min width 72.00″ @ 30″ A.F.F.” and “Baseboard 5/8″ depth.”
Result: a clear spec for procurement that avoids a too-tight fit.
From Field to Scale: Turning Measurements Into Drawings
If you prefer to measure from a photo with a known reference (e.g., a steel rule taped to a surface), apply a scale factor. This is useful for quick elevation markups.
# Pseudocode for converting pixels to real-world size from a photo
known_real_mm = 600.0       # e.g., 600 mm reference stick in frame
known_pixels = 1830         # its length measured in the image editor
scale_mm_per_px = known_real_mm / known_pixels

# convert any measured pixel length to mm
measured_px = 250
real_mm = measured_px * scale_mm_per_px
real_in = real_mm / 25.4
Tips for photo-based scaling:
- Place the reference in the same plane as the object you’re measuring.
- Shoot as perpendicular as possible to minimize perspective distortion.
- Use the app’s grid or a tripod/level to keep horizons straight.
Common Mistakes to Avoid
- Measuring to trim instead of structure: Decide if specs should reference finished or rough surfaces and stay consistent.
- Single-point width in old homes: Out-of-plumb and out-of-square are common; measure at multiple heights and depths.
- Forgetting door swing/hinge protrusions: Clearances change with hardware; account for it.
- Relying on one pass: Always validate critical dimensions with a second method or pass.
- Poor labeling: A number without context (e.g., height A.F.F.) can lead to misinterpretation.
Quick Designer’s Checklist
- Calibrate screen and sanity-check AR/LiDAR before starting.
- Pick a datum wall; measure perimeter clockwise.
- Capture heights (ceiling, sill, head) and three-point widths in tight zones.
- Annotate photos immediately with labels and arrows.
- Validate two key lengths with a tape or laser.
- Log tolerances and clearances in the spec (don’t bury them in notes).
Choosing an Accurate Ruler App for Interior Designers
When evaluating apps, prioritize:
- Calibration controls: Screen scale adjustment and reference-length checks.
- Multiple modes: On-screen ruler, AR, and (if available) LiDAR assistance.
- Annotation tools: Photo overlays, color coding, and organized exports.
- Offline reliability: No dependency on connectivity in basements or new builds.
- Transparent, no-subscription access: Predictable costs for teams and long-term projects.
Used with the methods above, the right app becomes a trustworthy digital tape—fast in the field, clear in your notes, and solid enough to hand off to fabricators.
For designers on iOS who want a single toolkit that includes a precise ruler alongside a bubble level, compass, barometer, metal detection, and laser projection features—all usable offline without subscriptions—the Level Tool app fits that profile.
