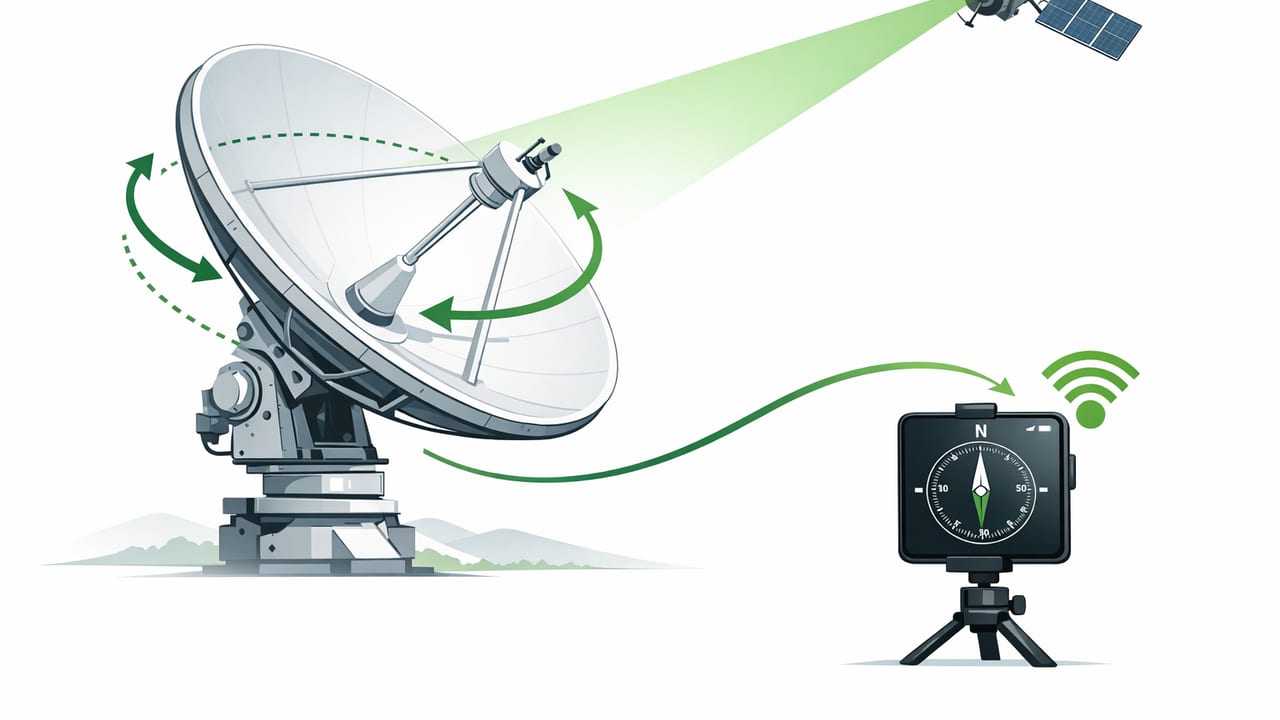
When your satellite dish is even slightly off-target, the symptoms are familiar: weak signal, pixelation, or channels that drop out when the weather changes. The good news is that you can often get a reliable alignment without specialized hardware by using satellite dish alignment with a mobile heading sensor—the same magnetometer and motion sensors inside your iPhone that power compass and orientation features.
This guide explains the concepts (azimuth, elevation, skew), how a phone’s heading sensor works, and a step-by-step process to aim a dish accurately. It’s written for DIY homeowners, RVers, and installers who want repeatable results using offline tools where possible.
What “heading sensor” means (and why it matters for aiming)
Your iPhone determines direction using a combination of sensors:
- Magnetometer: detects Earth’s magnetic field to estimate compass heading.
- Gyroscope + accelerometer: measures rotation and tilt (useful for elevation and keeping the phone stable).
- Location services (optional): can help correct heading to true north and improve accuracy, but many workflows can remain mostly offline once you have the target numbers.
For dish aiming, you mainly need:
- Azimuth: the left-right direction along the horizon (a compass bearing).
- Elevation: the up-down tilt angle of the dish.
- LNB skew (polarization): rotation of the LNB/feed (depends on satellite and location).
Key idea: Your phone’s heading sensor is most valuable for finding the correct azimuth quickly, so you can start fine-tuning using the receiver’s signal meter or the dish’s built-in indicator.
Before you start: get the correct aiming numbers
Dish alignment is not guesswork—you need the correct azimuth, elevation, and skew for your exact location and satellite. Sources include:
- Your satellite provider’s installer menu or support page.
- A printed look-up chart included with some dish kits.
- An aiming calculator (enter address/GPS coordinates and satellite).
Write these down before going outside. If you’re working offline, screenshot the numbers or note them in a notepad so you don’t rely on a weak signal mid-install.
True north vs. magnetic north (declination)
Most published azimuth values are either true azimuth (relative to true north) or magnetic azimuth (relative to magnetic north). Your iPhone compass may show either depending on settings and app behavior.
The difference is magnetic declination, which varies by location and can be several degrees—enough to miss a satellite, especially with small dishes.
You can convert between them using:
// Simple conversion
// If declination is East (positive): True = Magnetic + Declination
// If declination is West (negative): True = Magnetic + Declination
// (Same formula; just treat West as negative.)

trueAzimuthDeg = magneticAzimuthDeg + declinationDeg

// Normalize to 0–360
trueAzimuthDeg = (trueAzimuthDeg % 360 + 360) % 360
Tip: If your aiming info says “Azimuth (True)” and your compass is set to magnetic, you must account for declination (or switch your compass to true heading if supported).
Step-by-step: satellite dish alignment with a mobile heading sensor
1) Choose a clear line of sight
Obstructions are the #1 reason “perfect” aim still fails. The dish needs a clear view in the satellite’s direction—trees, roofs, and even wet leaves can attenuate signal.
- Stand near the mount point and sight toward the target azimuth.
- Look for obstacles at roughly the target elevation angle (not just at eye level).
- If possible, move the mount location before drilling or tightening permanently.
2) Mount stability first (plumb matters)
If the mast isn’t perfectly vertical, the elevation scale on the dish becomes unreliable and adjustments become confusing.
- Place a bubble level against the mast on two perpendicular sides.
- Adjust until it’s plumb in both directions.
- Tighten the mount securely before aiming.
3) Calibrate your phone’s compass/heading sensor
Heading errors often come from local magnetic interference. Do these checks:
- Step away from metal: don’t stand right next to a car, metal siding, steel posts, or a ladder while reading heading.
- Remove magnetic accessories: magnetic phone mounts, some cases, and wallets can distort readings.
- Do a quick calibration: if your compass app suggests a figure‑8 motion, do it away from metal objects.
4) Set elevation on the dish (coarse)
Most dishes have an elevation scale. Use it for a starting point:
- Loosen the elevation bolts slightly.
- Set the pointer to the target elevation (example: 32°).
- Snug the bolts so the dish holds position but can still be nudged.
If your scale is questionable (older dish, bent bracket), you can validate elevation using a phone inclinometer/angle gauge by placing the phone on a flat reference surface on the dish bracket (manufacturer-dependent). If no safe flat reference exists, rely on the dish scale for coarse alignment and use signal strength for fine tuning.
5) Use the mobile heading sensor to find azimuth (coarse)
Now use the phone’s compass/heading reading to point the dish roughly toward the satellite:
- Stand behind the dish (or directly at the mast) with the phone held level.
- Rotate until your phone reads the target azimuth (true or magnetic—consistent with your numbers).
- Without moving your feet, visually align the dish’s face in that direction.
- Tighten the azimuth clamp just enough to hold, leaving small adjustability.
Practical accuracy tip: Don’t try to “aim the phone” by touching it to the dish (metal can disturb the magnetometer). Use the phone to establish direction, then align the dish visually along that line.
6) Set LNB skew (if required)
Skew is easy to overlook and can reduce signal quality or make some transponders fail. Set it according to your aiming values:
- Loosen the LNB/feed rotation clamp.
- Rotate to the specified skew angle (often marked on the bracket).
- Re-tighten carefully so it doesn’t shift.
7) Fine-tune using a signal meter (or receiver signal screen)
The heading sensor gets you close; the final alignment should be done by maximizing signal quality/strength.
- Open the receiver’s signal meter screen (or connect an inline satellite meter).
- Move the dish in tiny increments left/right around the target azimuth.
- Pause 2–3 seconds after each movement; some receivers lag.
- When you find the peak, tighten azimuth bolts gradually (alternating sides if applicable).
- Repeat the process for elevation: tiny up/down adjustments to maximize signal.
- Recheck azimuth again after tightening; tightening can shift alignment slightly.
Troubleshooting: common issues with phone heading sensors
Problem: the compass heading “wanders” or jumps
- Cause: magnetic interference (metal fence, car, ladder, power tools).
- Fix: take readings a few feet away; keep the phone away from the dish and mast while reading.
Problem: you hit a signal peak but it’s the wrong satellite
- Cause: nearby satellites can be close in azimuth/elevation.
- Fix: confirm the receiver is locked to the correct satellite (provider-specific test channels/transponders). Adjust skew and re-peak slowly.
Problem: good signal only in clear weather
- Cause: alignment is marginal (not peaked), or obstructions/loose mount.
- Fix: re-peak for maximum quality (not just strength), ensure mast is plumb, tighten hardware, check for foliage in the path.
Best practices for accuracy (and safer DIY work)
- Use small movements: A few millimeters at the rim can mean a big angular change.
- Avoid metal contact for compass readings: Take azimuth readings away from the dish, then align by sight.
- Document your final settings: Take photos of elevation and skew marks for future re-alignment.
- Work safely at height: Stable ladder, no overreach, and avoid alignment during high winds.
Comparison: phone heading sensor vs. dedicated alignment tools
| Method | What it’s best for | Limitations |
|---|---|---|
| Mobile heading sensor (phone compass) | Getting close fast; confirming direction on-site | Susceptible to magnetic interference; needs declination awareness |
| Receiver signal screen | Final fine-tuning; verifying lock and quality | Laggy updates; can be inconvenient at the dish location |
| Inline satellite meter | Fast peaking at the dish; pro-style workflow | Extra cost; must be configured to avoid wrong-satellite peaks |
| Professional spectrum analyzer | Fastest identification and precise alignment | High cost; mainly for professional installers |
A quick checklist you can print or save offline
- Get azimuth/elevation/skew for your exact location and satellite.
- Confirm whether azimuth is true or magnetic; account for declination.
- Plumb the mast in two directions.
- Calibrate compass and remove magnetic accessories.
- Set elevation (coarse), set skew.
- Use mobile heading sensor to point azimuth (coarse), away from metal.
- Fine-tune with signal meter: peak azimuth, then elevation, then re-peak.
- Tighten carefully and recheck signal quality.
Closing thoughts
Using satellite dish alignment with a mobile heading sensor is a smart way to speed up the hardest part of DIY aiming: getting close enough to find a signal without endless guessing. Combine a clean compass reading (declination-aware) with a careful signal peak process, and you can achieve a stable, weather-resistant installation.
If you prefer keeping a compact, offline toolkit on iPhone for jobs like this—compass heading, inclinometer checks, and basic measurement—apps such as Level Tool can help consolidate those utilities in one place.
