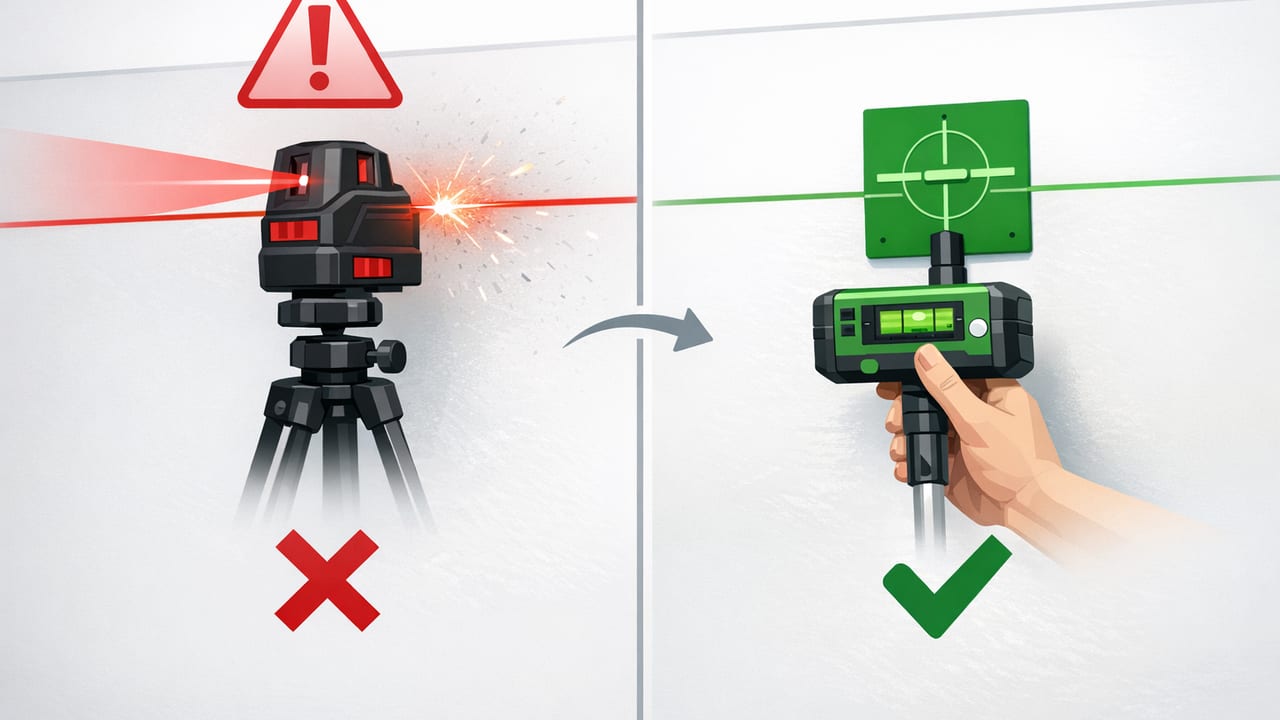
A laser line level can be fast and impressively accurate—but it’s not always the safest or most practical choice. If you’re working around kids or pets, in tight reflective spaces, near glass and mirrors, or in environments with strict safety rules (schools, clinics, some job sites), you may want a safe alternative to a laser line level that still produces clean, reliable layout lines.
This guide explains several proven, eye-safe methods to create straight reference lines for common tasks like hanging pictures, leveling cabinets, aligning tile, framing, and marking drill points. You’ll also learn when each method is most accurate, what tools you need, and how to avoid the most common mistakes.
Why consider a safe alternative to a laser line level?
Many modern laser levels are low-power and can be used safely with proper handling, but risk increases when:
- People can accidentally stare into the beam (children, bystanders, customers on-site).
- Reflective surfaces (mirrors, polished tile, stainless appliances) can redirect the beam unpredictably.
- Work is in close quarters (small bathrooms, closets, under-sink installs) where the beam is near face height.
- Rules prohibit lasers in certain facilities or training environments.
- Visibility is poor (bright daylight washes out the line) leading people to move closer or use risky viewing angles.
Safety note: Even low-power lasers can be hazardous to eyes under certain conditions (close range, prolonged exposure, reflective bounce). If you do use a laser, follow the manufacturer’s guidance, control the work area, and avoid eye-level placements.
Quick decision guide: pick the right non-laser method
Different jobs call for different approaches. Use this quick guide, then jump to the step-by-step sections below.
- Longest, straightest lines on walls/floors: Chalk line
- Precise alignments with minimal mess: String line (tight line)
- Short, high-accuracy marks: Straightedge + level
- Repeatable height marks around a room: Water level (clear tubing)
- Outdoor/long-run leveling: Optical/dumpy level (non-laser)
- Quick checks and angle confirmation: Phone-based bubble level / angle finder
Comparison table: safe alternatives to a laser line level
| Method | Best For | Typical Accuracy | Pros | Cons |
|---|---|---|---|---|
| Chalk line | Long straight layout lines (walls/floors) | High (depends on snapping technique) | Fast, cheap, very visible | Dust/mess; can smudge |
| String line (taut line) | Tile/cabinet alignment, long reference edges | Very high if properly tensioned | No dust, adjustable, reusable | Needs solid anchor points |
| Straightedge + spirit level | Short lines, mounting rails, drilling points | Very high (tool-quality dependent) | Clean, controlled, no setup time | Limited length unless you have a long straightedge |
| Water level (hose level) | Transfer height marks across rooms | Excellent over distance | Works around corners, no line-of-sight | Two-person easier; slower |
| Optical level | Outdoor leveling, foundations, grading checks | Excellent (survey-style) | Professional long-range results | Bulky; needs tripod and practice |
| Phone level/angle finder | Quick verification, short leveling tasks | Good (depends on calibration) | Always with you; great for double-checking | Not a “projected line” by itself |
1) Chalk line: fastest way to mark long straight lines
A chalk line is one of the most effective answers to “what’s a safe alternative to a laser line level?” when you need a long, straight reference—especially for floors, framing, wall panel layout, or wainscoting.
How to snap a crisp chalk line (without a fuzzy mess)
- Mark two endpoints carefully with a pencil. Accuracy starts here.
- Hook the line to the first point and pull tight to the second.
- Lift the line slightly at the midpoint (about 1–2 inches).
- Snap once, decisively. Multiple snaps can blur the line.
- Seal it if needed: For critical work, lightly mist with a fixative (or hair spray) to reduce smudging.
Pro tip: Use blue chalk for most interior work (easier to remove). Avoid red chalk unless you’re sure it won’t stain the material.
2) String line (tight line): high precision with no dust
A string line is a clean, highly accurate method for aligning multiple points—like cabinet faces, tile rows, fence posts, or long trim runs. Unlike a chalk line, it gives you a reference edge without leaving residue.
Best practice for a dead-straight string line
- Anchor both ends solidly (screws, nails, clamps, or line blocks).
- Tension matters: the string must be tight enough to avoid sag.
- Offset the line slightly from the surface (use spacers) so you can measure to it consistently.
- Check for bow: sight along the string; if it curves, retension or shorten the span.
Common mistake: Using stretchy cord. Choose mason’s line (low stretch) for repeatable results.
3) Straightedge + level: the cleanest way to draw short “laser-like” lines
For hanging shelves, aligning mounting rails, marking backsplash tile starts, or drawing a straight cut line, a long straightedge plus a good spirit level is hard to beat.
Simple workflow
- Use a straightedge (aluminum rule, long level, or verified straight board).
- Place it on your reference marks.
- Set a level on top (or use a long level as the straightedge itself).
- Adjust until level, then trace the line lightly with pencil.
Accuracy tip: If the line must be perfectly horizontal across several feet, mark multiple points with a tape measure first (from a known datum) and then connect them with the straightedge.
4) Water level (clear tubing): safest way to transfer level around corners
A water level is an old-school method that’s surprisingly accurate and extremely useful when you can’t maintain line-of-sight—around doorways, behind obstacles, or across different rooms.
What you need
- Clear vinyl tubing (20–50 ft, depending on space)
- Water (add a few drops of food coloring for visibility)
- Tape and a marker
How to use it
- Fill the tube about 1/3 to 1/2 with water. Remove bubbles (they ruin accuracy).
- Hold both ends upright; the water will settle at the same height on both ends.
- Make a mark at your starting reference height.
- Move the other end to the next location and mark where the waterline matches the reference.
When it shines: Setting consistent heights for chair rails, suspended ceiling markers, or aligning multiple wall fixtures in different rooms.
5) Optical level: long-range leveling without lasers
If your work is outdoors or spans long distances—like checking grade, leveling forms, or setting posts—an optical (dumpy/automatic) level is a strong non-laser option. It uses a scope and leveling vial rather than a projected beam.
It’s more setup than a chalk line, but it’s excellent when you need repeatable readings across a site.
6) Phone-based leveling: great for verification and quick alignment
A phone can’t replace every layout tool, but it can be an effective support tool: verifying level/plumb, checking angles, and catching small errors before you commit to drilling or fastening.
Best uses for a phone level as a laser alternative companion
- Confirming a straightedge is actually level before you draw the line
- Checking plumb on door jambs, posts, or cabinet sides
- Setting repeatable angles (e.g., stair rails, miters, ramps)
Calibration matters: If your app supports calibration, do it on a known flat surface, then re-check periodically—especially after a phone case change or a drop.
Accuracy checklist: avoid the top 8 layout mistakes
- Don’t trust one point: mark at least two endpoints; three is better for long runs.
- Use a datum: choose a consistent reference (floor, countertop, or a marked baseline).
- Mind the tape hook: a bent tape hook can introduce consistent errors.
- Control sag: strings sag; long straightedges can flex.
- Watch parallax: read bubbles and waterlines straight-on at eye level.
- Check the surface: walls can bow; floors can crown. Decide whether you want “level” or “parallel to the surface.”
- Mark lightly first: confirm alignment, then darken your final line.
- Verify before drilling: measure twice, fasten once.
Example: leveling a row of pictures without a laser
Here’s a simple, clean method using painter’s tape, a straightedge, and a level (plus optional phone verification):
- Pick your target height (e.g., picture center at 57 inches from the floor).
- Place small pieces of painter’s tape where each hook will go.
- Measure and mark each hook point on the tape.
- Connect the marks using a straightedge; level it; then draw a light line.
- Double-check level, then drill/install hardware.
This produces “laser-like” results with minimal risk and no beam reflection issues.
When a laser line level is still the right tool
There are situations where a laser is genuinely the most efficient choice—large-format tile layouts, long cabinet runs, multi-trade coordination, or any job where you need a reference line you can see across a room without touching surfaces.
If you do use one, improve safety by controlling access to the room, avoiding eye-level placement, and being cautious around reflective finishes. In bright areas, consider non-laser methods instead of moving closer to the beam for visibility.
Putting it together: the best “safe alternative” depends on the job
If you need one all-around replacement for a laser line level, there isn’t a single perfect tool—because lasers solve multiple problems at once (projection, reach, visibility). But you can match the task:
- Marking: chalk line
- Aligning: string line
- Drawing clean install lines: straightedge + level
- Transferring level across obstacles: water level
- Verifying and double-checking: phone level/angle finder
For many DIY and professional workflows, combining two methods (for example, a string line for alignment plus a phone level for verification) gets you very close to the speed of a laser—without the beam-related concerns.
Optional toolkit note
If you like having multiple verification tools in one offline iOS app (level, ruler, compass, and more), Level Tool is one option to keep in your kit for quick checks at the end of a layout process.
