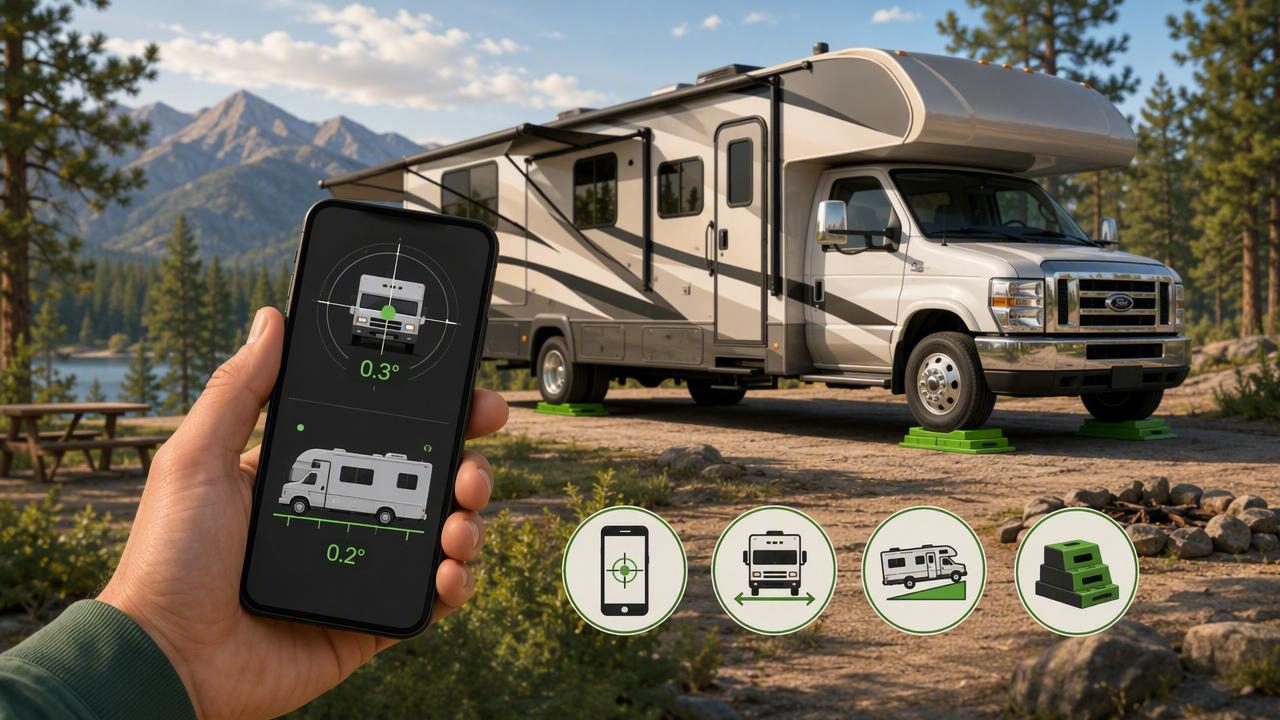
Doing rv leveling at campsite using smartphone isn’t a gimmick anymore—it’s a practical way to get repeatable, accurate results without carrying extra specialty tools. Modern iPhones include precise motion sensors that can function like a digital bubble level and inclinometer, helping you level your rig for comfort, appliance performance, and a better night’s sleep.
This guide explains a reliable workflow you can use at almost any campsite, whether you’re on gravel, a sloped pad, or uneven forest ground. You’ll learn how to calibrate your phone, where to place it for consistent readings, and how to level side-to-side and front-to-back using blocks or jacks—safely.
Why leveling your RV matters (beyond comfort)
- Better sleep and stability: A slight tilt can feel dramatic when you’re inside.
- Fridge performance: Many RV refrigerators (especially absorption types) prefer being close to level to operate efficiently.
- Slide-out alignment: Severe twist in the frame can make slide-outs noisier and increase wear.
- Drainage and tanks: Leveling helps sinks and showers drain predictably and improves tank readings in some setups.
“Close enough” varies by rig and terrain, but aiming for within about 0.5° in both axes is a solid practical target for most campers.
What you need for smartphone-based leveling
You can level with only your phone and some basic campsite gear. Here’s a sensible kit:
- iPhone with a level/inclinometer tool (many measurement apps include this).
- Wheel chocks (always chock before unhitching or lifting).
- Leveling blocks or sturdy boards (stackable plastic blocks work well).
- Gloves and a small flashlight/headlamp for late arrivals.
- Optional: A small non-slip mat or microfiber cloth (keeps the phone from sliding and protects surfaces).
Safety note: Never put any part of your body under a vehicle that’s supported only by jacks or unstable blocks.
How your smartphone measures level (and why placement matters)
Your phone estimates tilt using internal sensors (accelerometers and gyroscopes). This is very accurate for campsite tasks, but the reading depends on what the phone is resting on. If the surface is curved, padded, or flexible, your measurements may drift.
For repeatability, pick a surface that’s:
- Flat and rigid (countertop, floor over a frame rail, or a solid shelf).
- Consistent (use the same spot each time you re-check).
- Aligned with the RV (avoid angled cabinet faces or rounded trims).
Before you start: choose your “reference spot” inside
Pick a spot you’ll always measure from. Good options:
- Kitchen countertop (if it’s solid and not warped).
- Floor near the entry (especially on travel trailers where floors are fairly uniform).
- A fixed interior shelf mounted to a strong wall.
Avoid soft surfaces like beds, cushions, or thin folding tables—your weight shifting around can change the reading.
Step 1: Calibrate your phone level (fast, but worth it)
Many leveling tools allow calibration or “zeroing.” Do it at home or on a known flat surface (like a countertop you’ve verified with a physical level), then re-check occasionally.
- Place the phone on a known-flat surface.
- Open your level/inclinometer tool and zero it (or follow the app’s calibration steps).
- Rotate the phone 180° in the same spot and confirm the reading stays near 0.0°. If it doesn’t, recalibrate.
If your app doesn’t offer calibration, consistency is still possible—just use the same phone orientation and reference spot every time.
Step 2: Level side-to-side first (the most important order)
For most RVs and trailers, the standard approach is side-to-side first, then front-to-back. Side-to-side typically requires driving onto blocks (or repositioning), which is harder to change after you’ve set tongue/jack height.
How to measure side-to-side using your smartphone
- Park where you plan to camp and keep the tow vehicle connected (for trailers) while you measure.
- Place your phone at your chosen reference spot.
- Read the roll (left-right tilt). Many tools display degrees; some show a bubble.
- If you’re low on one side, plan to raise that side by driving the low-side wheel(s) onto blocks.
Rule of thumb: A small change in block height can make a noticeable difference. Start conservative—add one layer at a time, then re-check.
Driving onto blocks: a controlled method
- Place blocks in front of (or behind) the tire(s) on the low side.
- Have a spotter guide you slowly onto the blocks (or use a backup camera if you’re solo, moving carefully).
- Stop, set the brake, and re-check level with the phone inside.
- Adjust block height as needed until side-to-side is within your target.
Tip: For tandem axles, ensure both tires on that side are supported appropriately (use blocks long enough for both, or purpose-built ramp blocks).
Step 3: Chock, then level front-to-back
Once side-to-side is good, chock the wheels before unhooking a trailer or raising/lowering jacks. Chocking is non-negotiable—it prevents rolling while you adjust height.
Front-to-back leveling workflow
- Place your phone on the same reference spot, oriented the same way.
- Check the pitch (front-back tilt).
- For travel trailers, adjust the tongue jack up/down until the phone reads close to level.
- For motorhomes, use your leveling jacks (manual or auto) and verify with the phone after the system settles.
If you have stabilizer jacks, remember: stabilizers are for reducing movement, not for lifting or primary leveling.
Step 4: Verify with a repeatable “two-point check”
To avoid chasing tiny differences, do a quick confirmation routine:
- Check point A: your main reference spot.
- Check point B: a second flat spot (like a nearby countertop corner or floor section).
If point A and point B disagree wildly, your interior surfaces may not be perfectly aligned with the frame. In that case, pick the spot that best reflects the RV’s structure (often the floor over a strong area) and stick with it consistently.
Common issues and quick fixes (troubleshooting table)
| Problem | Likely cause | Fix |
|---|---|---|
| Reading changes when you walk inside | Phone is on a flexible surface (tabletop, thin counter extension) | Move to a more rigid reference spot; re-check after the RV settles |
| Level looks good, but you still feel tilted | Interior surfaces not square to the frame; personal sensitivity | Use a floor-based reference; target a tiny bias if it improves comfort |
| Phone shows 0.0°, but fridge complains or doors swing | Phone not calibrated; reference surface not flat | Calibrate/zero the level; try a different reference spot |
| Hard to know how many blocks to use | No baseline mapping between degrees and block height | Record what works at home; add blocks incrementally and re-check |
| Auto-leveling says “done” but phone disagrees | Jacks settled; ground compressing; sensor calibration differences | Re-run leveling or do a small manual correction; check again after 10 minutes |
Practical technique: build your own “block cheat sheet”
Every rig responds differently depending on wheelbase, suspension, and where you measure. After a few trips, you can create a quick reference that speeds everything up.
Example format:
- 0.5° low on driver side → usually 1 block layer
- 1.0° low → usually 2 layers
- 1.5° low → usually 3 layers
This isn’t universal, but it becomes accurate for your setup if you always measure from the same spot.
Offline-friendly workflow (no signal needed)
One underrated benefit of smartphone leveling is that it can be completely offline. Most level/inclinometer tools don’t require GPS or cellular service, which is ideal for remote campgrounds. If you keep your leveling tool available offline, you can arrive late, conserve battery, and still get accurate readings.
Optional: log your final readings for repeatability
If you like a systematic approach, save your “finished” readings and campsite notes (surface type, blocks used, jack position). You can do it manually, or use a quick text template. Here’s a simple snippet you can copy into Notes:
Campsite leveling log
- Location/site: __________
- Side-to-side (roll): ____ °
- Front-to-back (pitch): ___ °
- Blocks used: ____________
- Notes (soil/settling): ___
After a few entries, you’ll notice patterns—like how much your rig settles on sand versus packed gravel.
Quick safety checklist before you relax
- Wheels chocked (before unhooking or raising).
- Blocks stable (flat contact, no wobble).
- Jacks on solid footing (use pads if ground is soft).
- Re-check after settling (10–20 minutes, especially on warm asphalt or damp soil).
- Stabilizers snug, not lifting (avoid frame twist).
Final thoughts
Once you adopt a consistent reference spot, calibrate your phone, and follow the order (side-to-side first, then front-to-back), smartphone leveling becomes fast and dependable. The real advantage isn’t just convenience—it’s repeatability, which is what makes leveling feel easy instead of frustrating.
If you prefer an all-in-one offline measurement toolkit on iOS that includes a level alongside other campsite-friendly tools, an app like Level Tool can keep everything in one place.
