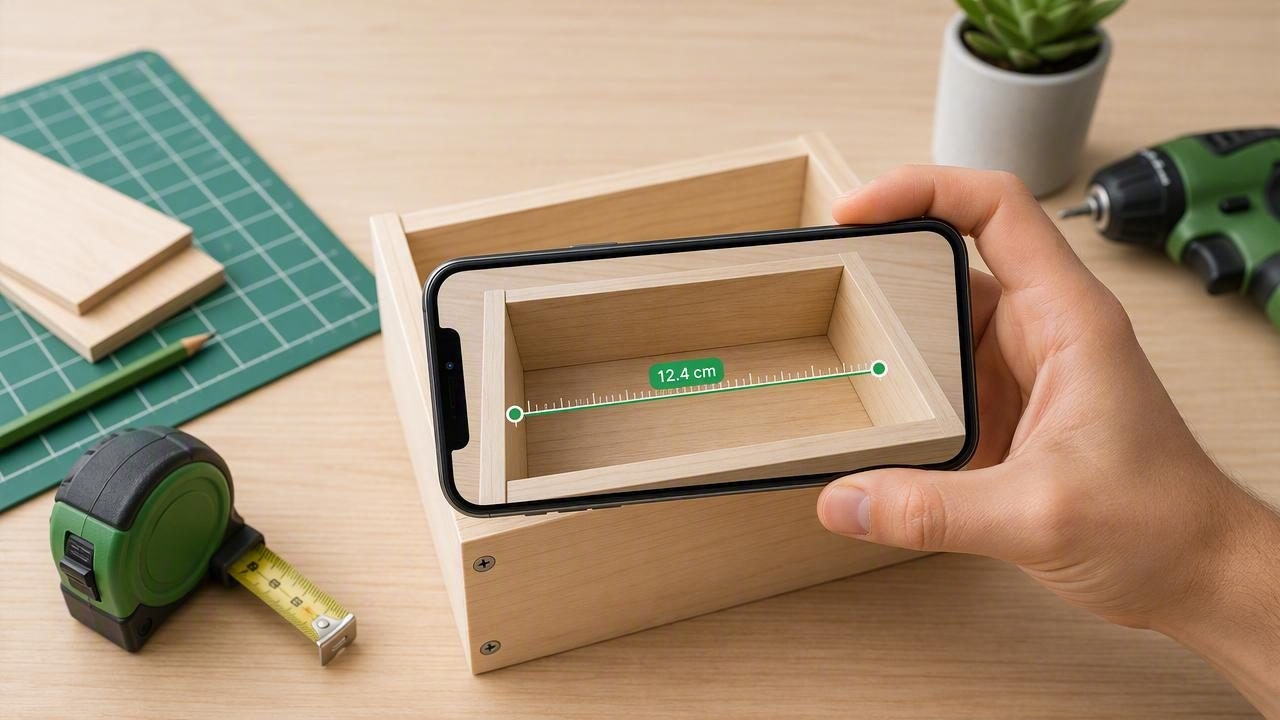
A ruler app for iPhone can be useful when you need a quick measurement and a physical ruler is not within reach. Whether you are checking the width of a picture frame, marking a small repair part, spacing wall hooks, or confirming a drill-bit size, your iPhone can help with basic measuring tasks.
However, a phone is not a replacement for every measuring tool. The best results come from understanding what an iPhone ruler can measure well, where its limits begin, and when a tape measure, steel rule, or caliper is the safer choice. This guide explains practical uses for an iPhone ruler app, how to improve repeatability, and how to avoid common DIY measurement mistakes.
What Is a Ruler App on iPhone?
A ruler app displays a graduated scale on the iPhone screen, usually in inches, centimeters, or millimeters. You place a small object against the screen and compare its edges with the visible markings. This makes it most useful for short, contact-based measurements, such as screws, hardware, craft materials, and small household components.
Some measurement apps also include related tools such as a bubble level, angle meter, compass, or barometer. Those tools use different iPhone sensors. A ruler measurement is generally based on a known display scale, while leveling and angle readings rely on the device’s motion sensors. It is important not to confuse these functions: a screen ruler measures small dimensions, while an angle meter measures tilt.
Best Uses for an iPhone Ruler App
An iPhone ruler is most practical when the item is small enough to fit on or closely beside the display. It works best for estimates, quick checks, and tasks where a fraction of a millimeter is not critical.
Useful DIY and home improvement tasks
- Checking the approximate diameter of a screw, bolt, washer, or wall anchor.
- Measuring the width of a cabinet hinge, bracket, or furniture fitting.
- Confirming the length of a replacement battery, small cord, or key ring.
- Spacing marks for hooks, labels, small tiles, or craft pieces.
- Measuring paper, fabric swatches, ribbon, and other flat materials.
- Comparing a small replacement part with an existing part before visiting a hardware store.
For example, suppose a cabinet door hinge has failed and you need a replacement. Before shopping, place the old hinge flat against the screen ruler. Measure its overall width and the distance between visible mounting holes as closely as the screen allows. Bring the old hinge with you if possible, but the iPhone measurement can help narrow down the likely size.
What an iPhone Ruler Should Not Be Used For
Knowing the limitations of a ruler app is as important as knowing its strengths. Do not rely on a phone screen ruler when an incorrect measurement could create a safety issue, damage material, or cause a costly installation error.
| Task | Is an iPhone ruler suitable? | Better option when precision matters |
|---|---|---|
| Checking a screw length | Usually suitable for a quick estimate | Steel ruler or caliper |
| Measuring a shelf span | No; the distance exceeds the screen | Tape measure |
| Cutting trim or lumber | No | Tape measure and marking tool |
| Setting a tile slope | Not with the ruler function alone | Angle meter and physical level |
| Measuring pipe diameter | Only as a rough check | Caliper or pipe sizing gauge |
| Verifying structural dimensions | No | Appropriate professional measuring tools |
A screen ruler cannot accurately measure objects that are longer than the display. It also cannot replace a caliper for fine internal or external dimensions. Avoid assuming that a phone can measure room dimensions, board lengths, or object distances simply by pointing a camera at them. A standard ruler feature works through direct comparison on the screen, not photo-based or remote measurement.
How to Use a Ruler App for iPhone More Reliably
Small errors can matter when you are matching hardware or cutting a replacement piece. Follow these steps to get a more repeatable reading.
- Clean the screen. Dust, a thick screen protector edge, or debris can keep the object from sitting flat.
- Use a flat object. Lay the item flat against the display rather than holding it above the glass.
- Align one edge with zero. Start at the ruler’s zero mark, not at the outer edge of the iPhone or its case.
- Remove the case if necessary. A raised case can prevent long, flat objects from making proper contact with the display.
- Look straight down. Viewing from an angle can create parallax error, especially on narrow marks.
- Measure twice. Reposition the item and repeat the reading. If the two results differ, use the larger practical margin or verify with a physical tool.
- Record the unit. Note whether you measured in millimeters, centimeters, or inches before ordering parts.
Repeatability is a useful habit. If you measure a washer once and read 18 mm, then reposition it and read 18 mm again, that result is more dependable than a single rushed reading. If you get 17 mm, 18 mm, and 19 mm, the item or its placement may not be suitable for a screen-ruler measurement.
Concrete Example: Matching a Replacement Screw
Imagine you are replacing a missing screw from a drawer pull. You have another matching screw, but no measuring tools. An iPhone ruler can help you gather enough information for a hardware-store search.
- Place the screw horizontally on the displayed ruler, with the tip aligned to the zero mark.
- Read the length to the underside of the screw head, rather than to the top of a rounded head.
- Measure the approximate head width across its widest point.
- Compare the screw shaft with the ruler markings to estimate its diameter.
- Write down the measurements as approximations, such as “about 25 mm long, about 4 mm shaft.”
- Take the matching screw with you when buying the replacement, because thread type and pitch cannot be reliably identified with a screen ruler.
This method is useful because it turns an unknown fastener into a starting point. It does not guarantee a match. Two screws can have similar length and diameter but different threads, head styles, or material requirements. For furniture hardware, always test the replacement gently before tightening it fully.
Screen Calibration and Why It Matters
Not every iPhone display has the same physical dimensions. A reliable ruler app should account for the device screen scale, but you should still check the display against a known physical ruler if the measurement will influence a purchase or cut.
To check it, place a real ruler beside the iPhone screen and compare a short known interval, such as 10 mm or 1 inch. If the displayed marks do not align, do not assume the app is suitable for precise work. Also remember that display size alone is not enough: an incorrectly set scale, zoomed interface, or unusual display configuration can affect what you see.
Practical rule: Use the iPhone ruler for quick, small-item checks. Use a physical measuring tool when the measurement determines a cut, fit, safety clearance, or expensive purchase.
Ruler App vs. Tape Measure vs. Caliper
Each tool has a different role in a DIY toolkit. Choosing the right one saves time and reduces rework.
- Ruler app: Convenient for small objects, quick comparisons, and situations where you do not have a physical rule.
- Physical ruler: Better for reliable short measurements, straight lines, and marking materials.
- Tape measure: Best for furniture, walls, room dimensions, lumber, trim, and longer spans.
- Caliper: Best for fine measurements such as thickness, outside diameter, inside diameter, and hardware sizing.
For a home improvement project, it is often sensible to use more than one tool. You might use a tape measure to locate a shelf, a physical ruler to mark bracket spacing, and an iPhone level to check whether the final installation is horizontal.
Combine Small Measurements With Level and Angle Checks
Many DIY jobs involve more than length. A wall-mounted rail may need evenly spaced holes and a level final position. A ramp, shelf support, or outdoor surface may need an angle check as well as a dimension check.
For angle readings, actual contact matters. Place the phone’s flat edge or back against a stable, clean reference surface, not against a curved or loose object. If an angle tool offers calibration, calibrate it on a trusted level reference before working. Then take multiple readings from the same position to confirm that the result is repeatable.
For example, when mounting a short floating shelf, measure the bracket width with a ruler, mark the hole locations with a tape measure, and use an angle or bubble-level function against the shelf surface before final tightening. This sequence addresses size, placement, and orientation separately.
Final Takeaway
A ruler app for iPhone is a convenient backup tool for measuring small objects, checking hardware, and handling simple DIY estimates. It is most dependable when the object is flat, in direct contact with the display, aligned carefully, and measured more than once.
For longer distances, fine tolerances, or safety-critical work, choose a tape measure, physical rule, or caliper instead. If your project also requires checking level or slope, Level Tool’s guide to measuring angles with an iPhone explains how to use contact, calibration, and repeated readings for more dependable results.
