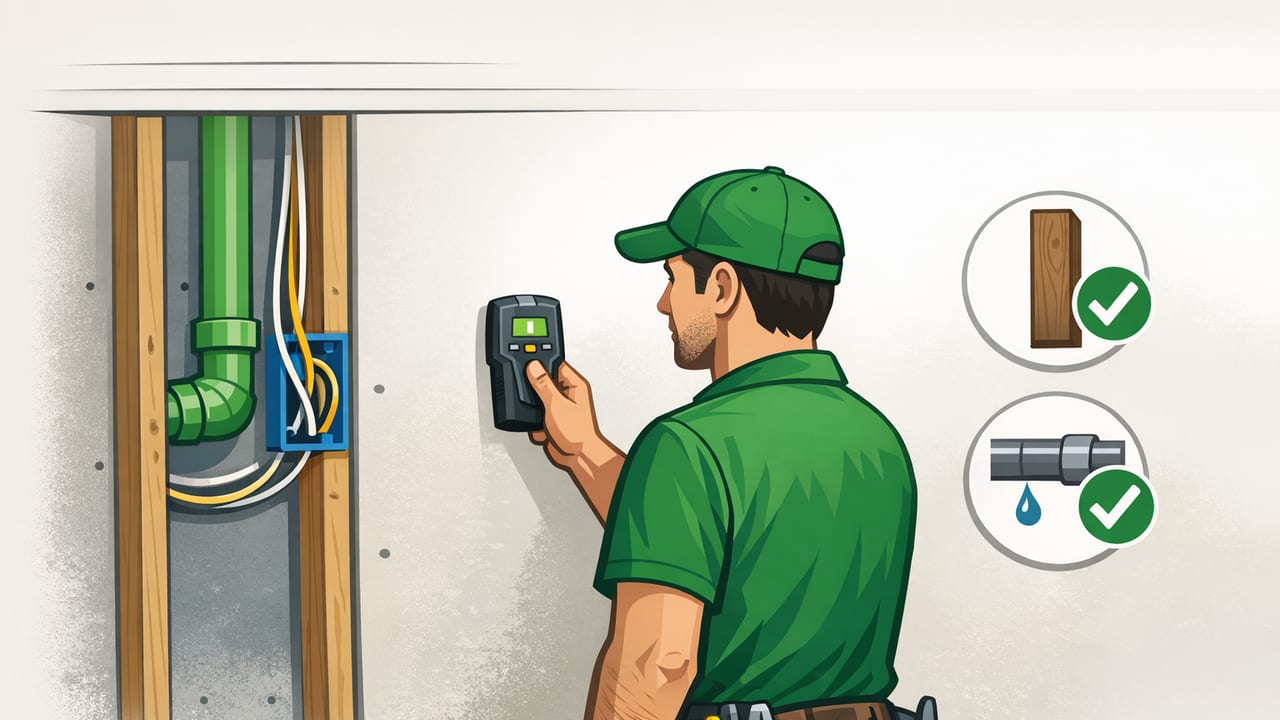
When an electrician needs quick stud and pipe check before drilling or cutting, speed matters—but so does certainty. A misplaced pilot hole can nick a copper line, punch through a PVC drain, or land straight into a metal stud that shifts your box location. While dedicated stud finders and inspection tools still have a place, modern iPhones include sensor hardware that can help you screen a spot fast, especially for metal studs, nails, and ferrous pipes.
This guide breaks down a practical, jobsite-friendly workflow for using your phone as an early-warning tool. You’ll learn when it works, when it doesn’t, how to reduce false positives, and how to document findings so you can move quickly without guessing.
What your phone can (and can’t) detect in a wall
Most “metal detector” style phone tools rely on the iPhone’s magnetometer (the same sensor used for compass heading). That sensor is sensitive to magnetic field changes near ferrous metals (steel studs, iron pipes, nails, screws, some junction boxes, certain rebar patterns).
Works best for
- Metal studs and steel framing members
- Nails/screws in wood studs (fasteners can outline stud edges)
- Ferrous pipes or nearby steel plates (nail plates/stud guards)
Often unreliable for
- Copper and aluminum pipes/wiring (non-ferrous; may not trigger much)
- PVC and other plastics (invisible to magnetometer)
- Romex location (you cannot “see” live conductors reliably with a magnetometer)
- Depth estimates (phone sensors don’t measure depth accurately)
Think of a phone-based check as a rapid triage tool: it helps you decide whether to move, slow down, or confirm with a dedicated device.
Safety baseline (non-negotiable)
Before you rely on any quick check:
- De-energize the circuit when possible and follow lockout/tagout practices.
- Use a non-contact voltage tester and/or meter as required for your work scope.
- If you suspect plumbing or gas lines, treat the area as high consequence and confirm using appropriate methods (plans, access panels, borescope, or professional locating equipment).
A phone is not a safety-rated locating device. Use it to reduce risk, not replace proper verification.
Fast workflow: 3-minute wall scan when an electrician needs quick stud and pipe check
This is a repeatable sequence that fits real job conditions. The goal is to build confidence fast, not chase perfect readings.
Step 1: Clear the phone’s “magnetic environment”
- Remove magnetic accessories: MagSafe wallet, magnetic case add-ons, tool belt magnets nearby.
- Step away from large metal objects (ladders, gang boxes) while you establish a baseline reading.
- If you’re in a mechanical room with a lot of steel, expect noisier readings.
Step 2: Establish a baseline on a known “empty” spot
Hold the phone flat against the drywall and note the steady value/indicator your app shows. You’re looking for a consistent baseline so spikes stand out.
Step 3: Scan in a grid, not a line
Many misses happen because people sweep once and assume the wall is clear. Instead:
- Scan horizontally across the intended drilling zone.
- Then scan vertically through the same zone.
- Keep the phone’s orientation consistent (screen facing you, same edge leading).
If a spike repeats at the same location in both directions, it’s more likely to be real.
Step 4: Mark and “bracket” the signal
When you hit a spike:
- Mark the center point with pencil.
- Move left/right until the reading drops back near baseline; mark those edges.
- Do the same up/down.
This bracketing technique helps distinguish a narrow fastener line from a wider stud member or protective steel plate.
Step 5: Decide: move, verify, or proceed carefully
- Strong, wide signal at standard spacing (16"/24"): likely a metal stud. Adjust box placement or plan anchors accordingly.
- Strong, localized signal near outlet height: could be a nail plate, a bracket, or a fastener cluster. Consider shifting or verifying.
- No signal: does not mean “no pipe.” If plumbing is plausible, verify another way.
How to reduce false positives (and the expensive mistakes they cause)
Phone sensors are sensitive. That’s an advantage—until it isn’t. Here are the most common causes of junk readings and how to manage them.
1) Magnetic cases, watches, and tool magnets
Anything magnetic near the phone can bias readings. Remove the case or accessories and keep your watch/tool belt away from the scanning edge of the phone.
2) Hidden corner bead and drywall fastener patterns
Metal corner bead, mesh tape with metallic content, or dense screw patterns can look like “something big.” Bracket the signal: a corner bead usually tracks along an outside corner continuously, while a stud repeats with predictable spacing.
3) Rebar or lath (older construction)
Plaster-and-lath or masonry with rebar can produce near-constant elevated readings. In these cases, a phone scan won’t isolate one hazard; shift to other verification methods (surface-mounted raceway, alternate routing, or opening a small inspection area where permissible).
4) Electrical interference vs magnetic detection
A magnetometer isn’t a wire tracer. Live circuits can create electromagnetic fields, but phone readings are not dependable for wire location. Use the correct tool for energized work.
Quick comparison: phone scan vs common field tools
| Tool / Method | Best For | Limitations | When to Use |
|---|---|---|---|
| iPhone magnetometer (“metal detector” style) | Metal studs, nails/screws, some ferrous pipes/plates | Weak for copper/PVC; no depth; can be noisy near steel | Fast screening before drilling; quick stud spacing check |
| Electronic stud finder (multi-sensor) | Wood studs, edges/centers; some models detect AC | Calibration-sensitive; struggles on textured walls | Layout for boxes, TV mounts, panel backboards |
| Borescope via small inspection hole | Positive visual confirmation of pipes/wires | Requires making a hole; access may be limited | High-consequence areas (bath/kitchen walls) |
| Plans / as-builts + known plumbing zones | Predicting likely pipe routes | Plans can be wrong; renovations change everything | Pre-check before any scanning; helps choose scan area |
Practical examples (what “good” looks like)
Example 1: Metal stud wall for a new work box
You sweep horizontally and see repeating strong spikes every ~16–24 inches. That pattern strongly suggests metal studs. Mark stud centers, then use a level to align the box and avoid placing screws where protective plates might appear (often near existing penetrations).
Example 2: Bathroom wall where plumbing is likely
You get one strong spike near the center of the bay but nothing else. Don’t assume it’s a pipe. It could be a stud guard plate, a fastener cluster, or a bracket. In a bathroom, the risk is high: shift your drilling point, confirm from the other side, or use a borescope through an allowable inspection point.
Example 3: “No signal” on a kitchen backsplash area
No spike can still hide copper or PVC. Use context: sink base below, vent stack nearby, dishwasher supply route—your best safety move may be drilling shallow first, using a stop collar, and confirming cavity conditions before committing.
Marking and documentation: keep the crew aligned
When an electrician needs quick stud and pipe check on a busy site, the biggest efficiency gain is not the scan—it’s communicating the result clearly so no one drills in the wrong place later.
- Use simple symbols: “S” for stud center, “!” for strong metal hit, arrows for edges.
- Photograph the markings before covering with a box, panel, or trim.
- Note offsets: “Stud center 14 1/2" from inside corner” saves rescans.
Fast locating is useful; repeatable marking is what prevents rework.
Troubleshooting: if readings seem wrong
Symptom: readings jump everywhere
- Move away from large metal objects and re-baseline.
- Remove case/accessories.
- Rotate your body position; sometimes your tool belt is the culprit.
Symptom: no spikes anywhere, even near obvious metal
- Confirm the app is using the magnetometer and not a “simulated” mode.
- Try a known metal target (a screwdriver) to verify the sensor responds.
- Restart the app; if the compass is misbehaving, recalibrate it in open space.
Symptom: spike is strong but doesn’t match stud spacing
- Consider a nail plate or corner bead.
- Bracket the signal to see if it’s narrow (fastener) or wide (member/plate).
- Check the same wall section at a different height to see if the feature continues.
Optional: log readings for repeatability (simple approach)
If you want a more systematic method (useful for training apprentices or documenting tricky walls), log a few readings along a tape measure line and look for consistent peaks. You don’t need custom software—just record values at fixed intervals (every 2 inches) and mark peaks on the wall.
Layout idea (manual logging):
1) Snap a light pencil line at drill height.
2) Mark every 2" along the line.
3) Scan and write: baseline, then value at each mark.
4) Peaks that repeat on a second pass are your likely metal locations.
Choosing the right “next step” after the scan
Use this decision shortcut:
- Low consequence + strong stud signal: proceed with standard anchors/screws.
- Moderate consequence + ambiguous signal: shift location or verify with a stud finder/borescope.
- High consequence (plumbing/gas likely): don’t guess—verify by access, visual inspection, or professional locating.
Takeaway
A phone-based scan won’t replace professional locating equipment, but it can be a surprisingly effective first pass—especially when you’re dealing with steel studs, nail plates, and hidden fasteners. When an electrician needs quick stud and pipe check, the winning approach is a repeatable scan pattern, bracketing signals, and clear marking—then verifying with the right tool when the risk demands it.
If you already use an iPhone on-site, an all-in-one measurement app like Level Tool can keep basic utilities (leveling, ruler, compass, and sensor-based checks) available offline in one place.
