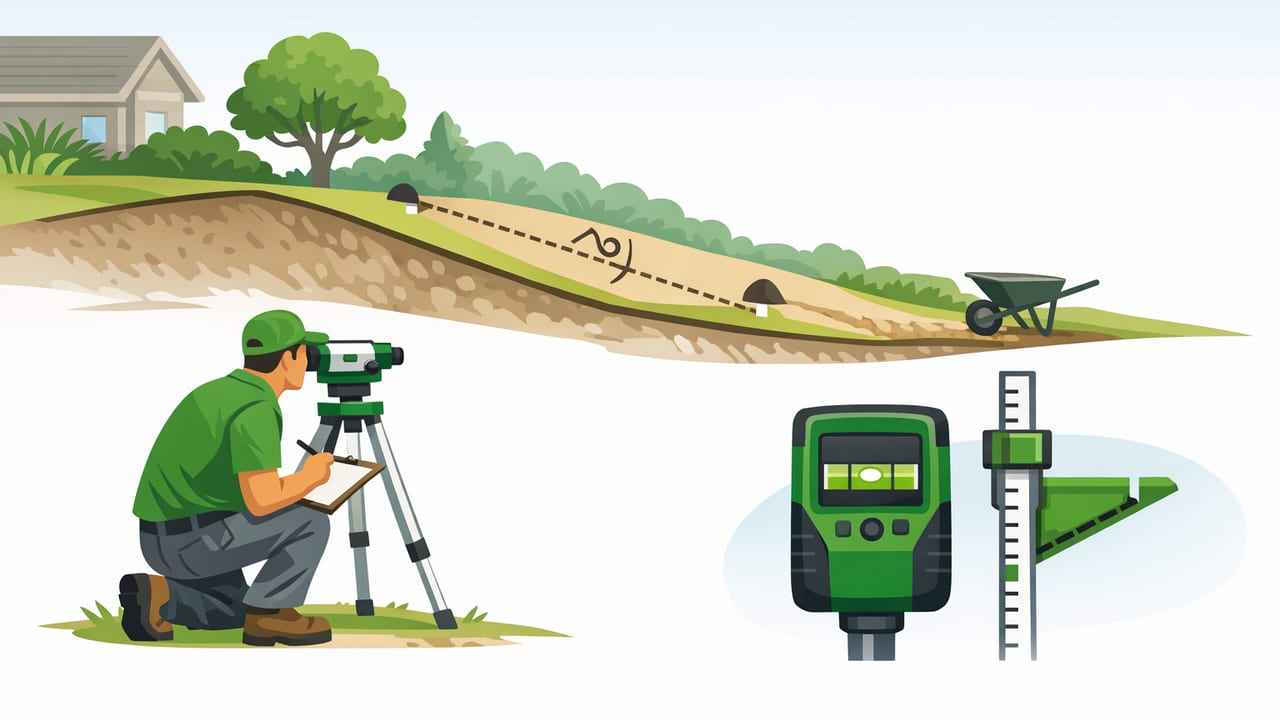
A fast, reliable site slope check is one of the highest-leverage tasks in landscaping. Slope dictates drainage, turf health, patio performance, erosion risk, and whether a finished job “feels” right underfoot. The challenge is that job sites are messy: uneven ground, soft soil, limited time, and changing plans. A phone-based inclinometer/bubble level workflow can help you verify grades quickly—especially when you need an offline solution and don’t want to carry extra tools for every walk-through.
This guide explains a practical quick site slope check for landscapers using an iPhone’s sensors, with clear target slopes, conversion references, and field-ready techniques you can repeat across lawns, beds, walkways, and hardscapes.
What “slope” means on a landscape site (and why quick checks matter)
Slope is the change in elevation over a horizontal distance. On landscape work, you’ll typically express it as:
- Percent grade (e.g., 2%): rise ÷ run × 100
- Ratio (e.g., 1:50): 1 unit of rise per 50 units of run
- Degrees (e.g., 1.15°): angle from level
Quick checks help you catch problems early, such as water shedding toward a foundation, a patio that ponds, or a swale that is too flat to move water. They also help you communicate with clients and crews using numbers instead of “it looks like it’s sloping.”
Common target slopes landscapers use (field rules of thumb)
Exact requirements vary by local code, soil type, and design intent, but these targets are widely used starting points:
- Away from buildings: often ~2% minimum in the first several feet (verify local requirements)
- Patios/hardscape drainage: commonly 1–2% to a drain line, edge, or designated outlet
- Walkways: often ~1–2% longitudinal slope for drainage; cross-slope depends on accessibility goals
- Swales: enough slope to move water consistently without erosion; too flat can lead to standing water
Note: If you’re working on an ADA-sensitive path or a permitting-driven job, confirm allowable running slope and cross-slope with the project spec or local authority.
A fast iPhone workflow: the “straightedge + inclinometer” method
The most repeatable way to measure ground slope with a phone is to use a straightedge (a short level, screed board, aluminum box tube, or a stiff 2×4) and measure the angle of that straight reference.
What you need
- iPhone with an inclinometer/level tool (works offline)
- A straightedge (2–6 ft is common on landscape sites)
- Optional: tape measure, stakes/flags, and a marker
Step-by-step: quick site slope check for landscapers
- Pick the line of drainage. Decide where you want water to go (away from the house, toward a swale, toward a drain inlet, etc.).
- Place the straightedge on the surface. Lay it in the direction of intended flow (longitudinal) or across the surface (cross-slope). Press down to seat it—especially on turf or loose soil.
- Set the phone on the straightedge. Use the same phone position each time (e.g., centered, camera bump off the edge) for consistent results.
- Read the angle or percent. If your app shows degrees, note it and convert (see table below). If it shows percent grade directly, even better.
- Spot-check multiple points. Take 3–5 readings along a run (top/middle/bottom) to catch dips and “birdbaths.”
- Mark highs/lows. Flag any spot that breaks your target (e.g., a patio corner that’s 0.2% when you want 1.5%).
Pro tip: On soft ground, a short straightedge can “bridge” small bumps and give a misleading reading. If you suspect that, take a second measurement with a longer board or check the same area in two directions.
Degrees, percent, and ratio: a quick conversion table
Landscapers often talk in percent grade, but many phone tools default to degrees. Use this table for fast field conversions:
| Degrees (°) | Percent Grade (%) | Approx. Ratio (Rise:Run) | Common Use |
|---|---|---|---|
| 0.5° | 0.87% | 1:115 | Very gentle drainage |
| 1.0° | 1.75% | 1:57 | Typical hardscape fall |
| 1.15° | 2.00% | 1:50 | Common “away from house” target |
| 2.0° | 3.49% | 1:29 | More assertive drainage |
| 5.0° | 8.75% | 1:11 | Steeper grades/erosion risk zone |
Handy formulas
- Percent grade = tan(degrees) × 100
- Degrees = arctan(percent/100)
If you ever need a quick calculation on a laptop during estimating, here’s a tiny snippet:
# Convert degrees to percent grade
import math

def deg_to_percent(deg):
    return math.tan(math.radians(deg)) * 100

print(deg_to_percent(1.15))  # ~2.0%
Fast checks for the most common landscape scenarios
1) Lawn drainage away from a foundation
Walk the first band of soil next to the house and take several readings pointed directly away from the wall. The goal is to ensure the average slope trends away with no localized reverse pitch. Pay attention to:
- Low spots at downspouts (often settle later)
- Edges near beds where mulch hides a dip
- Transitions at patios or steps
Field technique: Use a 4–6 ft straightedge so you’re measuring a meaningful run, not a single footprint depression.
2) Patio, pavers, and slab subgrade checks
Before base compaction is final, verify slope in two directions:
- Main fall direction (toward outlet): typically 1–2%
- Cross-slope: confirm you’re not accidentally creating a low “center pan”
Fast method: Place the straightedge where ponding would be most obvious (near doors, in corners, around columns). Small errors compound once you add bedding sand and pavers.
3) Swales and shallow channels
Swales fail when they’re too flat, discontinuous, or have an unintended hump. Do quick checks along the swale invert every few steps. If readings vary wildly, you may be measuring bumps rather than overall fall—switch to a longer straightedge and check “segment by segment.”
Rule of thumb: Prioritize continuous fall over a single perfect slope number. A consistent 1% that never reverses typically outperforms a swale that swings between 0% and 3% with dips.
4) Walkway cross-slope sanity check
For paths, the cross-slope is what people feel. Too steep and it’s uncomfortable; too flat and it holds water. Take readings across the walkway at multiple stations, especially where the subgrade transitions from cut to fill.
Accuracy tips: how to avoid “phone slope” mistakes on real job sites
Phone sensors are surprisingly capable, but field conditions can introduce error. These practices make your readings more trustworthy:
- Calibrate on a known flat surface (or at least a consistent reference) before critical checks.
- Use the same straightedge every time. A warped 2×4 creates fake slope changes.
- Keep the phone placement consistent. Changing where the phone sits can shift the reading if the board has twist.
- Take multiple readings and average. Especially on turf, one reading can land on a clump or divot.
- Watch for rocking. If the phone rocks on a board (camera bump, case edges), remove the case or shim with thin cardboard.
- Measure the right direction. Many drainage failures happen because someone measured the cross-slope but assumed it was the fall line.
When a quick slope check isn’t enough (and what to do)
There are times you should move beyond a quick inclinometer check:
- Long runs where a tiny percent error becomes inches over distance
- Permitted drainage work requiring documented elevations
- Complex surfaces (multi-plane patios, channel drains, accessible routes)
In those cases, a builder’s level, laser level, or a stringline with measured drop points may be more appropriate. A good workflow is to use the phone method for rapid diagnostics, then verify critical areas with higher-precision tools when needed.
A simple “two-minute check” you can teach a crew
If you want a repeatable habit that reduces callbacks, train this quick routine:
- At start of day: calibrate, then check one known reference board.
- Before final grading: take 5 slope readings away from structures and 5 across the main drainage path.
- Before leaving: re-check the “highest risk” spots: door thresholds, low corners, and swale outlets.
“Slope problems are rarely everywhere—they’re usually in two or three small areas that were hard to see.”
FAQ: quick slope questions landscapers ask
Is percent grade or degrees better?
Percent grade is easier for most drainage targets (1–2%). Degrees can be convenient if that’s what your tool displays. Either is fine as long as you convert consistently.
How long should my straightedge be?
For turf and rough grade, longer is usually better (4–6 ft) because it averages out small bumps. For tight hardscape details, 2–4 ft is often practical.
Can I measure slope directly on soil without a board?
You can, but results are less repeatable because the phone follows micro-contours. A board creates a stable reference and speeds up decision-making.
Final takeaway
A consistent, quick site slope check for landscapers comes down to three things: measure along the real drainage path, use a straightedge for repeatability, and confirm multiple points to catch hidden reversals. With those habits, an iPhone becomes a practical field tool for faster grading decisions—even when you’re offline.
If you prefer an all-in-one offline toolkit that includes a level/inclinometer alongside other jobsite measurement utilities, apps like Level Tool can keep everything in one place.
