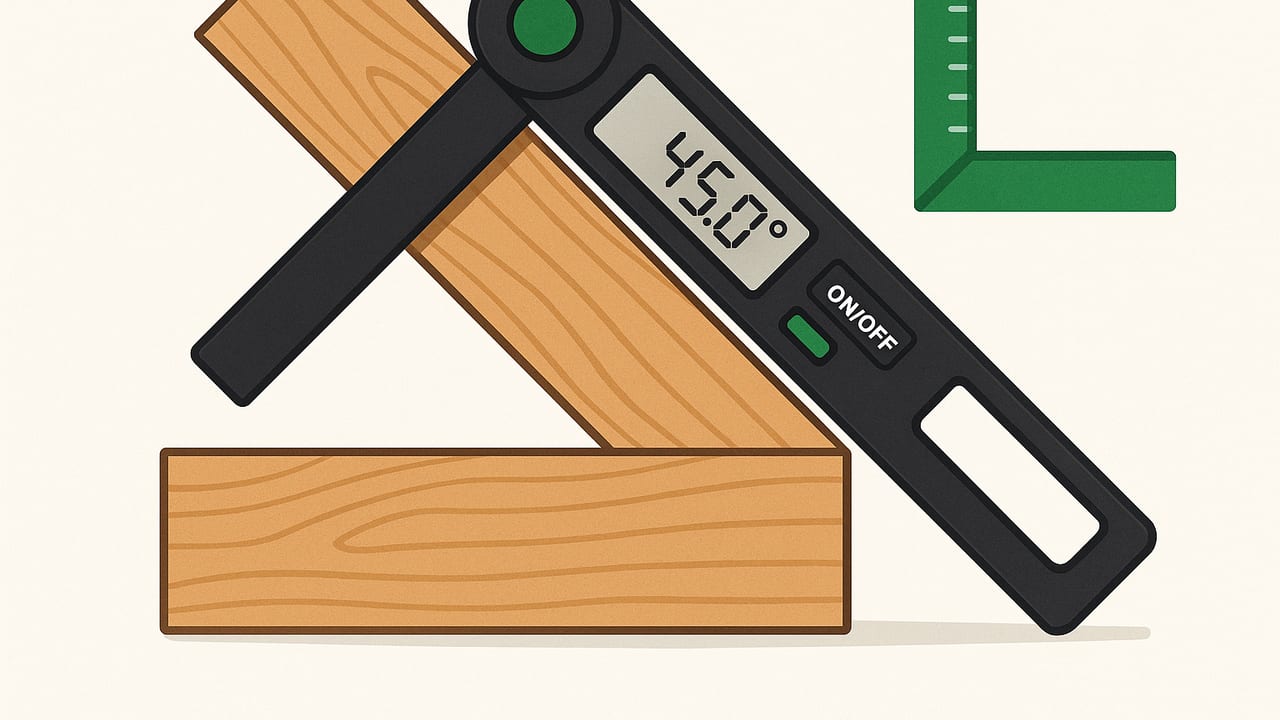
If your miters show hairline gaps or your bevels never quite close, the culprit is usually measurement, not the saw. A precise angle finder for woodworking joints isn’t just a convenience—it’s the difference between sanding away mistakes and pressing a joint together with a satisfying, seamless fit. This guide explains what “precise” really means in the shop, which tools to use, how to calibrate them, and step-by-step workflows that consistently deliver tight joints for trim, casework, frames, and more.
What “Precise” Means in the Woodshop
When woodworkers say an angle is “dead-on,” they usually mean within ±0.25° of the target. For many furniture and trim applications, ±0.1–0.2° is ideal. Consider how small errors stack:
- Measuring the corner angle: ±0.2°
- Bisecting the angle: ±0.1°
- Saw setting (miter or bevel): ±0.2°
- Cut execution (deflection, blade runout): ±0.1°
Those add up quickly. Control each step and your joints close with light clamping pressure, not force. Remember that wood moves with humidity and temperature; aim for an angle tolerance that suits your project’s species, thickness, and season.
Tools That Nail Angles—and When to Use Each
There’s no single best precise angle finder for woodworking joints. Choose based on the joint, access, and the surface you can reference. Here’s a practical comparison:
| Tool | Typical Accuracy | Best For | Advantages | Watch Outs |
|---|---|---|---|---|
| Sliding Bevel + Protractor | ±0.25° with good technique | Transfer angles, irregular corners | Simple, no batteries, fits tight spots | Blade play; reading parallax on protractor |
| Digital Angle Cube (inclinometer) | ±0.1° (quality units) | Setting miter/bevel on saws | Fast zeroing, repeatable, magnetic | Must zero to true reference; sensitive to vibration |
| Digital Protractor (folding arms) | ±0.2° | Measuring inside/outside angles | Direct angle readout, easy bisect | Bulky in cramped cabinetry; hinge slop if cheap |
| Phone Inclinometer/Level | ±0.1–0.3° after calibration | Quick checks, transfer to tools | Always with you, dual-axis readout | Case thickness, magnetism, and alignment matter |
| Combination/Speed Square | Exact for 45°/90°; others via marks | Reference, layout, and verification | Rugged, no batteries | Limited to preset or marked angles |
Calibration That Actually Matters
You won’t get precise results without a trustworthy reference. Build these quick habits:
- Establish a flat reference. Use your jointer/planer table, a granite surface plate, or a verified straightedge on sawhorses. Clean off dust—one chip can skew readings.
- Zero your digital tools. Place a digital angle cube or phone inclinometer on your reference surface and zero it before measuring or setting your saw.
- Do a 180° reversal test. Measure an angle, rotate the tool 180° in place, and measure again. The average should match the true value; differences reveal bias.
- Check bevel-gauge slop. Tighten the locking knob, then try to wiggle the blade. If there’s movement, shim the pivot or upgrade; even 0.2° of play ruins fine miters.
- Verify your saw. Confirm the blade is 90° to the table with a machinist square. Check miter scale pointer alignment with an accurate 45° reference. Correct the fence alignment to prevent deflection.
Field‑Proven Workflows for Tight Joints
1) Bisecting Irregular Corners for Trim and Frames
Real-world corners rarely measure exactly 90°. Here’s the reliable, no-guess method:
- Capture the corner: Use a folding digital protractor or a sliding bevel to match the inside corner angle.
- Read or calculate: If your tool reads the angle, divide by two. With a bevel gauge, lay it on a protractor or use an app to read it, then bisect. The miter setting equals half the corner angle.
- Set the saw: Zero your angle cube on the saw table, attach it to the miter gauge or blade, and dial in the miter to the bisected value.
- Test and tweak: Make two scrap cuts and bring them together in the actual corner. If there’s a gap on the inside, you need slightly more miter; if the gap’s outside, reduce it. Adjust in 0.1–0.2° increments.
This workflow is the foundation for a precise angle finder for woodworking joints in casing, baseboards, chair rails, and picture frames.
2) Setting a Miter Saw for Exact Casing Returns
Tiny returns expose tiny errors. Lock in your process:
- Square the blade: Set bevel to 0° with an angle cube; verify with a square.
- Dial the miter: Use the bisected angle. For a typical 92° corner, your miter is 46°.
- Support the work: Use a zero-clearance fence and backer to reduce tear-out and deflection.
- Cut long, sneak up: Take a whisper cut to confirm angle before cutting to final length.
3) Inside Angles in Casework and Cabinetry
For boxes, shelves, and carcases, angles hide inside the piece where bulky tools don’t fit.
- Use a slim digital protractor or a sliding bevel to capture the inside angle.
- Transfer to the table saw or shooting board. Shooting fine-tunes small deviations without resetting the saw.
- Label reference faces. Always register the same face against your fence to avoid cumulative error.
4) Compound Angles Without Tears
Stair skirts, crown, and splayed legs require compound cuts. You have two practical paths:
- Nest the work: When possible, hold moldings in their installed orientation on the saw. Then you only set a miter; the bevel stays at 0°. Record a physical stop so you can repeat the nesting angle.
- Lay flat with a calculator: When nesting isn’t possible, use a reliable compound-angle calculator with your spring angle and corner angle, then set miter and bevel from the outputs. Always verify with scrap—small roundings on the molding profile can change fit.
Regardless of method, test cuts in off-cuts save time and material.
Phone as a Precise Angle Finder: How to Get Accurate Results
Modern phones include accelerometers and gyroscopes that can measure tilt with surprising precision when handled correctly. To use your phone as a precise angle finder for woodworking joints:
- Remove the case if it prevents a flat, rigid bearing surface.
- Use a straightedge or magnetized reference block to bridge camera bumps and give the phone a stable footprint.
- Zero on the same reference you’ll use on the tool (saw table, fence, or workpiece face).
- Average readings: Take multiple readings and average them if the numbers flicker by 0.1–0.2°.
- Mind magnets: Magnets or steel near the phone can affect some sensors. Keep consistent placement.
Used this way, a phone inclinometer can often match a midrange digital angle cube for setting miter and bevel angles in the shop.
Error Control Checklist
- Reference face first: Joint and plane at least one face flat. Every measurement assumes a reliable reference.
- Blade condition: A dull or deflecting blade “walks” and changes the angle during the cut.
- Kerf support: Use a zero-clearance insert; unsupported fibers can spring back and mimic angle error.
- Clamp or hold-downs: Stock that lifts from the table changes the bevel. Secure it.
- Thermal drift: Digital tools can drift slightly with temperature. Re-zero after long runs.
- Reversal tests: Whenever possible, flip a gauge and confirm the reading matches.
Quick Math and a Handy Snippet
Most miter joints need the corner angle halved. For reference:
- Simple outside corner miter: Saw miter = corner angle / 2
- Complementary bevels: If one bevel is B, the other is 180° − B (for opposed faces)
If you like to keep a small calculator at hand, here’s a simple snippet you can run in a browser console to compute a bisected miter and an oversized test length.
// Input your measured corner angle (degrees) and desired overcut (mm)
function miterSettings(cornerDeg, overcutMM) {
  const miter = cornerDeg / 2; // simple miter
  // A simple suggestion for test piece length oversize
  return {
    miterDegrees: +miter.toFixed(2),
    testOvercut: overcutMM
  };
}

// Example: a 92° corner, 5 mm overcut for the test piece
miterSettings(92, 5);
// { miterDegrees: 46.00, testOvercut: 5 }
Use the test cut to confirm the angle before committing your final length.
Real-World Tolerances and Wood Movement
Even with a perfect precise angle finder for woodworking joints, wood swells and shrinks across the grain. Take these steps to keep joints tight over time:
- Break sharp arrises: A tiny chamfer hides minute seasonal changes and avoids crushed fibers on assembly.
- Choose the right glue: PVA gives you some slip time to align miters; slow-set epoxy can fill and hold gap-prone exotics.
- Balance construction: For frames, alternate growth ring orientation to reduce cupping stresses that open corners.
- Acclimate stock: Mill to near-final size, let it rest, then final cut and assemble in typical shop humidity.
FAQs
Are phone angle finders accurate enough for furniture-grade miters?
Yes—if you zero on a known reference, stabilize the phone on a flat bearing surface, and average readings. Expect ±0.1–0.3°. For ultra-tight work, verify with a test cut.
Should I measure the corner or set the saw by fitting scraps?
Do both. Measuring gets you close fast; test scraps reveal real-world variables like out-of-square walls or blade deflection. Adjust in tiny increments.
Inside vs. outside corners: does the technique change?
For inside corners, ensure your tool can reach fully into the corner (a slim bevel gauge helps). For outside corners on moldings, nesting the work on the saw often improves repeatability.
What’s the best way to transfer an angle to the workpiece?
Lock a sliding bevel to the measured angle, then trace the knife line. Set the saw with a digital cube to match, and keep the same reference face against the fence for all mating pieces.
Putting It All Together
Precision is a chain: flat reference, calibrated tool, careful transfer, controlled cut, and proof by test fit. Whether you favor a classic sliding bevel or a digital inclinometer, the best precise angle finder for woodworking joints is the one you use with a repeatable process. Adopt the reversal test, zero often, and refine with scrap. The payoff is immediate—gap-free miters, crisp bevels, and joints that draw together with a light squeeze.
On iPhone, a well-designed measurement app can turn your device into a capable inclinometer and level for daily shop use. One option is Level Tool, an offline iOS suite with dual-axis leveling and other measurement aids that make quick, accurate angle checks convenient in the shop or on-site.
Measure smart, cut once, and enjoy the satisfaction of joints that simply click together.
