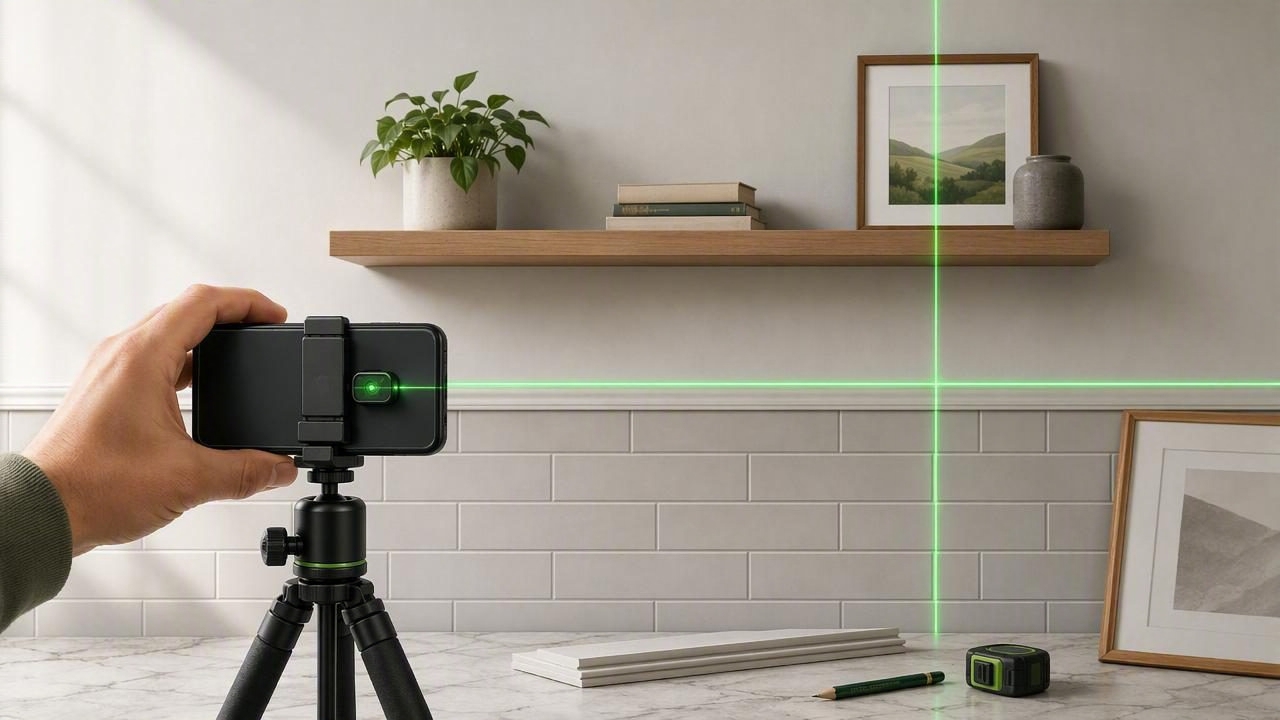
Getting a perfectly straight reference line is the difference between a “good enough” DIY result and a finish that looks professional. Traditionally, that meant hauling out a laser line level, snapping chalk lines, or stretching string across the wall. Today, many people are exploring phone laser projection for alignment—using an iPhone’s sensors and a projected line to create fast, repeatable layout references for home improvement tasks.
This guide explains how phone-based laser projection alignment workflows work, where they shine, where they don’t, and how to maximize accuracy for common projects like picture walls, shelves, backsplash tile, and trim.
What “phone laser projection for alignment” means (and what it doesn’t)
In practical terms, phone laser projection for alignment usually refers to an iPhone measurement workflow that:
- Uses the phone’s tilt sensors (accelerometer/gyroscope) to establish level or plumb orientation
- Creates a line reference you can align to (visually on-screen and/or as a projected line, depending on your tool)
- Helps you maintain a consistent line while you mark, place, drill, or install
It’s important to set expectations: a phone-based solution may not replace a dedicated construction laser for long distances or bright outdoor conditions. But for many indoor tasks—especially short runs and quick layout checks—it can be a surprisingly effective “always in your pocket” approach.
When a projected alignment line is genuinely useful
A projected line is valuable whenever you want to transfer a straight reference across multiple points without re-measuring each one. Common scenarios include:
1) Hanging multiple frames in a row
You can project a level line at the height of the frame tops (or centers), then mark all hook points consistently.
2) Installing floating shelves
A line reference helps you keep brackets level across studs—especially when the wall isn’t perfectly flat or when shelf lengths magnify small errors.
3) Aligning backsplash tile or a ledger board
A straight line is often used to set the first course. A projected line can speed up the process of confirming level before you commit to thinset.
4) Setting cabinet hardware
For repeated holes (pulls/knobs), alignment is everything. A consistent reference line reduces “creep” across a run of drawers.
5) Laying out trim, chair rail, or paneling lines
Even a small deviation becomes obvious across a wall. A clean reference keeps reveals consistent.
Phone vs. traditional methods: a realistic comparison
| Method | Best For | Pros | Cons |
|---|---|---|---|
| Chalk line | Long straight lines (floors/walls) | Fast, inexpensive, clear line | Messy, needs surface contact, can stain |
| String line | Simple layout, rough alignment | Cheap, works anywhere | Sags, needs anchor points, easy to bump |
| Laser line level | Professional interior/exterior layout | Bright, long range, very stable | Extra tool to carry, batteries, cost |
| Phone laser projection for alignment | Short runs, quick checks, indoor DIY | Always available, fast setup, sensor-based leveling | Visibility varies, depends on phone stability & calibration |
Accuracy basics: what affects your results
Most “why is my line off?” problems come down to setup—not the concept. Focus on these variables:
- Calibration: Sensor-based tools may drift slightly; periodic calibration helps.
- Reference surface: If you’re leveling off a surface that’s not flat (warped trim, textured wall), your baseline can be misleading.
- Stability: Holding a phone in your hand introduces micro-movements. A stable rest or tripod makes a big difference.
- Distance: Small angle errors grow with distance. The longer the line, the more careful you must be.
- Visibility: Bright ambient light and glossy paint can reduce perceived line clarity.
Rule of thumb: the farther you project, the more you should prioritize stability and verification (double-check with a physical level or measured marks).
Step-by-step: a dependable workflow for phone laser projection alignment
Use this process whether you’re aligning shelves, frames, or tile lines. The goal is to create a reference you trust before you drill or stick anything permanently.
Step 1: Choose the reference you actually want (top, center, or bottom)
Decide what you’re aligning: the top edge of frames, the centerline of hardware, or a ledger board height. Mark one “master point” lightly with pencil.
Step 2: Stabilize the phone
For best results, avoid hand-holding. Options:
- Lean the phone against a solid object (book, block of wood) on a stable surface
- Use a small tripod or clamp
- If you must hand-hold, brace your elbows against your torso
Step 3: Calibrate (quick field method)
If your tool supports calibration, do it. If not, use a quick sanity check:
- Find a known level surface (a quality spirit level on a countertop is good).
- Check the reading.
- Rotate the phone 180° on the same surface and check again.
If the readings don’t match closely, rely more heavily on measured marks (Step 6) and shorten the projection distance.
Step 4: Set the line at your master point
Adjust until the projected/visual line passes through your master point. If you’re aligning multiple objects, don’t chase the wall; chase the reference line.
Step 5: Mark multiple points along the line (don’t trust one mark)
Make at least two marks (preferably three) along the reference. This reduces the impact of a brief wobble. If you’re drilling, mark both ends of the bracket run.
Step 6: Verify with a measurement check
Even if your line looks perfect, verify with numbers:
- Measure from the floor (or countertop) to each mark to confirm equal height
- Or measure down from a ceiling line if that’s your reference
Step 7: Commit only after the “dry fit” looks right
Hold the shelf/frame/ledger board up to your marks. Step back. If the room has out-of-level floors or ceilings, you may choose a visually “best” alignment rather than mathematically level.
Pro tips for common projects
Aligning a gallery wall (frames)
- Use centers, not edges: frames vary; aligning centers often looks more intentional.
- Make a paper template: trace each frame and mark the hanger point; align templates to the projected line.
- Work outward: place the central frame first, then add symmetrical spacing.
Floating shelves
- Find studs first: line alignment doesn’t help if anchors aren’t solid.
- Mark bracket holes on the line: don’t eyeball hole heights.
- Check for twist: dual-axis leveling (left-right and forward-back) helps prevent a shelf that looks level but tilts toward you.
Backsplash tile / ledger board
- Respect the countertop: countertops can be out of level. Decide if you’re aligning to the counter (consistent grout gap) or to true level (clean sight line).
- Mark a “no regrets” line: ensure your first row won’t create tiny slivers at the top.
How to estimate error over distance (so you know when to re-check)
If your alignment tool is off by a small angle, the vertical error increases with distance. A simple approximation for small angles:
// Approximate vertical error from a small angle error
// distance = horizontal distance in the same unit you want the result (e.g., inches or cm)
// degrees  = angle error in degrees

double radians = degrees * M_PI / 180.0;
double error = tan(radians) * distance;
Example: if you’re off by just 0.2° over 80 inches, the error is about tan(0.2°) × 80 ≈ 0.28 inches—more than enough to look “wrong” on a long shelf run. That’s why stability and verification matter more as distances grow.
Safety notes and practical constraints
- Eye safety: Never stare into any laser source or aim it toward eyes, even low-power devices.
- Reflective surfaces: Mirrors, glossy tile, and glass can bounce light unpredictably—reposition as needed.
- Battery & heat: Long sessions at high brightness can heat the phone and reduce battery; take breaks for large projects.
- Offline reliability: For basements, garages, cabins, and job sites, offline tools reduce friction—no signal required.
Troubleshooting: why your projected line doesn’t match reality
The line looks level, but my shelf isn’t
- Check that the bracket holes were marked on the line (not the bracket edge).
- Confirm the shelf itself isn’t warped.
- Verify the wall surface: bowed drywall can twist brackets.
The line “moves” when I step back
- Stabilize the phone; don’t hold it.
- Reduce distance and create closer reference marks.
- Recalibrate and re-check with a physical level.
The line is hard to see
- Dim overhead lights temporarily.
- Use painter’s tape where the line hits; it increases contrast for pencil marks.
- Shorten projection distance or reposition to reduce glare.
A quick checklist before you drill
- Did I pick the correct reference (top/center/bottom)?
- Is the phone stable (not hand-held)?
- Did I mark at least two points on the reference line?
- Did I verify mark heights with a tape measure?
- Did I dry-fit and step back to confirm it looks right in the room?
Wrapping up
Phone laser projection for alignment is most useful when you need a fast, repeatable straight reference for indoor layout—without dragging extra tools into every small job. Pair it with a stability setup, multiple marks, and a quick measurement verification, and you can get clean results on shelves, frames, tile lines, and hardware runs.
If you’re looking for an offline iOS toolkit that combines leveling and projection-style alignment features with other measurement utilities in one place, you can explore Level Tool as a starting point.
