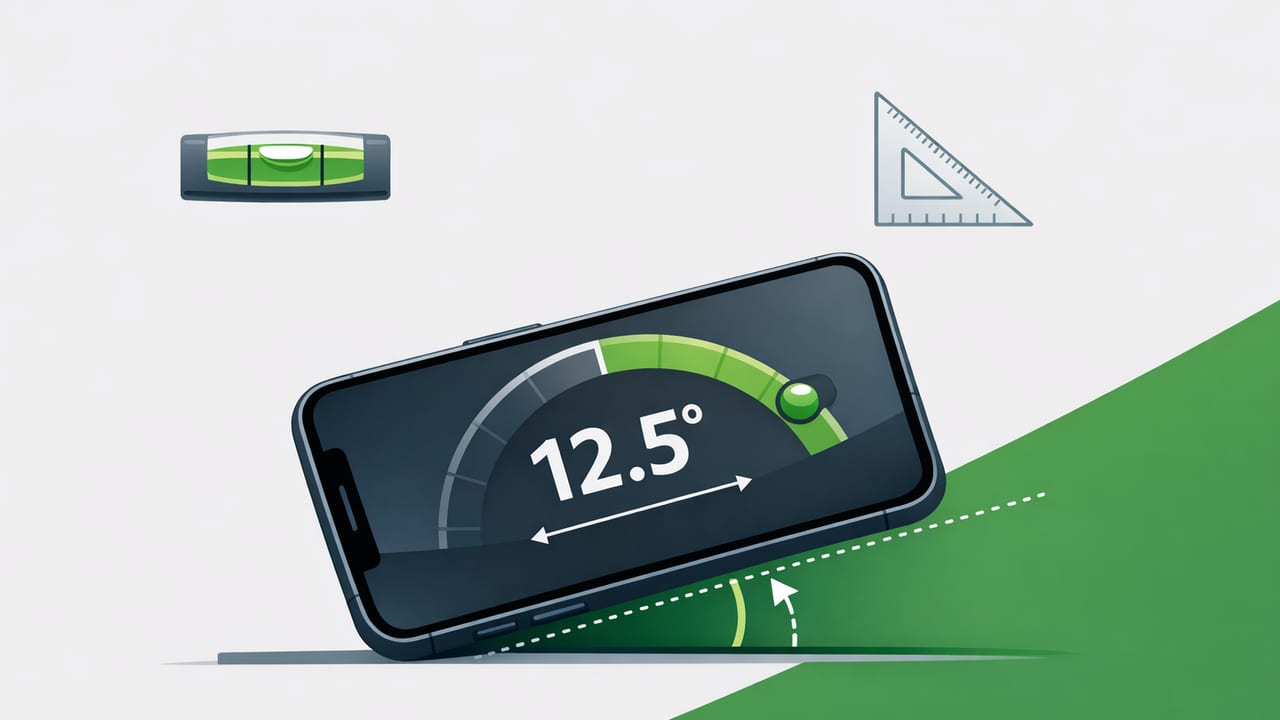
A phone inclinometer turns your iPhone into a practical angle-and-slope meter using the device’s built-in motion sensors. Whether you’re checking if a shelf is truly level, matching an existing roof pitch, setting a wheelchair ramp slope, or confirming a trail grade before a hike, an inclinometer app can provide fast readings without carrying extra tools.
This guide explains how a phone inclinometer works, what affects accuracy, how to calibrate and verify your results, and how to interpret angle units (degrees, percent grade, and ratio). You’ll also find step-by-step workflows for common DIY and field scenarios.
What is a phone inclinometer (and what can it measure)?
An inclinometer measures tilt relative to gravity. On a phone, that usually means:
- Angle in degrees (°) — e.g., 5° tilt from level.
- Percent grade (%) — used for slopes like ramps and driveways.
- Rise:run ratio — common in construction and drainage planning.
- Pitch — often described as “X in 12” for roofs (a form of ratio).
Most inclinometer tools also provide two common viewing modes:
- Level mode: measures tilt from horizontal (0° is level).
- Plumb mode: measures tilt from vertical (0° is straight up/down).
How an iPhone inclinometer works (in plain language)
Your iPhone estimates orientation using a sensor package that typically includes an accelerometer and gyroscope. For a phone inclinometer reading, the key idea is simple:
The phone detects the direction of gravity and compares it to the phone’s body axes to calculate tilt.
In steady conditions, the accelerometer’s gravity vector is very reliable. In motion, vibrations and acceleration can temporarily distort readings—one reason why “hold still for a second” improves accuracy.
Accuracy: what to expect from a phone inclinometer
On a stable surface, a modern iPhone can provide surprisingly good inclinometer results—often within a few tenths of a degree in practical use. But accuracy depends on your workflow and conditions.
Common sources of error
- Uncalibrated reference: a slight sensor bias can shift zero.
- Case thickness or camera bump: the phone may rock instead of sitting flat.
- Surface imperfections: textured tile, warped boards, or debris can skew readings.
- Hand movement: small wrist motions look like angle changes.
- Vibration: power tools, engines, and footsteps can add noise.
- Magnetic interference: not usually an inclinometer issue, but can confuse workflows when users also rely on compass headings.
When to use a dedicated inclinometer instead
A phone inclinometer is ideal for quick checks and many DIY tasks. Consider a dedicated tool when:
- You need certified readings for compliance or inspection.
- You’re working on critical alignment (e.g., industrial machinery).
- You must measure long spans where tiny angular errors become large height errors.
- You’re in extreme environments (constant vibration, heavy dust, wet gloves, etc.).
Calibrate your phone inclinometer (fast, reliable method)
Calibration is the difference between “pretty close” and “trustworthy.” Use this quick method whenever you change cases, switch apps, or start a precision task.
Step-by-step calibration workflow
- Pick a stable reference surface: a countertop, thick glass, or a verified level board.
- Clean contact points: remove grit that could rock the phone.
- Let the phone settle: place it down and wait 2–3 seconds.
- Zero the reading: use the app’s calibration/zero button if available.
- Flip test: rotate the phone 180° on the same spot (end-for-end) and compare.
How to interpret the flip test: if the surface is truly level and your phone is consistent, the readings should match closely (often within ~0.2°–0.5° depending on setup). If one side reads +0.6° and the flipped position reads +0.1°, your contact points are probably uneven or the phone is rocking.
Pro tip: use a spacer to clear the camera bump
If your phone doesn’t sit flat due to the camera bump, place a thin, rigid spacer (like a metal ruler edge or a straight strip of plastic) under the phone so it rests on a single plane. Repeat the flip test.
Degrees vs percent grade vs ratio (and how to convert)
A phone inclinometer often lets you switch units. Here’s what they mean and when to use them.
| Unit | What it expresses | Common uses | Quick note |
|---|---|---|---|
| Degrees (°) | Angle from level (or from plumb) | General angle setting, pitch matching | Intuitive for alignment tasks |
| Percent grade (%) | (Rise ÷ Run) × 100 | Ramps, driveways, drainage slopes | 100% grade = 45° |
| Ratio (rise:run) | Rise per unit run | Construction layout, roof pitch | Often expressed as “X in 12” for roofs |
Conversions are straightforward:
- Percent grade = tan(degrees) × 100
- Degrees = arctan(percent/100)
- Rise = run × tan(degrees)
If you ever need to convert inclinometer readings in a pinch, here’s a tiny calculator example:
// Convert degrees to percent grade
function percentGrade(deg) {
  return Math.tan(deg * Math.PI / 180) * 100;
}

// Convert percent grade to degrees
function degreesFromPercent(pct) {
  return Math.atan(pct / 100) * 180 / Math.PI;
}
Practical DIY uses for a phone inclinometer
1) Set a slight countertop or shelf tilt (intentional drainage)
Some surfaces (like outdoor counters, shower sills, or window sills) are intentionally pitched so water drains away. A phone inclinometer helps you confirm consistency along the length.
- Calibrate on a stable reference.
- Place the phone on a straightedge (ruler or level) laid along the surface.
- Check multiple points and average the readings.
Tip: Measuring directly on rough material can introduce error. A straightedge bridges small dips and bumps.
2) Check ramp slope using percent grade
For ramps (mobility access, loading, garden paths), percent grade is often easier to interpret than degrees.
- Switch the inclinometer to % grade if available.
- Place the phone on a board aligned with the ramp direction.
- Record the grade at the steepest section.
If you only have degrees, convert using the formula above. Even if you don’t need strict compliance, percent grade helps compare “steepness” across areas quickly.
3) Match an existing angle (copying a bevel or cut)
When you need to replicate an angle—like a stair stringer detail, a handrail, or a trim piece—the fastest workflow is “measure and lock in.”
- Measure the existing surface angle with your phone inclinometer.
- Adjust your saw guide, miter gauge, or bevel gauge until it matches.
- Re-check after tightening clamps (tightening can shift settings).
Accuracy tip: Always measure against a clean, flat section of the surface. Paint drips, rounded edges, or textured finishes can change the contact angle.
4) Confirm drainage slope on patios and hardscape
Drainage issues often come from small errors spread across a long run. A phone inclinometer helps you identify sections that slope the wrong way.
- Use a long straight board (6–8 ft if possible) as a reference plane.
- Measure slope at multiple locations and map the results.
- Look for “flat spots” and reversals (negative slope).
For troubleshooting, write readings on painter’s tape placed on the surface. Patterns become obvious.
5) Outdoor navigation: estimate climb steepness and manage effort
Even without maps, a phone inclinometer can provide a quick sense of steepness on a trail, embankment, or scramble route. While this won’t replace route planning, it can help you avoid committing to a slope that’s beyond your comfort.
Safety note: Don’t stand on unstable terrain while looking at your screen. Step to a safe spot, take the reading, then move.
Best practices for repeatable, trustworthy readings
- Use a reference edge: place the phone on a straightedge for uneven materials.
- Measure twice, rotate once: take a reading, rotate the phone 180°, and compare.
- Avoid measuring in your hand for precision: set the phone down.
- Let the value settle: wait a second for sensor filtering.
- Record units: degrees and percent are not interchangeable at a glance.
- Know your “good enough”: for many DIY tasks, ±0.5° is plenty; for fine alignment, you may need tighter control.
Troubleshooting: common inclinometer problems and fixes
Problem: readings drift or jump
- Cause: vibration, hand movement, or the phone rocking.
- Fix: set the phone on a stable surface; use a straightedge; wait for stabilization.
Problem: “level” doesn’t read 0° on a surface you trust
- Cause: needs calibration, or the surface isn’t actually level.
- Fix: recalibrate; perform the flip test; verify with another reference.
Problem: different apps show slightly different angles
- Cause: different filtering, rounding, axis selection, or calibration handling.
- Fix: stick to one app for a project, calibrate it, and validate with a simple flip test.
Quick checklist: a reliable phone inclinometer workflow
- Calibrate (and flip test).
- Measure using a straightedge when possible.
- Take at least two readings at each location.
- Use the right unit (° vs % vs ratio).
- Document readings if you’ll adjust later.
Final thoughts
A phone inclinometer is one of the most useful “always in your pocket” measurement tools—especially for quick slope checks, angle matching, and DIY layout. With basic calibration and a repeatable method (stable placement, straightedge support, and a flip test), you can get results that are consistent enough for a wide range of home improvement and outdoor tasks.
If you prefer an offline iOS measurement toolkit that includes an inclinometer alongside other tools (like a level, ruler, compass, and more), you can explore Level Tool as one option.
