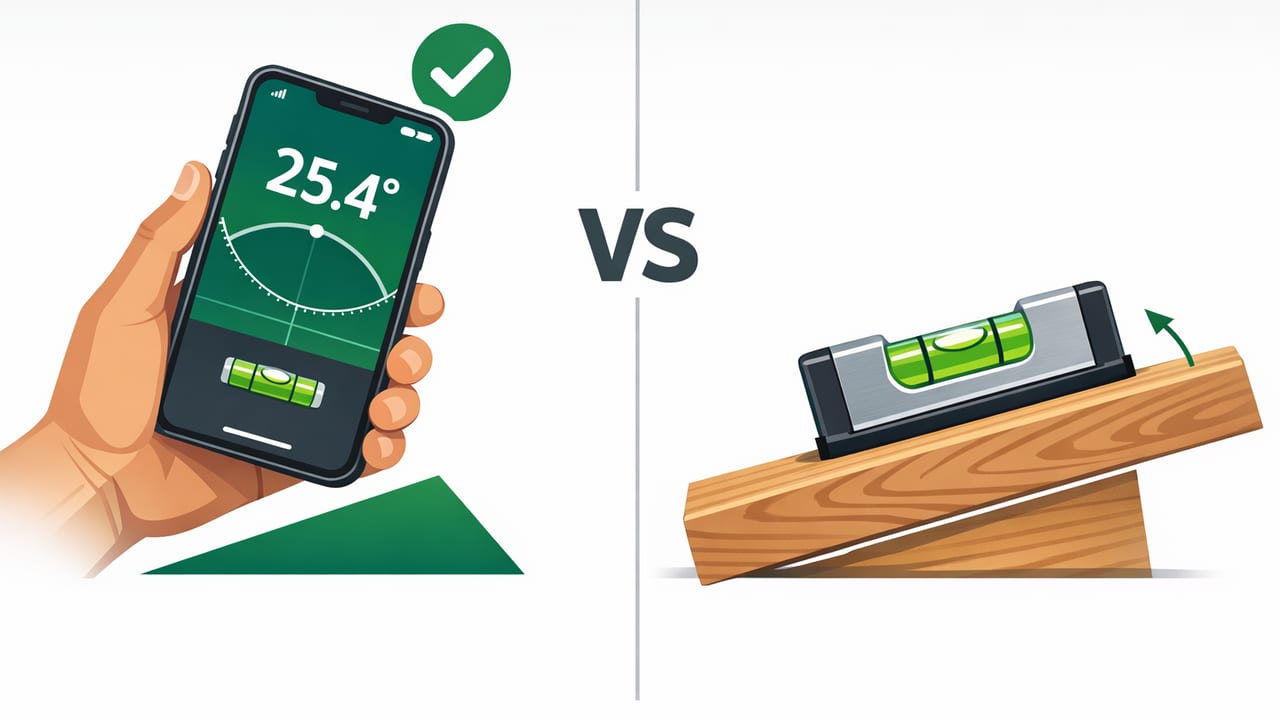
If you’re deciding whether to trust a phone angle gauge (inclinometer app) or reach for a hardware bubble level, you’re asking the right question. Both tools can produce excellent results in DIY and professional work—but they fail in different ways, excel in different scenarios, and require different habits to stay accurate.
This guide will compare phone angle gauge versus hardware bubble level across accuracy, repeatability, calibration, edge cases, and real-world jobs like hanging cabinets, setting slopes, and checking plumb. You’ll also get a simple at-home test to quantify which tool is more reliable in your hands.
What each tool actually measures (and what it doesn’t)
Hardware bubble level
A bubble level is a sealed vial filled with liquid, leaving an air bubble that moves to the high point. You’re reading gravity relative to the vial. Most common levels give you:
- Level (0° on a horizontal surface)
- Plumb (90° on a vertical surface)
- Sometimes 45° or additional vials
What a bubble level does not do well is report an exact angle like 1.3° or 2.0° unless it’s a specialized digital or pitch-marked level.
Phone angle gauge (inclinometer)
A phone angle gauge uses your iPhone’s sensors (primarily accelerometers and gyroscopes) to estimate the phone’s orientation relative to gravity and sometimes relative to magnetic north. In practice, you can read:
- Angle in degrees (e.g., 1.5°)
- Pitch/roll on two axes (depending on app and mode)
- Often slope in % grade or rise/run (app-dependent)
A phone can be exceptionally good for small slopes and repeatable angle checks, especially when you need numeric precision rather than “bubble centered.”
Accuracy vs precision: the real comparison
When people ask “which is more accurate,” they usually mean a mix of:
- Accuracy: how close the reading is to the true angle.
- Precision (repeatability): whether it gives the same reading each time you check the same surface.
A hardware bubble level can be very accurate if it’s a quality tool and not damaged. A phone angle gauge can be very precise in the short term—especially on stable, flat contact surfaces—but accuracy depends heavily on calibration and how the phone is physically placed.
Side-by-side comparison table
| Factor | Phone Angle Gauge (iPhone) | Hardware Bubble Level |
|---|---|---|
| Best output | Numeric degrees, slope, dual-axis readouts | Fast visual “level/plumb” confirmation |
| Typical real-world accuracy | Good to very good when calibrated and placed well; errors often come from contact/placement | Very good if the vial is true; errors often come from tool wear/drops |
| Repeatability | High on the same surface with consistent placement | High if the vial and frame are stable |
| Setup speed | Fast, but needs a stable flat contact and sometimes calibration | Fastest for quick checks |
| Edge cases | Phone cases, camera bumps, curved surfaces, magnetic interference (if using compass mode) | Warped frame, damaged vial, short level on long spans |
| Best jobs | Setting slopes, verifying consistent angles, dual-axis leveling, documenting readings | Framing checks, quick plumb/level verification, long-span straightness checks |
The biggest source of error: contact geometry
In a compare phone angle gauge versus hardware bubble level discussion, the most overlooked issue is how each tool touches the work.
Phone angle gauge pitfalls
- Phone case thickness: soft cases can rock slightly or compress unevenly.
- Camera bump wobble: many phones don’t sit flat on their back.
- Short base length: a phone is a short “level.” Over a long span, small surface irregularities can skew the reading.
- Curved/rounded materials: pipe, crown molding, or rounded edges make repeatable placement hard.
Mitigation: place the phone on a flat reference (a straight board, metal square, or a known-flat shelf), remove or rigidly brace the case if needed, and use the same phone edge each time.
Hardware bubble level pitfalls
- Tool warp: cheaper levels can twist or bow, especially longer ones.
- Drop damage: a hard drop can shift the vial alignment.
- Reading parallax: viewing angle can make the bubble look centered when it isn’t.
Mitigation: do periodic “flip tests” (explained below), store carefully, and use a longer level when surface span matters.
A simple field test to see which is more trustworthy
You can test both tools in 10–15 minutes using one flat surface (a countertop, a sturdy shelf, or a straight board you trust).
- Pick a reference surface you can mark with painter’s tape.
- Measure with the bubble level: place it, read it, then flip it 180° end-to-end in the exact same spot and read again.
- Interpretation: if the readings disagree, the level may be out of true or the surface is irregular. On a perfect surface with a perfect level, both readings match.
- Measure with the phone angle gauge: place the phone in the marked position, note the angle, then rotate the phone 180° (same edge, reversed direction) and measure again.
- Compare the spread: the tool with the tighter agreement between “normal” and “flipped” readings is more repeatable on that surface.
This test focuses on repeatability, which is often more valuable than theoretical accuracy in day-to-day DIY. If a tool repeats reliably, you can make consistent adjustments even if there’s a small offset.
Calibration: the tie-breaker for phone angle gauges
Hardware bubble levels are “calibrated” by design (and by manufacturing quality). Phone angle gauges typically include a calibration step, which can dramatically improve results.
Best practice: calibrate to the surface you’re using
If your goal is to set a relative angle (for example, matching two cabinet runs), calibrate the phone on a known reference plane first—like the top of a cabinet carcass or a straight board you’ve already verified. This reduces the impact of tiny device offsets.
Watch for temperature and handling changes
Phone sensors are stable, but quick handling and vibration can cause temporary drift in some apps. Let the reading settle for a second, and take multiple readings if you’re chasing tight tolerances.
When the bubble level wins
Use a hardware bubble level when:
- You need long-span truth: leveling a long countertop, framing walls, or checking joists.
- The surface is rough or uneven: concrete, textured lumber, or surfaces where a phone can’t sit stably.
- You want instant pass/fail: “Is it plumb?” is often faster with a vial.
- Jobsite durability matters: a level is designed to get dusty, bumped, and used with gloves.
When the phone angle gauge wins
Use a phone angle gauge when:
- You need a specific slope: shower pans, drainage pitch, ramps, or driveway approaches.
- You’re matching an existing angle: setting saw bevels, duplicating trim angles, aligning handrails.
- You want documented numbers: record “2.0°” rather than “looks centered.”
- You want dual-axis leveling: quickly see pitch and roll without moving the tool.
Practical examples (DIY and pro)
Example 1: Setting drainage slope
For many drainage situations, you might aim for something like 1–2% grade depending on the application. A bubble level can help if it has grade markings (many don’t). A phone angle gauge makes this easier because it can show degrees or percent.
Helpful conversion: % grade ≈ tan(θ) × 100. For small angles, tan(θ) is close to θ in radians, but it’s better to calculate when you need accuracy.
Example 2: Hanging cabinets (level vs consistent)
Cabinet installs often require balancing true level with consistent reveals. If your floor is out of level, you may choose to keep the cabinet run level and adjust fillers—or you may intentionally match an existing reference line. A phone angle gauge is excellent for ensuring the run stays at a consistent angle across multiple checks, while a long bubble level is excellent for making sure the overall run isn’t slowly drifting.
Example 3: Setting a miter saw bevel
A bubble level isn’t built to read 31.6° or 33.9°. A phone angle gauge can read the saw table as 0.0°, then read the blade tilt relative to that plane. This is one of the clearest “phone wins” scenarios—provided you have a solid, repeatable way to place the phone against the blade (often with a flat reference or jig).
Mini “toolbox math” snippet: degrees to rise/run
If you measure an angle with your phone and need the rise over a certain run (common in ramps, slopes, and drainage), you can compute it quickly.
// Given an angle in degrees and a horizontal run length (same units as desired output)
// rise = tan(angle) * run

function riseFromAngle(angleDeg, run) {
  const angleRad = angleDeg * Math.PI / 180;
  return Math.tan(angleRad) * run;
}

// Example: angle = 1.5°, run = 96 inches (8 feet)
// rise ≈ 2.51 inches
This is where numeric angle tools shine: you can translate readings into actionable layout numbers.
Decision checklist: which should you grab first?
- If you’re spanning more than ~4 feet, start with a longer bubble level (or straightedge + phone for numeric slope).
- If the surface can’t support stable phone placement, use a bubble level.
- If you need a specific degree/slope, use a phone angle gauge.
- If you suspect your level is damaged, run the flip test; if it fails, don’t trust it until replaced or verified.
- If your phone readings seem inconsistent, remove wobble sources (case/camera bump), recalibrate, and re-test.
Bottom line: the best workflow uses both
The most reliable setup isn’t “phone vs level.” It’s a long, stable reference for truth—and a numeric angle gauge for precision adjustments.
In a straight comparison, a good hardware bubble level often wins on ruggedness and long-span checks, while a phone angle gauge often wins on numeric slope work and repeatable angle matching. If you can only carry one tool, pick based on the jobs you do most. If you can carry both, you’ll cover nearly every leveling scenario with more confidence.
Note: If you prefer an offline iOS measurement toolkit that includes an inclinometer/level among other tools, apps like Level Tool are designed to use device sensors without subscriptions—handy when you’re working in basements, cabins, or job sites with limited connectivity.
