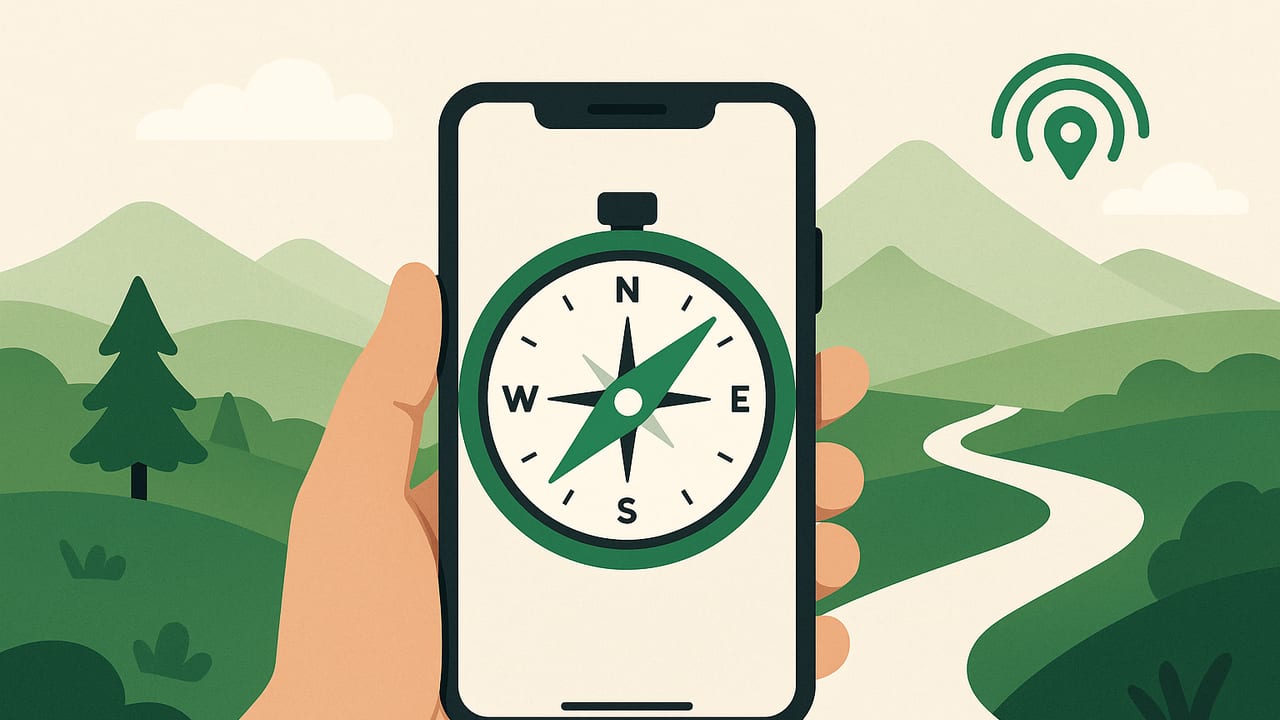
If you’ve ever wondered whether you can rely on your phone for direction-finding in the backcountry, the answer is yes—with the right skills and setup. This guide teaches you outdoor navigation on a cell phone compass, showing how to calibrate for accuracy, apply declination, take reliable bearings, and integrate GPS and maps while staying safe and conserving battery.
How a Phone Compass Works (and What It Can—and Can’t—Do)
Your cell phone’s compass is powered by a magnetometer that measures Earth’s magnetic field along three axes. Combined with the gyroscope and accelerometer, it calculates the device’s heading relative to magnetic north. Many apps also compute true north by applying a declination value based on your location.
Strengths of a phone compass include quick headings, easy integration with GPS and maps, logging, and night use with a dim screen. Limits include susceptibility to magnetic interference, occasional calibration drift, and dependence on software and battery life. With a few best practices, a phone can be a precise navigation instrument, especially when paired with traditional techniques.
Prepare Your Phone for Field Accuracy
1) Calibrate the Compass
Calibration aligns the magnetometer and motion sensors. Different apps prompt different motions, but a reliable routine is a slow figure-eight and full 360° rotations around each axis. Calibrate:
- Before leaving the trailhead
- After a long drive (cars are big magnets)
- Any time readings feel inconsistent
Keep metal, magnetic snaps, and power banks away from the phone during calibration.
2) Set Magnetic Declination
Declination is the angle between magnetic north and true north. It varies by location and slowly changes over time. Most navigation apps can set declination automatically using your location or let you enter it manually. Verify against a reliable source such as NOAA/NCEI or Natural Resources Canada before your trip. If your app only shows magnetic headings, you must convert to true north when working with maps drawn to true.
3) Download Offline Maps and Waypoints
Before heading out of coverage, download topographic tiles and cache routes, trailheads, and emergency egress points. While the phone’s GPS works offline, map tiles do not display unless previously saved.
4) Battery and Protection
- Enable airplane mode but keep GPS active if your app supports it.
- Lower screen brightness; use dark mode if available.
- Carry a small power bank; keep the phone warm to preserve battery in cold weather.
- Use a weatherproof case and a lanyard.
Magnetic vs. True North: Quick Conversions
Use true north for map work, magnetic for a basic raw heading. If your app doesn’t convert automatically, apply declination yourself:
// East declination is positive; West is negative.
true_heading = magnetic_heading + declination
magnetic_heading = true_heading - declination
// Normalize to 0–359°
if (heading < 0) heading += 360
if (heading >= 360) heading -= 360
Example: If your magnetic heading is 270° and declination is +9° (east), true heading = 279°.
Taking Reliable Bearings with a Cell Phone Compass
A bearing is a direction described in degrees clockwise from north (0–359°). Here’s how to take one with a phone:
- Hold the phone flat or as directed by the app, with the top edge pointing toward your target.
- Stand away from metal objects: vehicles, fence lines, stoves, trekking pole tips, and power banks.
- Lock the bearing in the app if available, or note the number and description of the target.
- Confirm the bearing twice from slightly different stances to reduce local interference errors.
To follow a bearing, sight along a visible landmark (tree, boulder, saddle), walk to it, and repeat. This leapfrogging method keeps your travel straight even on uneven terrain.
From Map to Ground: A Field Workflow
Use this workflow for outdoor navigation on a cell phone compass when working with offline maps:
- Orient your map to north. If your app supports true north, enable it. Otherwise, set your map align mode to magnetic and remember to factor in declination if needed.
- Identify your position. Use GPS for a fix, or estimate from known features (trail junction, stream bend).
- Choose your destination feature. Summit, saddle, or waypoint.
- Measure the bearing. Many apps let you drop a pin and read a bearing line. Alternatively, read the angle with the phone compass and convert for declination if necessary.
- Plan a handrail and backstop. Handrails are linear features like ridgelines or streams that keep you aligned; backstops are boundaries you shouldn’t cross (road, river, cliffband).
- Follow the bearing. Walk landmark-to-landmark, checking the map at decision points.
- Confirm progress. Cross-check elevation (barometer), time, pace count, and terrain features against the map.
Pro tip: Use the phone’s barometer (if equipped) to verify elevation at key contours. Elevation confirmation reduces reliance on a single sensor and improves your positional certainty.
Triangulation and Resection with a Phone
Two- or Three-Bearing Triangulation
When you can see distinct landmarks (e.g., summits, towers), you can fix your position without GPS:
- Take a true bearing to Landmark A and Landmark B (and C, if possible), spacing them 30–120° apart.
- Plot back-bearings on your map: bearing + 180° (normalize to 0–359°).
- Where the lines intersect is your position; the triangle formed by three lines is your error area.
With a phone, you can drop lines directly if your app supports plotting bearings; otherwise, transcribe the angles onto a paper map with a protractor overlay.
Single-Feature Resection (Offset)
If you’re on a mapped linear feature (trail, stream, ridge), take a bearing to a single identifiable landmark. Draw a back-bearing on the map; your location is where that line crosses your known linear feature. This is faster than full triangulation and often sufficient on-trail.
Integrating GPS the Right Way
GPS gives you a precise coordinate, while the compass gives you direction. Use them together:
- Navigate to a coordinate: Paste a waypoint (DD.ddddd, DMS, or UTM). Verify the format before entering.
- Course correction: If your track drifts, check the compass bearing to the next waypoint and compare to your actual course over ground.
- Low-visibility travel: In fog or after dark, shorten your leapfrog distance and increase bearing checks.
Common coordinate formats you might see:
// Decimal degrees
37.73952, -119.57498

// Degrees, minutes, seconds
37°44'22.3" N, 119°34'29.9" W

// UTM (WGS84)
11S 295123 4180933
Common Errors and How to Avoid Them
- Magnetic interference: Keep metal and magnets away. Step a few paces from vehicles and steel structures before reading the compass.
- Hold angle error: Keep the phone level or follow the app’s tilt guidance. Some apps show a tilt indicator—use it.
- Declination mistakes: Double-check whether your app is showing true or magnetic headings. Label your notes accordingly.
- Multipath GPS error: In canyons or heavy canopy, trust terrain association and bearings as much as the GPS track.
- Battery drain: Screen and radios are the big draws. Airplane mode + GPS, reduced brightness, and periodic check-ins extend runtime.
Phone Compass vs. Baseplate Compass vs. Handheld GPS
| Tool | Strengths | Limits | Best Use |
|---|---|---|---|
| Cell phone compass | Fast bearings, integrates with maps/GPS, night-readable, offline capable | Sensor drift, magnetic interference, battery dependence | General hiking, route checks, hybrid nav with offline maps |
| Baseplate compass | No battery, predictable errors, great for plotting | Requires skill, no position fix, slower in low light | Map-and-compass courses, emergency backup, cold conditions |
| Handheld GPS | Accurate coordinates, durable, long battery life | Cost, weight, learning curve | Extended expeditions, professional fieldwork, remote travel |
Safety-First Checklist
- Carry a paper topo map and a baseplate compass as a fail-safe.
- Share your route plan and turnaround time with a contact.
- Know local declination and weather; set storm alerts if your app supports barometric pressure trends.
- Practice bearings and conversions at a park before heading into complex terrain.
- Use conservative decision points in poor visibility or when fatigue sets in.
Example: Point-to-Point Bearing in the Field
Scenario: You’re at an alpine lake and need to reach a saddle to the southeast.
- Open your offline topo and drop a pin on the saddle.
- Read the app’s bearing to the pin (e.g., 132° true). If your app only shows magnetic and the local declination is -12° (west), magnetic = 132° − (−12°) = 144°.
- Hold the phone level; point the top edge toward 132° true (or 144° magnetic). Sight a distinctive tree along that line.
- Walk to the tree, repeat the sighting to another feature, and continue.
- Periodically check elevation and contour lines to confirm you’re trending upward toward the saddle.
Advanced: Dead Reckoning with Confidence Intervals
When features are scarce (featureless plateau, light snow), blend bearing with time and pace to estimate location:
- Pick a bearing and walk for a set time (e.g., 10 minutes) at a known pace (e.g., 4 km/h on trail, 2.5 km/h off-trail).
- Compute expected distance traveled (0.67 km for 10 minutes at 4 km/h).
- Draw a segment along the bearing on your map. Your likely position lies within a radius defined by your pace variation (say ±10%).
- Use the phone barometer and any visible terrain breaks to shrink uncertainty.
When to Trust, When to Verify
- Trust: Stable bearings repeated twice with the phone away from metal; GPS fixes consistent over 10–20 seconds.
- Verify: Bearings near large rock outcrops (magnetic anomalies), close to vehicles, or when your track and terrain disagree. Recalibrate and recheck declination.
Key Takeaways
- Calibrate often, manage declination carefully, and keep metal away from the device.
- Combine compass bearings with offline maps, GPS fixes, elevation checks, and terrain association.
- Use handrails, backstops, and landmark leapfrogging to move efficiently and accurately.
- Carry analog backups and a simple plan to handle battery or sensor issues.
With the right technique, outdoor navigation on a cell phone compass can be precise, fast, and safe. Practice in low-stakes settings, refine your workflow, and you’ll have a reliable digital partner on the trail. For iOS users who want an offline suite that combines a compass with tools like a barometer, bubble level, and metal detector, the Level Tool app offers an integrated approach while keeping everything available without subscriptions.
