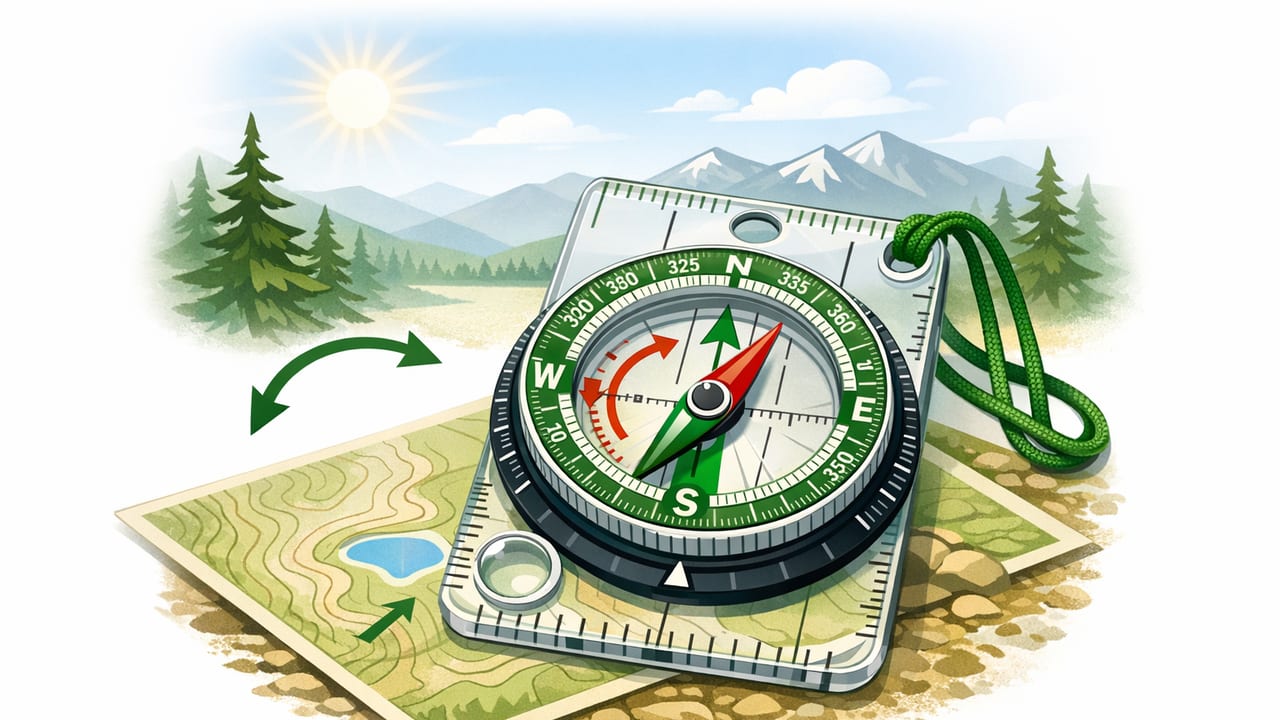
If you’ve ever followed a bearing that looked right on your map but felt “off” on the trail, there’s a good chance magnetic declination was the missing piece. The Earth’s magnetic north (what a compass points to) is not the same as true north (what maps and grid systems are based on). That gap—sometimes just a couple degrees, sometimes much more—can cause meaningful drift over distance.
This guide focuses on a practical, field-ready workflow for using an outdoor navigation compass with declination settings on an iPhone. You’ll learn what declination is, how to set it correctly, how to sanity-check your compass readings, and how to keep navigation reliable even when you’re offline.
Why declination matters (and when it really doesn’t)
Declination is the angle between true north and magnetic north at your location. It’s typically described as:
- East declination (magnetic north is east of true north)
- West declination (magnetic north is west of true north)
How big a problem is a “small” declination error? A quick rule of thumb: a 5° error over 1 km can shift your position by roughly 87 meters. Over several kilometers, that can move you onto the wrong ridge, drainage, or trail junction.
Declination matters most when you:
- Travel off-trail using bearings (whiteouts, deserts, open tundra)
- Navigate to small targets (a saddle, a spring, a specific spur)
- Rely on map-and-compass rather than obvious handrails (roads, rivers)
Declination matters less when you:
- Stay on a well-marked trail system
- Use large, unmistakable features (coastlines, major valleys)
- Are only checking rough direction (e.g., “generally north”)
True north vs magnetic north vs grid north (map systems)
Most printed topo maps are oriented to true north, but many also include a grid north reference (common with UTM grids). In practical hiking navigation:
- True north: geographic north pole; used by many maps
- Magnetic north: where compass needles point
- Grid north: north of your map’s grid system (UTM); close to true north but not identical
If your map includes a declination diagram, it may show both magnetic declination and grid convergence. For most outdoor users, the key is to consistently convert between the reference your map uses and the reference your compass displays.
Field principle: Keep everything in one “north.” Either convert your map bearings to magnetic, or set declination so your compass reads true.
How to find the correct declination for your location
Declination changes by location and slowly shifts over time. To get the correct value:
- Check your topographic map’s declination diagram (often in the margin).
- If you don’t have a declination diagram, look up your area using a reputable geomagnetic source before your trip and note the value.
- Write it down in your trip notes (e.g., “Declination: 12°E”).
Here’s a simple way to think about direction of adjustment:
- If declination is East, magnetic north is to the right of true north (when facing north).
- If declination is West, magnetic north is to the left of true north.
Quick reference table (illustrative examples)
| Location type | Typical declination range | What it means in practice |
|---|---|---|
| Low declination regions | 0–3° | Small drift over short distances, but still relevant for precise bearings |
| Moderate declination regions | 4–10° | Noticeable off-trail error; conversion becomes important |
| High declination regions | 11°+ | Significant drift; always correct bearings when using maps |
Using an iPhone as an outdoor navigation compass with declination settings
Many compass apps can display headings and bearings based on the iPhone’s magnetometer and motion sensors. The key feature for map work is the ability to apply declination so the heading you see matches your map reference.
In practice, there are two common approaches:
- Set declination in the app: Your compass displays headings corrected to true north (or to map north, depending on the app).
- Leave the compass magnetic and convert manually: You do the math when transferring bearings between map and compass.
If your app supports declination adjustment, the workflow is usually faster and less error-prone—especially when you’re tired, cold, or navigating in poor visibility.
Step-by-step: setting declination (generic workflow)
- Find your declination value (example: 8°W).
- Open your compass app settings.
- Enable “Declination” (or “True North correction”).
- Enter the value with the correct direction (E or W).
- Confirm whether the app now displays True bearings or Magnetic bearings.
Important: Some apps let you switch between “True North” and “Magnetic North” without exposing the declination value. That can still work, but it’s best to know what reference you’re reading so you don’t mix systems mid-route.
Manual conversion (when you need it)
If you’re using a paper map or sharing bearings with someone using a different setup, knowing the conversion keeps everyone aligned.
Simple conversion rules
- True to Magnetic: subtract east declination, add west declination
- Magnetic to True: add east declination, subtract west declination
In compact form:
// D is declination in degrees: East = positive, West = negative
// Normalize to 0-360 after calculations
True  = Magnetic + D
Magnetic = True - D
If you’re comfortable with the sign convention (east positive, west negative), it becomes hard to mess up. Always normalize headings back into 0–360° after adding/subtracting.
How to take and follow a bearing with your phone (field technique)
Phone compasses are sensitive to interference and how you hold the device. For best results:
- Hold the iPhone flat (screen up) unless the app specifies a different orientation.
- Keep it away from metal: trekking pole tips, carabiners, belt buckles, magnetic phone mounts, and even some headphones.
- Use a consistent stance and align your body with the bearing, then pick a landmark ahead (a tree, rock, notch) and walk to it.
Practical example: “walk a bearing” safely
- Set declination (or confirm your compass is already showing true bearings).
- From your map, draw your route line and read the bearing.
- Rotate until your compass shows that bearing.
- Choose an obvious landmark in line with your direction.
- Walk to the landmark, then repeat (especially in brush or rolling terrain).
This leapfrogging method reduces cumulative drift because you’re constantly re-aligning rather than trying to hold a perfect line for long stretches.
Accuracy checks: calibrate, verify, and avoid false confidence
iPhone magnetometers can drift or get confused after exposure to magnetic sources. Before relying on your compass:
- Calibrate if prompted by the app (many use a “figure-eight” motion).
- Cross-check with the sun (basic direction), known landmarks, or a physical compass if you carry one.
- Check repeatability: take the same bearing twice; if readings swing wildly, move away from interference.
Common sources of magnetic interference
- Vehicles, guardrails, steel bridges, utility boxes
- Power lines and active electronics (especially close range)
- Magnetic phone cases, MagSafe accessories, mounted batteries
- Metal-rich rock in some regions (local anomalies)
If you suspect interference, step 10–20 meters away, recalibrate, and re-check. Treat a compass reading like an instrument: trustworthy when used correctly, misleading when conditions are wrong.
Offline navigation planning: what to store before you lose signal
Declination is only one part of staying oriented. If your trip takes you beyond reception, prep your phone for offline use:
- Save maps offline (within your chosen mapping app) and verify they open in airplane mode.
- Screenshot critical map sections (trailhead, junction clusters, bailout routes).
- Write down declination and key bearings on paper or in a notes app.
- Bring a power plan: low-power mode, a small battery pack, and a short cable.
An underrated benefit of an offline-capable measurement toolkit is consistency: your compass, barometer/altimeter trend, and basic measuring tools keep working even when data doesn’t.
Troubleshooting: when your compass heading “feels wrong”
If you’re sure your map work is correct but the phone heading doesn’t line up:
- Confirm your north reference: Is the app showing True or Magnetic? Did you double-correct declination?
- Re-check declination direction: East vs West entry errors are common and can swing you far off-course.
- Move away from metal and recalibrate.
- Lock a landmark: If the compass jitters, pick an average direction and confirm against terrain features.
- Use terrain association: ridgelines, drainages, and slope aspect often reveal the correct macro-direction faster than a twitchy needle.
Red flags that require a reset in thinking
- You can’t match any major landforms to your map
- Multiple bearings disagree by large margins (10–20°+)
- Compass heading changes when you move the phone near your jacket zipper or pack strap
When that happens, stop moving, relocate using big features, and only then resume bearing travel.
A simple “map-to-ground” checklist for safer navigation
- Declination: noted, set, and confirmed (True vs Magnetic)
- Objective: clear target (a pass, a lake outlet, a trail junction)
- Handrails: features that keep you safe (ridge crest, river, road)
- Backstops: features that tell you you’ve gone too far (major trail, drainage bend)
- Bailouts: alternate routes if weather or time turns
Final thoughts
Using an outdoor navigation compass with declination settings is one of the most effective ways to make your phone-based navigation match your map—especially when you’re offline and need dependable bearings. Get the declination value right, keep your compass away from interference, and cross-check with terrain often.
If you prefer a single offline iOS toolkit that includes compass features alongside other field-friendly measurement tools, Level Tool is one option to explore—just make sure whichever app you use supports declination correctly and behaves consistently in the environments you travel.
