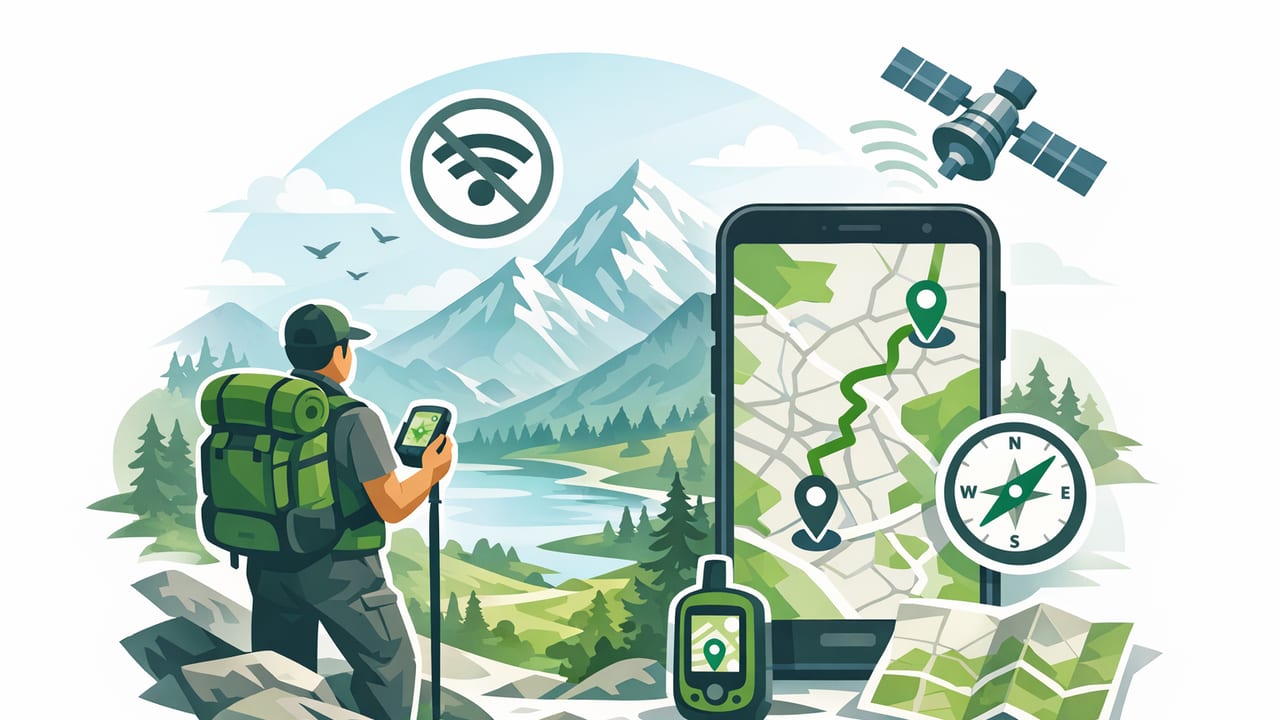
Offline navigation for backcountry hiking is less about having the newest phone and more about having a repeatable system that still works when cell service disappears, batteries drop, and weather turns. An iPhone can be an excellent navigation tool in the backcountry because it combines GPS/GNSS reception, a digital compass, a barometer (on many models), and high-resolution mapping in a single device. But it also introduces new failure modes: cold-soaked batteries, accidental map streaming, miscalibrated compass readings, and overconfidence.
This guide walks through a field-tested approach: how to prepare offline maps, build a waypoint plan, confirm direction with a compass workflow, use elevation and pressure trends, and keep your phone alive long enough to matter.
What offline navigation actually means (and what it does not)
In hiking contexts, offline typically means:
- Maps are stored on your device (no map tiles need to download during the trip).
- Your location can still be computed using satellite signals (GPS/GNSS), not cellular towers.
- You can view position, track, and waypoints without internet access.
Offline does not mean your phone is immune to:
- Compass drift from magnetic interference
- Battery drain from cold temperatures or bright screens
- Route mistakes from poor planning or inaccurate map interpretation
Backcountry navigation is redundancy. Your phone is a powerful tool, but your plan should still work when the phone is off.
Pre-trip setup: your offline map and waypoint workflow
Good offline navigation starts at home. The core idea is simple: download the map area and pre-load the critical points so you never have to improvise under pressure.
1) Download map areas before you leave
Use an offline-capable mapping app and download the full region with margin around your route. Include:
- The planned trail corridor
- Alternate routes and bailout trails
- Nearby roads, trailheads, and rivers
- High points and saddles where you might reorient
Tip: Download at least two zoom levels: one for overview (route-scale) and one for detail (junction-scale). If your app supports multiple map layers, consider adding a topo layer for contour reading.
2) Build a waypoint list that matches real decisions
Waypoints are most useful when they represent decision points, not every scenic feature. A practical set might include:
- Start trailhead and end trailhead
- Key junctions (where a wrong turn is plausible)
- Water sources (reliable vs seasonal)
- Campsites and emergency bivy options
- Hazards (river crossings, avalanche paths, cliffy terrain)
- Bailouts (roads, ranger stations, lower-elevation exits)
3) Export or store a backup route file (optional but smart)
If your mapping workflow supports it, keep a GPX route/waypoint file saved locally (and ideally shared to another device or printed as a list). Even if you do not use GPX often, it is a portable way to preserve navigation intent.
<?xml version='1.0' encoding='UTF-8'?>
<gpx version='1.1' creator='BackcountryPlan'>
  <wpt lat='37.7458' lon='-119.5332'>
    <name>Trailhead</name>
  </wpt>
  <wpt lat='37.7542' lon='-119.5201'>
    <name>Junction A</name>
  </wpt>
  <wpt lat='37.7610' lon='-119.5128'>
    <name>Water Source</name>
  </wpt>
</gpx>
In the field: a reliable phone-based navigation routine
When visibility drops or the trail gets ambiguous, a consistent routine prevents small errors from compounding.
Step 1: Confirm the map is truly offline
Before leaving the trailhead, switch to Airplane Mode for 30 seconds and open your map. Pan and zoom around your route. If the map stays sharp at the scales you need, your offline download is working.
Step 2: Use location + terrain, not location alone
A blue dot is not navigation. The most dependable method is to correlate:
- Your location (GPS position)
- Terrain shape (ridges, drainages, contour spacing)
- Travel direction (bearing or heading)
For example, if you are traversing a slope, confirm that the contour lines and your track direction match what you expect. If the map says you should be trending east across a drainage but your track shows north, stop and reconcile immediately.
Step 3: Heading discipline (avoid the standing-still compass trap)
Digital compasses are most trustworthy when you are moving. If you are standing still, tiny hand movements and magnetic noise can swing the heading. A field technique:
- Walk 20 to 30 steps in the direction you believe is correct.
- Check the map again: does your track line up with the intended corridor?
- If it diverges, stop early and correct.
Step 4: Use bearings for micro-navigation
When you need to cross open terrain (snowfield, slickrock, foggy meadow), set a bearing to a waypoint and follow it like a traditional compass course. Keep distances short: navigate from one intermediate landmark to the next instead of trying to hold a perfect line for a mile.
Compass accuracy: declination, calibration, and interference
Compass-based navigation is often where iPhone users get surprised. The phone is sensitive to nearby metal and electronics, and declination matters when you are mixing map bearings and compass headings.
Declination basics
Magnetic declination is the difference between true north (maps) and magnetic north (compass). Some apps handle this automatically; others allow manual input. The practical rule:
- If your map bearings and compass bearings do not agree, check declination settings first.
- Use a consistent reference (true or magnetic) for the whole day.
Calibration and interference checks
- Calibrate the compass away from cars, trailhead signs, and power lines.
- Keep the phone away from magnetic closures, trekking pole tips, knives, and bear canister rims when taking a heading.
- If heading seems unstable, move a few yards and try again.
Barometer and elevation: an underused offline advantage
Many hikers treat altitude as a nice-to-have, but in low visibility it can confirm where you are on a ridge or which bench you are traversing. If your phone provides barometric pressure trends, it can also help you anticipate weather changes.
How to use elevation for position checks
Pick a point on the map with a distinct elevation (a pass, lake, or contour-bounded saddle). Compare it to your current elevation reading and ask:
- Does the number place me above or below the next contour band?
- Does it match how steep the climb felt?
Elevation is most useful when paired with terrain: a single number can be wrong, but the combination of elevation + ridge/drainage shape is much harder to misread.
Pressure trends for weather awareness
A quick rule of thumb: a rapid pressure drop often signals deteriorating weather, while a steady rise suggests improving conditions. Pressure alone is not a forecast, but it can prompt earlier decisions (turnaround, camp earlier, avoid exposed ridges).
Battery and durability: make your iPhone last in real conditions
Offline navigation for backcountry hiking fails most often because of power management, not GPS quality.
Battery-saving tactics that preserve navigation
- Airplane Mode in the backcountry (you can re-enable GPS within many apps even with radios off).
- Screen brightness as low as practical; use dark mode if available.
- Close background apps; avoid constant track recording if you do not need it.
- Set a habit: check position at decision points, not every minute.
- Carry a power bank sized for your trip length and temperatures.
Cold-weather reality
Cold can cause sudden shutdowns even with battery remaining. Store the phone:
- In an inner pocket close to your body
- In a simple insulating pouch at camp
Choosing your navigation stack: phone vs GPS vs paper
The strongest setup combines methods. Here is a practical comparison for planning redundancy.
| Tool | Strengths | Weak points | Best use |
|---|---|---|---|
| Offline iPhone maps | High detail, easy waypoints, fast position checks | Battery and cold sensitivity, screen fragility | Primary navigation with frequent confirmation |
| Handheld GPS | Rugged, long battery (AA), purpose-built | Smaller screen, slower planning workflow | Extended trips, harsh weather, backup position |
| Paper topo map + compass | Never needs charging, big picture clarity | Skill-dependent, slower, can get wet | Backup and situational awareness |
Common mistakes to avoid (and quick fixes)
- Mistake: Downloading maps but not testing offline.
Fix: Verify in Airplane Mode at home and at the trailhead. - Mistake: Treating the compass heading as truth while standing still.
Fix: Walk a short line and confirm the track direction. - Mistake: Navigating to a far waypoint across complex terrain.
Fix: Break it into intermediate handrails and short legs. - Mistake: Forgetting declination when mixing map and compass.
Fix: Set true vs magnetic once and stick with it. - Mistake: Screen-on navigation until the phone dies.
Fix: Check at decision points; keep the phone warm and dim.
A simple offline navigation checklist (save this)
- Offline maps downloaded (with margins) and tested in Airplane Mode
- Waypoint list: trailhead, junctions, water, camps, hazards, bailouts
- Compass calibrated away from metal; declination confirmed
- Battery plan: power bank, cable, cold storage pocket
- Backup method: paper map and basic compass skills
- Decision rule: stop early when uncertain (do not push deeper while unsure)
FAQ: quick clarifications
Will my iPhone GPS work without cell service?
Yes. Location can still be calculated from satellite signals. What typically fails without service is map loading unless you have downloaded maps for offline use.
Is Airplane Mode enough for offline navigation?
It helps conserve power and prevents apps from trying to stream data. You still need offline maps and a battery plan.
Should I rely on a phone compass in the backcountry?
Use it as a tool, but validate it with movement, terrain correlation, and a backup compass when stakes are high.
Closing thought
Offline navigation for backcountry hiking is a skill stack: map preparation, waypoint discipline, compass habits, terrain reading, and power management. If you build a routine and practice it on low-stakes hikes first, your iPhone becomes a capable off-grid navigator rather than a fragile single point of failure.
If you already keep a sensor-based toolkit on your iPhone (for example, Level Tool for compass and barometer-style checks alongside other measurement utilities), the same principles apply: calibrate, verify offline, and use multiple signals before committing to a direction.
