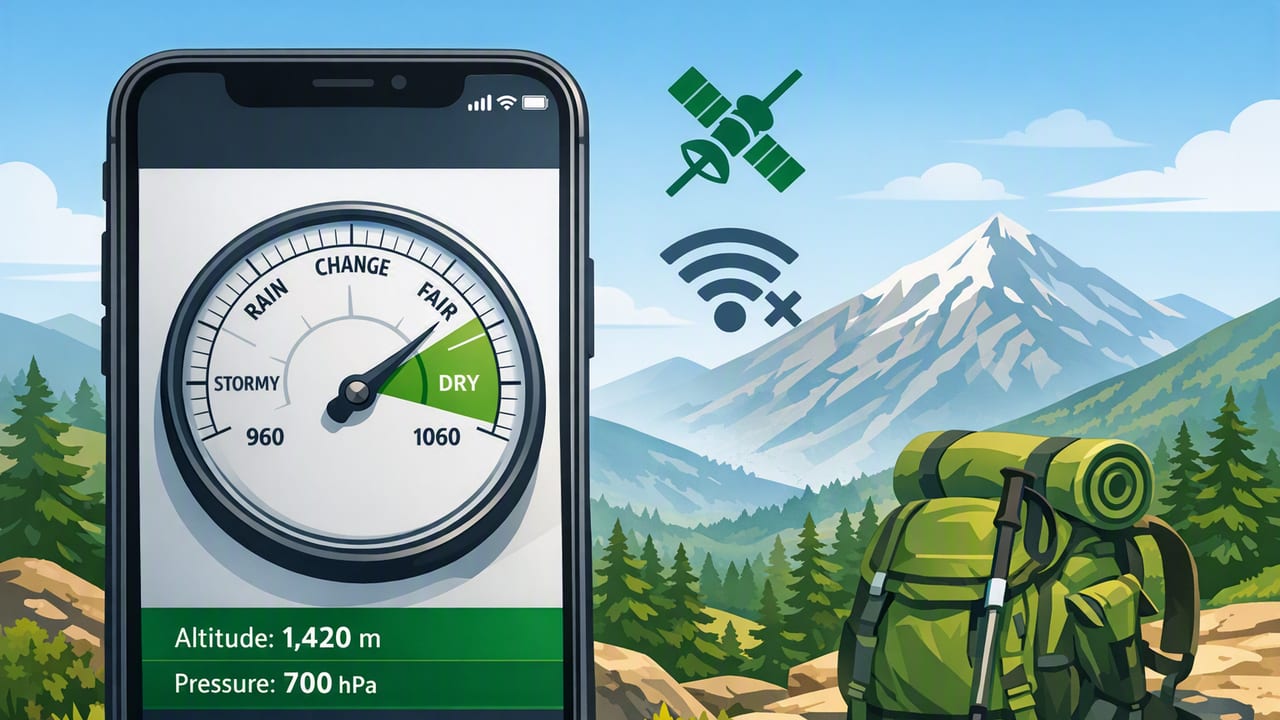
When you’re hiking beyond cell coverage, your phone can still be one of the most useful safety tools in your pack—if you rely on sensors instead of signal. A barometer app for hiking offline turns your iPhone’s built-in pressure sensor into a practical way to anticipate weather changes, understand micro-conditions in valleys and ridgelines, and make better go/no-go decisions on exposed terrain.
This guide explains what barometric pressure actually tells you, how to interpret trends on the trail, how to improve accuracy, and how to log readings even when your phone is in airplane mode. The goal isn’t to replace a forecast—it’s to help you notice meaningful changes when you’re far from reception.
What a barometer measures (and why hikers should care)
A barometer measures atmospheric pressure, usually displayed in hPa (hectopascals) or mbar (millibars). These units are effectively equivalent for practical outdoor use (1 hPa ≈ 1 mbar).
Pressure changes because of two main factors:
- Weather systems: High pressure often correlates with more stable conditions; low pressure often correlates with storms and unsettled weather.
- Elevation: Pressure drops as you climb and rises as you descend.
That second point is critical: a single pressure number is less useful than a pressure trend over time at roughly the same elevation. For hikers, trend is the signal. If you’ve been walking a rolling ridgeline and the pressure is steadily falling even without big elevation gains, that’s often a sign of a changing weather pattern.
Barometer vs. “altimeter” on a phone
Many outdoor apps provide an “altimeter” reading derived from barometric pressure. This can be very helpful, but keep the relationship in mind:
- A barometric altimeter can drift when weather changes (because pressure changes even if elevation doesn’t).
- GPS altitude can be noisy in steep terrain, tree cover, or narrow canyons.
A practical approach is to use barometric pressure for trend and use altitude (barometric or GPS) for context, not as an absolute truth.
Why “offline” matters for a barometer app
In backcountry scenarios, “offline” isn’t just a convenience feature. It affects reliability.
- No reliance on forecasts: An offline barometer tool can still show pressure changes when you lose service (or never had it).
- Faster access: You don’t need to wait for map tiles, network requests, or ads to load.
- Lower battery impact: Keeping radios off (airplane mode) often extends battery life—especially in cold conditions.
If you’re choosing a barometer app for hiking offline, prioritize apps that clearly work without internet and still provide stable readings, trend views, and simple logging.
How to use a barometer app for hiking offline (step-by-step)
1) Before you leave: set up for meaningful trends
- Open the barometer screen at home and confirm it displays pressure in hPa/mbar.
- Decide how you’ll interpret trends: many hikers use a “check every hour” routine, or check at key points (trailhead, first saddle, summit, camp).
- Reduce sensor noise: let the reading stabilize for 10–30 seconds with your phone still and out of strong wind.
- Enable airplane mode if you’re going to rely on offline tools (and to save power). Keep Bluetooth off unless you need it.
- Pack a baseline note: write down the pressure at the trailhead and time. Trends are easier when you have a starting point.
2) On the trail: watch the rate of change
The most useful information is not “the pressure is 1008 hPa,” but rather: “pressure dropped 6 hPa in the last 3 hours while my elevation stayed similar.” That pattern can indicate deteriorating weather, even if the sky still looks fine.
Use this simple routine:
- Check pressure at consistent times (e.g., top of each hour).
- Note your elevation context: if you climbed 800 meters, a pressure drop is expected—don’t confuse it with a storm signal.
- Compare like with like: compare readings taken at similar elevations (camp-to-camp, saddle-to-saddle).
3) Interpret trends with a practical trail table
Barometric pressure is not a magic forecast, but trends often align with real risk. Use the table below as a field-friendly reference. (Local geography matters: coastal mountains, desert basins, and humid forests can behave differently.)
| Pressure trend (at similar elevation) | Common interpretation | What to do on the trail |
|---|---|---|
| Steady (±1–2 hPa over 3–6 hours) | Relatively stable pattern | Proceed, keep checking; watch clouds/wind for changes |
| Slow fall (2–5 hPa over 3–6 hours) | Weather may be shifting | Reassess exposed segments; identify bailout routes |
| Fast fall (>5–8 hPa over 3–6 hours) | Higher chance of incoming storm/unsettled weather | Consider turning back, lowering elevation, or reaching shelter sooner |
| Rising (3–8 hPa over 6–12 hours) | Often improving conditions | Still confirm with sky/wind; don’t ignore terrain hazards |
Field mindset: Treat pressure trend as a “risk dial,” not a yes/no forecast. Combine it with wind shifts, cloud build, temperature drops, and your route exposure.
Accuracy and calibration tips on iPhone
Phone barometers can be surprisingly capable, but hikers often get misleading readings due to how they take measurements. These habits improve consistency:
- Let the reading settle: pull the phone out, hold it steady, and wait briefly before you record.
- Keep it out of direct gusts: wind doesn’t change pressure, but rapid temperature changes and handling can make values jump.
- Avoid measuring right after pulling it from a warm pocket into freezing air. Give it a moment to acclimate.
- Be mindful of elevation changes: pressure is expected to change as you climb/descend—interpret trends at comparable elevation whenever possible.
- Use consistent units (hPa/mbar) so you can compare notes across trips.
If your app offers a reference setting (such as calibrating altitude to a known trailhead elevation), remember: calibrations can make altitude “look right” while masking weather-driven pressure changes. For hiking safety, you generally want to preserve trend visibility, not over-correct it away.
Using a barometer alongside navigation (compass + maps)
An offline pressure tool becomes more valuable when paired with offline navigation basics:
- Compass: If pressure is falling and visibility is degrading, you may need a reliable bearing to retreat safely.
- Offline maps: Pressure trends may prompt a route change—having maps stored locally helps you choose safer terrain (treeline, valleys, sheltered routes).
- Time-to-shelter thinking: Combine your pace, distance to treeline, and pressure trend to decide whether you can safely continue across exposed ridges.
A practical example: if you’re above treeline and pressure is dropping quickly over the last hour, it can be wise to descend before you hear thunder or feel hail. Pressure trend often provides earlier signal than your eyes do, especially in complex mountain weather.
How to log pressure readings offline (simple and useful)
Logging doesn’t have to be complicated. Even a few timestamped notes can help you learn patterns in your local ranges and seasons. If your app allows exporting, great—if not, you can still keep a simple trail log.
A practical log format
Use a notes app or a plain text file and record:
- Time
- Pressure (hPa)
- Approx. elevation (if you have it)
- Observed conditions (wind, clouds, precip)
Example CSV-style entries:
time,pressure_hpa,elevation_m,notes
07:10,1016,520,trailhead calm
10:05,1012,980,wind increasing
12:00,1006,1050,cloud build west
13:30,1002,920,light rain started
Optional: automate logging with Shortcuts (concept)
Some hikers use iOS Shortcuts to prompt a quick “log check” every hour and save a line to Notes. The exact steps depend on what your barometer app exposes, but the workflow looks like this:
// Pseudocode for a manual prompt-based log (offline friendly)
Every 60 minutes:
  Ask for Input: Pressure (hPa)
  Ask for Input: Elevation (m) (optional)
  Ask for Input: Notes (optional)
  Append to Note: "{CurrentTime},{Pressure},{Elevation},{Notes}"
This isn’t about perfect automation; it’s about building a habit of checking trend at useful intervals.
Common pitfalls (and how to avoid them)
- Confusing elevation change with weather change: If you climbed a lot, pressure will drop. Compare readings at similar elevations to assess weather.
- Overreacting to tiny swings: Minute-to-minute noise happens. Focus on multi-hour changes and consistent direction.
- Relying on one data source: Pressure trend is one clue. Always cross-check with cloud type, wind direction, and route exposure.
- Battery loss in cold: Keep the phone warm, use low power mode, and consider airplane mode. An offline tool is only useful if the phone stays on.
Choosing the right barometer app for hiking offline
When evaluating an iPhone barometer app for hiking offline, look for features that support real trail use:
- Works fully without internet (no “loading” screens or blocked features)
- Clear units (hPa/mbar) and easy-to-read trend indicators
- Fast launch for quick checks in wind/rain
- No subscription dependency for basic sensor access
- Optional companion tools like compass or level for general outdoor and camp tasks
Even if you already carry a dedicated weather radio or GPS, an offline barometer on your phone is a lightweight backup that can add confidence—especially on day hikes, shoulder-season trips, or any route with long exposed sections.
Final takeaway
A barometer won’t replace good judgment, but it can strengthen it. By checking pressure trends at consistent times and similar elevations, you can spot deteriorating patterns early and make smarter decisions about ridgelines, summits, and bailout routes—without relying on reception. If you want an all-in-one iOS toolkit that includes a barometer alongside other offline measurement tools, you can explore Level Tool as one option.
