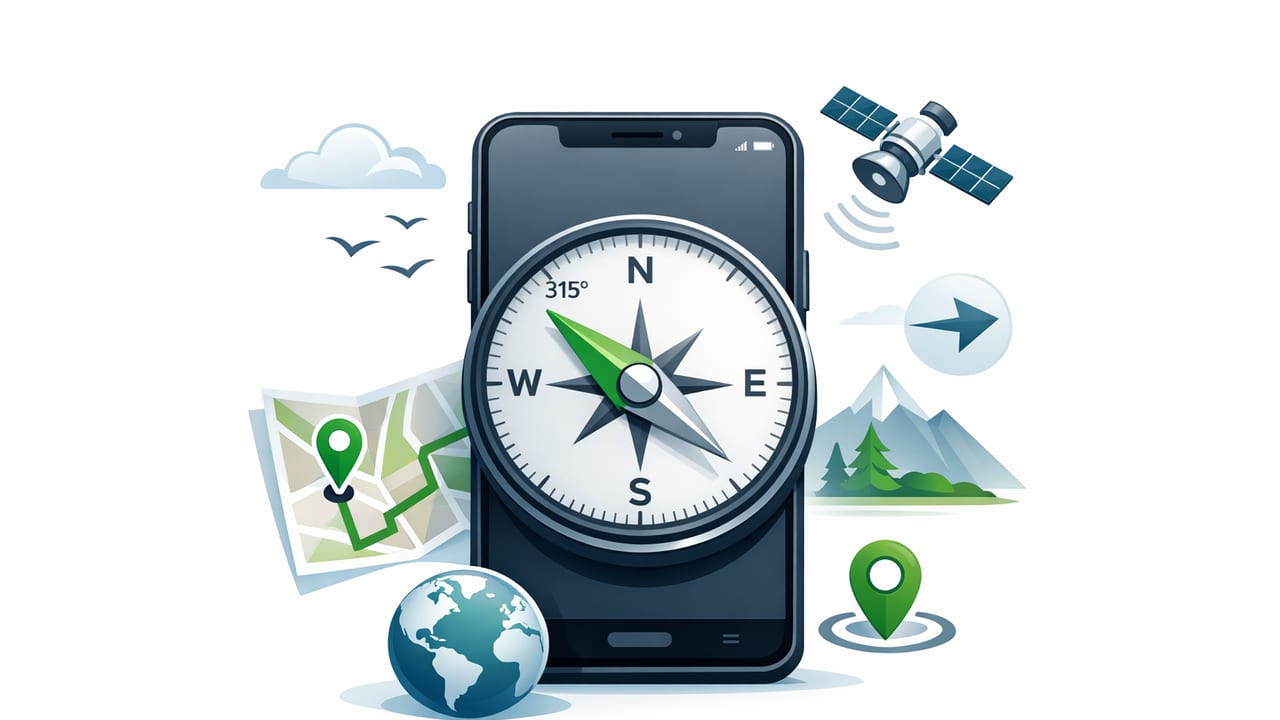
A navigation compass app can turn your iPhone into a practical direction-finding tool for hiking, scouting a worksite, boating near shore, or simply staying oriented when street signs and cell service disappear. But using a compass well is more than watching a needle spin—real navigation involves bearings, landmarks, and understanding the difference between true north and magnetic north.
This guide breaks down the core skills you need to trust a navigation compass app in the real world: how to calibrate it, how to take and follow bearings, how magnetic declination affects accuracy, and how to build an offline-friendly routine that works even when your phone has no signal.
What a navigation compass app actually measures
Most iOS compass tools rely on a combination of sensors:
- Magnetometer: detects Earth’s magnetic field to estimate direction (magnetic north).
- Gyroscope + accelerometer: smooth out rotation and determine device orientation (helpful for stability and tilt compensation).
- GPS (optional): can add heading or course-over-ground while you’re moving, but a compass can work without GPS.
That’s why a navigation compass app can remain useful offline. However, magnets, metal, electronics, and vehicle bodies can distort readings, so good technique matters.
Compass basics: heading, bearing, and azimuth
Different apps use slightly different terms. Here’s a clear mapping:
- Heading: the direction your phone is pointing right now (e.g., 72°).
- Bearing (often used interchangeably with azimuth): a direction you intend to travel or aim toward (e.g., “walk on a 72° bearing”).
- Cardinal direction: N, NE, E, SE, etc. Good for quick orientation, less precise for navigation.
For outdoor navigation, degrees are your friend. A small error (say 10°) can become a big miss over distance.
Step 1: Calibrate your iPhone compass (the right way)
Calibration isn’t a one-time thing. If you change environments—from indoors to outdoors, from a car to a trailhead—re-check accuracy.
Quick calibration checklist
- Move away from metal: step away from vehicles, steel railings, toolboxes, rebar, or large speakers.
- Remove magnetic accessories: magnetic phone mounts, MagSafe wallets with magnets, or rugged cases with metal plates can skew readings.
- Hold the phone level: a tilted phone can introduce errors or jitter depending on the app’s tilt compensation.
- Do a slow figure-eight: many iOS compass implementations improve after a smooth figure-eight motion.
Field tip: If your heading keeps drifting while you stand still, assume local interference first—then re-calibrate in a new spot.
Step 2: Understand magnetic declination (and why it matters)
A navigation compass app may show magnetic north by default. Maps (including many topo maps) are usually referenced to true north. The difference between them is called magnetic declination, and it varies by location.
If your app lets you switch between true and magnetic, choose based on what you’re matching:
- Using a topo map with true-north grid lines: set the app to true north or apply declination manually.
- Using another magnetic compass (like a baseplate compass) set to magnetic: keep the app on magnetic north for consistency.
Simple declination conversion
If you have a true bearing from a map and need a magnetic bearing (or vice versa), use this rule of thumb. The sign (east vs. west) depends on your local declination:
| Declination type | To convert True → Magnetic | To convert Magnetic → True |
|---|---|---|
| East declination | Subtract declination | Add declination |
| West declination | Add declination | Subtract declination |
Example: If your map bearing is 100° true and your declination is 10° east, your magnetic bearing is about 90°.
Step 3: How to take a precise bearing with a navigation compass app
When you’re using a navigation compass app, the biggest accuracy gains come from repeatable technique.
Method A: Bearing to a visible landmark
- Choose a clear target: a peak, radio tower, trail junction sign, lone tree, or corner of a building.
- Hold your phone flat and steady, with the top edge pointing at the target.
- Let the reading settle for 2–3 seconds.
- Record the bearing in degrees (and whether it’s true or magnetic).
Method B: Bearing for route travel (no obvious target)
- Set your intended bearing (e.g., 245°) based on map or plan.
- Rotate until your current heading matches the target bearing.
- Pick a short “micro-target” along that line (a rock, tree, or terrain feature 30–100 meters away).
- Walk to the micro-target, then repeat.
This leapfrogging approach reduces drift and keeps you from “curve-walking” off course.
Offline navigation workflow: compass + notes + common sense
A compass by itself doesn’t tell you where you are—it tells you which way you’re facing. For reliable offline use, pair your navigation compass app routine with a lightweight logging method.
A practical note template (copy/paste)
Route Log
- Start point: ____________________
- Time: ___________________________
- North reference: True / Magnetic
- Declination (if used): _________

Legs:
1) Bearing: _____°   Distance/Time: ______   Landmark: __________
2) Bearing: _____°   Distance/Time: ______   Landmark: __________

Emergency back-bearing(s):
- To return to start: _____°
Why this helps: If visibility drops (fog, snow, night), you’re not relying on memory alone. You can also compute a back bearing (the direction back to where you came from):
- If bearing is < 180°, add 180°.
- If bearing is ≥ 180°, subtract 180°.
Common sources of error (and how to avoid them)
If your navigation compass app feels “wrong,” it usually is—because something is interfering. Here are the most common issues.
1) Magnetic interference
- Vehicles: stepping 10–20 feet away can dramatically improve stability.
- Tools and hardware: hammers, nails, steel beams, and even rebar in concrete can distort readings.
- Electronics: power lines, large battery packs, and some headphones can introduce noise.
2) Holding technique
- Keep the phone flat unless the app is designed for vertical sighting.
- Use your body as a tripod: elbows tucked in, slow movements.
3) Confusing heading vs. course
Some apps show course when moving (GPS-based direction of travel) and heading when still (magnetometer-based). If you stop, the number may change. Decide which you’re using and be consistent.
Real-world examples: DIY sites and outdoor wayfinding
Example 1: Finding a property line direction
If you have a plat that lists a line as a bearing (e.g., “N 72° E”), you can translate it into degrees and use a navigation compass app to roughly align yourself. For better accuracy, avoid doing this next to a car or metal fence, and verify the app’s north reference matches your document (true vs. magnetic).
Example 2: Staying oriented on a trail with switchbacks
Switchbacks make it easy to feel turned around. At each major turn, take a quick bearing toward a distant landmark (ridge, peak, or valley opening). If you later need to retreat, that landmark-bearing memory plus a written back bearing can prevent wrong turns.
Example 3: Short-range navigation in fog
In low visibility, travel in short legs. Pick a bearing, walk a timed interval (e.g., 2 minutes), stop, re-check heading, and pick a new micro-target. This reduces the “drift” that happens when you unconsciously veer.
What to look for in a good navigation compass app
Not all compass apps are equal. If you want something you can depend on, prioritize features that support repeatable, offline-friendly navigation:
- Offline operation (no sign-in required for basic compass use).
- True vs. magnetic north toggle, ideally with declination info.
- Stable, readable degree display with minimal jitter.
- Calibration prompts or clear guidance when interference is detected.
- Extra measurement tools (optional) like a level or ruler if you also use your phone for DIY and home improvement tasks.
Safety notes: when a phone compass isn’t enough
A navigation compass app is a tool—not a guarantee. For remote travel, consider these safety practices:
- Carry a dedicated baseplate compass as a backup.
- Bring a paper map and know how to read it.
- Manage battery: low power mode, dim screen, and keep the phone warm in cold weather.
- If you’re truly off-grid, consider an emergency beacon or satellite communicator.
Think of your phone as part of a system: compass + map + judgment + backup.
Putting it all together
To get consistent results from a navigation compass app, focus on fundamentals: calibrate away from interference, decide whether you’re navigating by true or magnetic north, take steady bearings to real landmarks, and keep a simple offline log so you can reverse course if needed. Those habits matter more than any single feature.
If you like having multiple offline measurement tools in one place for both DIY and outdoor use, an iOS option like Level Tool includes a compass alongside other practical instruments—useful when you want an all-in-one toolkit without relying on connectivity.
