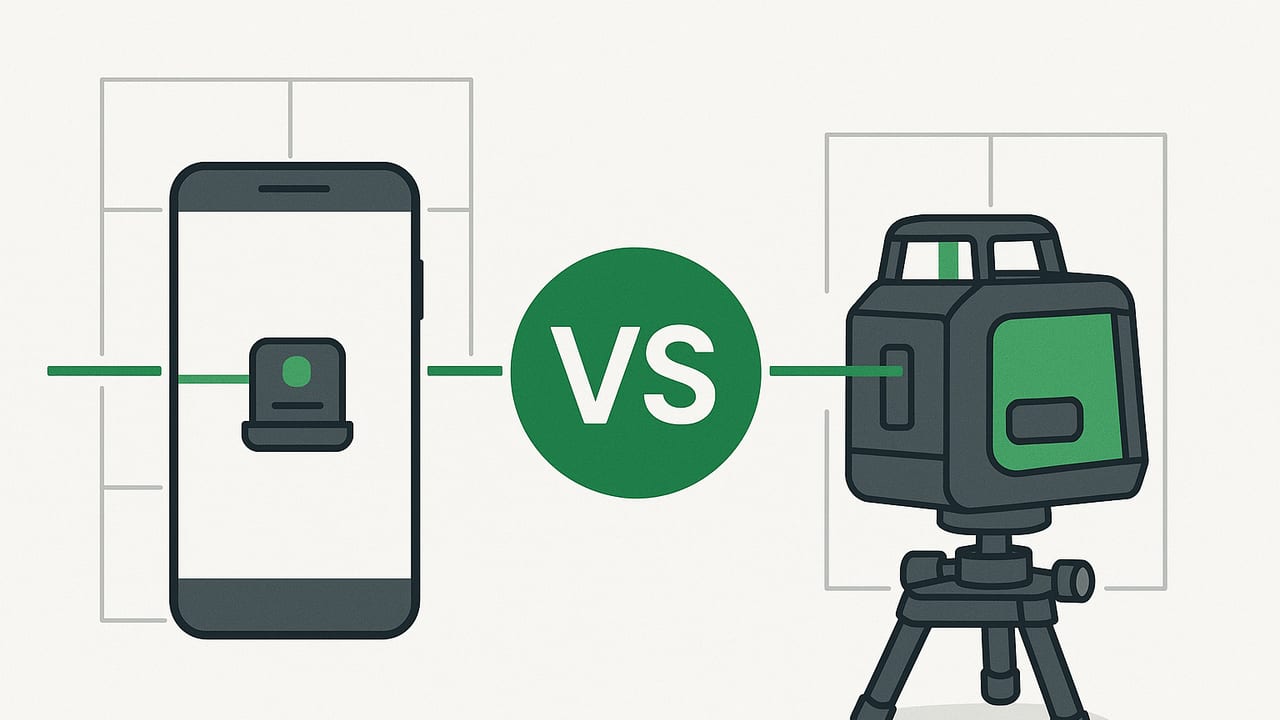
If you’ve ever wondered how a mobile laser level compared to standalone tools performs in real-world jobs, you’re not alone. With modern smartphones offering AR overlays, precise sensors, and calibration tools, many DIYers and even some pros are asking whether a phone can replace a dedicated line or rotary laser. This guide explores how each option works, where each excels, and how to choose the right level for your tolerance, environment, and budget.
How Laser Levels Work (and What Phones Actually Do)
A traditional laser level projects a visible line or dot using a Class II or Class IIIa laser diode. Depending on the model, it can produce cross-lines, 360-degree planes, or rotating beams that are detectable across long distances. Many units self-level via a pendulum or electronic system within a small range (often ±4°), providing a stable, accurate reference line on your work surface.
By contrast, a smartphone-based “mobile laser level” typically does not emit a physical laser line. Instead, it uses the device’s sensors—accelerometer, gyroscope, magnetometer, sometimes a barometer, and on some models LiDAR—to determine orientation and overlay a virtual line or plane on the camera view. The result is a visual guide on screen rather than a real beam on the wall. This distinction matters for visibility, range, and workflow.
Mobile Laser Level Compared to Standalone: A Spec-by-Spec Breakdown
| Aspect | Mobile (Smartphone) | Standalone (Line/Rotary Laser) |
|---|---|---|
| Leveling Accuracy | Typically about 0.1°–0.2° after calibration (~1.7–3.5 mm/m) | DIY: 0.3–0.5 mm/m; Pro: 0.1–0.2 mm/m |
| Range & Visibility | On-screen overlay only; limited by camera view and lighting | Visible indoors 20–100 ft; with detector 165–330 ft+ outdoors |
| Self-Leveling | Gravity-based orientation; must be held or mounted steadily | Automatic self-leveling (pendulum/electronic) within ±3–5° |
| Projection Modes | On-screen line/plane via AR (no physical laser) | Cross-line, 360°, rotary planes; compatible with receivers |
| Mounting | Needs clamp/tripod mount or straightedge for referencing | Tripod threads (1/4"–20 or 5/8"–11), magnetic mounts, ceiling mounts |
| Power | Phone battery; heavy AR use shortens runtime | 8–20 hours on Li‑ion packs or AA batteries |
| Ruggedness | Consumer-grade; cases help, but not jobsite-rated | Often IP54–IP65 with shock resistance |
| Data Capture | Photos, notes, overlays saved instantly | Some models pair with detectors/remotes; limited data capture |
| Cost | Low (apps) if you already have a phone; add cost for mounts | $50–$1,000+ depending on precision, features, and brand |
| Calibration | In-app calibration; may drift over time | Factory calibration; user calibration options on pro models |
Accuracy Explained: Degrees vs mm/m (With a Quick Calculation)
Comparison can be confusing because phones often report angular accuracy (degrees), while standalone lasers specify linear accuracy (mm per meter). Here’s how to translate:
- 0.1° ≈ tan(0.1°) × 1000 mm ≈ 1.7 mm per meter
- 0.2° ≈ tan(0.2°) × 1000 mm ≈ 3.5 mm per meter
For a 3 m shelf run, a 0.1° error could yield roughly 5 mm deviation. Many pro laser levels specify ±0.2–0.3 mm/m, which would be ~0.6–0.9 mm over the same distance—noticeably tighter.
# Compute millimeters of drop per meter for a given angular error
import math

def mm_per_meter(deg):
    return math.tan(math.radians(deg)) * 1000

print(mm_per_meter(0.1))  # ~1.745 mm/m
print(mm_per_meter(0.2))  # ~3.491 mm/m
Takeaway: a mobile laser level compared to standalone tools can be perfectly adequate for short spans and moderate tolerances, but standalone lasers typically win where millimeter-level precision is non-negotiable across longer runs.
Range, Lighting, and Visibility
Visibility is where standalone lasers dominate. A projected green or red line is visible on the target surface, even when the tool isn’t in your direct line of sight. Outdoors or over long distances, a compatible detector extends usable range dramatically. Phones, on the other hand, can only show the “laser” in the camera preview, and strong sunlight, glare, or distance reduces your ability to align accurately. If the job requires a line across an entire room (or a facade), a physical laser line is faster to reference and easier for teams to follow.
Setup Time and Workflow
Smartphones are always in your pocket. Fire up the app, calibrate, and you’re working. You can snap photos, annotate, and share immediately—excellent for punch lists, minor installations, and quick checks. Standalone lasers need mounting, self-leveling, and sometimes a detector, but once in position, they provide a stable, hands-free reference that multiple people can work from simultaneously. On repetitive tasks (tiling, framing, drop ceilings), the laser’s consistency pays dividends in speed and quality.
Cost and Lifetime Value
If you already carry a modern phone, adding a capable leveling app is the most budget-friendly option. Still, you may need a phone clamp, tripod, or straightedge to get reliable, repeatable results. Standalone lasers require an upfront purchase, but many DIY-grade cross-line models are affordable, and pro-grade units hold calibration, offer longer range, and are jobsite-ready. For teams, one good laser can improve crew efficiency—an important hidden ROI.
When a Mobile Laser Level Is Enough
- Hanging a few frames or shelves where ±3–5 mm over a few meters is acceptable
- Checking appliance install tilt (washers, fridges, ranges)
- Quick layout marks in a single room, especially with good indoor lighting
- Documenting existing conditions with photos and annotated overlays
- Travel or emergency use when you don’t have a dedicated laser
When a Standalone Laser Is the Better Choice
- Tiling, cabinetry, and finish carpentry where tight tolerances matter
- Framing and drywall across large spaces or multiple rooms
- Outdoor layout, long runs, or demanding lighting conditions
- Team workflows where a persistent, visible line speeds coordination
- Projects requiring detectors, 360° planes, or rotary beams
Simple Field Test to Benchmark Your Phone vs Your Laser
If you want to quantify how a mobile laser level compared to standalone tools performs in your environment, try this quick test:
- Mount both tools. Use a tripod for the laser and a stable clamp or rigid straightedge for the phone. Ensure the phone case doesn’t bow or tilt the device.
- Calibrate the phone. Follow your app’s instructions to calibrate both the accelerometer/gyroscope and any on-screen horizon if available.
- Choose a target wall. Mark a reference point at one corner. Use the standalone laser to establish a horizontal line across the wall; mark two or three points along that line at known intervals (e.g., 1 m and 2 m).
- Overlay with the phone. Align the phone’s on-screen line to the first mark and note the offset at the 1 m and 2 m marks. Record the deviations.
- Repeat three times. Reposition both tools and average the results. This reduces random error and highlights drift or mounting issues.
- Compute mm/m. Divide each deviation (mm) by the distance (m) to get a comparable mm/m figure for your phone setup.
Use your measured mm/m to decide when the phone is “good enough” and when to reach for the laser.
Tips to Improve Smartphone Leveling Results
- Calibrate before critical tasks, and re-check if you change orientation significantly.
- Remove bulky cases or use a known-flat edge of the phone; verify against a known level surface.
- Stabilize with a tripod and clamp; handheld use introduces up/down drift.
- Reduce camera lens distortion: use the main (wide) camera, avoid ultra-wide when possible.
- Control lighting: avoid direct glare; ensure high-contrast surfaces for precise alignment.
- Use a straightedge or level bar as a physical reference, then confirm with the phone overlay.
- For distance measurements, prefer phones with LiDAR (on supported models) and ensure surfaces have texture.
Common Misconceptions, Cleared Up
Do phones project a real laser line?
No. Phones display a visual guide on the screen using sensors and AR. There is no physical beam on the wall.
Can a phone replace a rotary laser for exterior layout?
Generally no. For long-range, outdoor layout with detectors and high visibility, rotary lasers are unmatched.
Will LiDAR make the phone as accurate as a pro laser?
LiDAR improves depth and plane detection in AR but doesn’t turn your phone into a self-leveling laser. It helps with measurement reliability, not beam projection.
What about safety?
Standalone laser levels use eye-safe, low-power diodes but you should still avoid direct eye exposure. Phones don’t emit a leveling laser; their on-screen guides carry no beam hazard.
The best tool is the one that matches your tolerance, visibility needs, and workflow—not just the one you happen to have.
Bottom Line
A mobile laser level compared to standalone tools is a smart, convenient option for quick checks, short spans, and jobs with moderate tolerances—especially when you want instant documentation and sharing. For high-precision work, long runs, outdoor visibility, and team workflows, a dedicated self-leveling laser remains the gold standard. Many professionals carry both: the phone for fast decisions and the laser for production-grade accuracy.
Note: If you prefer an iOS solution for on-device leveling, navigation, and measurement, the Level Tool app combines dual-axis leveling with on-screen laser-style guides, a ruler, compass, barometer, and more—working fully offline without subscriptions.
