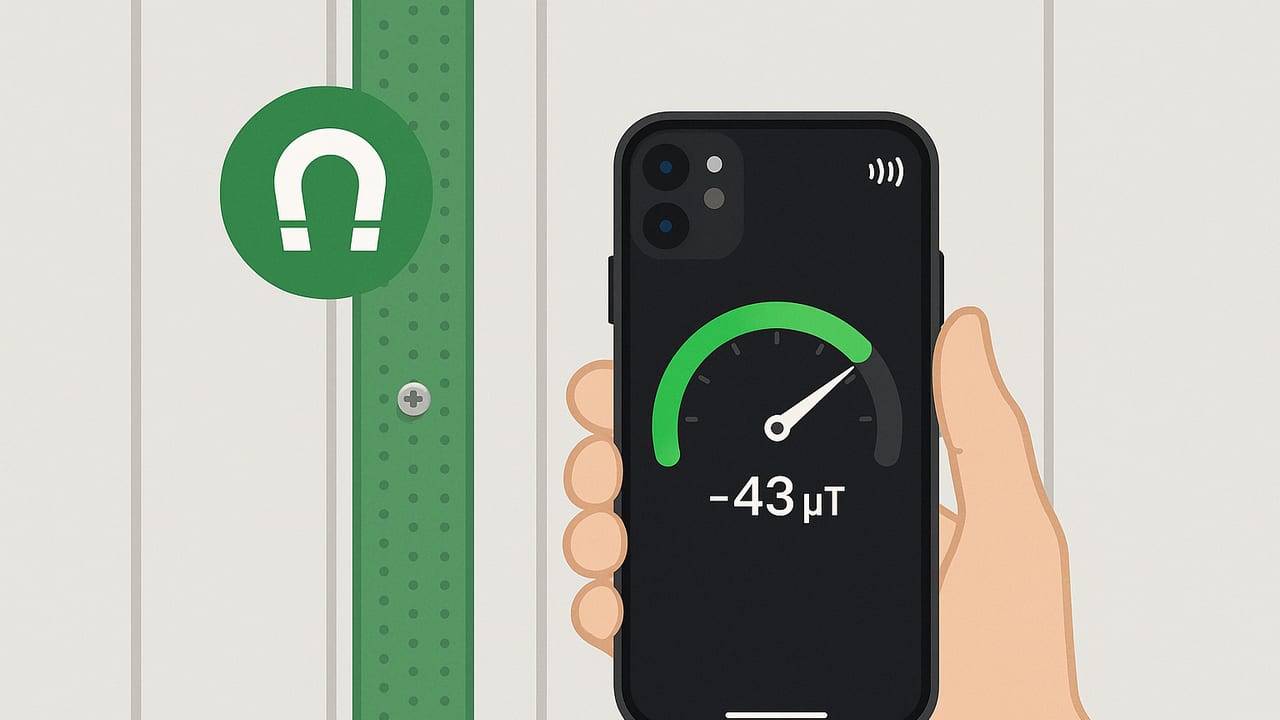
Finding steel studs behind drywall in offices, basements, or apartment renovations doesn’t always require a dedicated detector. With the right technique, you can turn your phone into a capable metal stud finder using iPhone magnetometer data. This guide explains how it works, what you can reliably detect, the limitations you should plan around, and a step-by-step workflow that delivers repeatable results for DIYers and pros.
How the iPhone Magnetometer Spots Metal in Walls
Your iPhone contains a three-axis magnetometer that measures the local magnetic field in microtesla (µT). The Earth’s field typically ranges from ~25–65 µT. Ferromagnetic objects, like steel studs and drywall screws, distort this field by either concentrating or redirecting magnetic flux. As you move the phone across a wall, the magnetometer records slight changes (gradients) in the field strength and direction. Plotting these changes (or watching a live graph in an app) reveals peaks and ridges where metal is present.
The key is not the absolute magnetic reading but the change as you sweep. Steel studs tend to create broader, elongated anomalies. In contrast, drywall screws produce smaller, sharper spikes at regular spacing along the stud line. By following the peaks, you can infer the stud’s path and spacing, often 16 inches on center (or 24 inches in some partitions). The magnetometer is most sensitive when close to the metal, so accuracy improves when you glide the phone flat and steady along the wall surface.
What You Can—and Cannot—Detect
- Detectable with high confidence: Steel studs, steel corner bead, drywall screws, steel plates, ferromagnetic mounting brackets.
- Sometimes detectable: Heavily magnetized tools or fixtures behind the wall, embedded nails when near the surface.
- Generally not detectable: Non-ferrous metals like copper and aluminum (unless strongly magnetized, which is rare). Plastic or wood studs.
- Live electrical wires: The phone’s magnetometer can sometimes pick up AC-induced fluctuations at very close range, but this is not reliable for safety. Always use a dedicated non-contact voltage tester for live wire detection.
Expected reach is typically within a few centimeters through standard drywall. Thicker finishes, tile backer boards, foil-backed insulation, or metal lath can reduce sensitivity and complicate interpretation.
Step-by-Step: Use Your iPhone as a Metal Stud Finder
- Remove magnetic accessories: Take off MagSafe cases, wallets, or mounts. These introduce strong offsets that mask subtle wall signals.
- Calibrate and baseline: Perform a gentle figure-eight motion with the phone away from large metal objects. Then take a baseline reading in free air several feet from the wall. iOS manages calibration automatically, but establishing a baseline helps you recognize meaningful changes.
- Approach the wall slowly: Hold the phone flat against the surface with the screen facing you. Maintain a consistent orientation so one axis doesn’t dominate readings as you rotate.
- Scan horizontally: Slide the phone left to right at a steady speed (about 2–4 inches per second). Watch for increases in field magnitude or distinct spikes.
- Mark preliminary peaks: Lightly mark the wall at peak locations (painter’s tape works well). Peaks repeating every ~16 inches often indicate screw lines along studs.
- Scan vertically: Move the phone up and down over marked peaks. A continuous ridge suggests a steel stud behind the drywall. Sharp, isolated peaks are likely individual screws.
- Cross-check spacing: Verify you see parallel lines at standard spacing (16 or 24 inches on center). Irregular spacing may indicate blocking, brackets, or non-standard framing.
- Refine with shorter passes: Zoom in with shorter, overlapping sweeps to pinpoint the stud center. Most anchors should be placed near the stud centerline, not just at a screw head.
- Validate: Use a small rare-earth magnet to confirm a screw head location, or drive a tiny pilot hole in a low-risk area if appropriate. For safety, scan with a non-contact voltage tester before drilling.
- Map your findings: Create a quick sketch or photo with marks so you can repeatably find studs later.
Reading the Signals: Studs vs. Screws vs. Utilities
- Metal stud: A broader, elongated anomaly that remains detectable across a vertical path. The signal is more gradual and extends along the wall height.
- Drywall screws: Tight, sharp spikes that repeat at regular intervals along the stud line. Use these to confirm the stud’s centerline.
- Plumbing (steel or iron): A localized anomaly that follows a vertical or horizontal route but may deviate from stud spacing. Combine with visual cues (fixtures, nearby bathrooms/kitchens).
- Electrical wiring: The magnetometer is not a primary tool, but if you see faint periodic fluctuations when running appliances or near switches, be cautious. Validate with a proper voltage detector.
Patterns matter. If your marks don’t align with typical framing patterns, assume you’re seeing something other than studs until confirmed by independent checks.
Calibration, Orientation, and Noise Control
Magnetometer accuracy hinges on minimizing external bias and maintaining consistency:
- Recalibrate: Move the phone in a figure-eight and rotate it about all three axes if readings drift.
- Remove nearby magnets: Desk speakers, magnetic tool holders, or even metal furniture can skew your baseline. Step away or reposition.
- Hold orientation steady: Avoid rolling the phone edge-to-edge mid-sweep; changes in sensor orientation can look like wall anomalies.
- Slow, steady passes: Fast moves increase noise. If your app supports smoothing, use light filtering to reveal trends while preserving peaks.
Safety note: A phone magnetometer is not a substitute for electrical safety tools. Always de-energize circuits where possible and verify with a non-contact voltage tester before drilling.
Accuracy Expectations and Limits
Through standard drywall, you can often resolve steel studs and screws reliably. Accuracy drops with increased distance, complex wall assemblies, plaster with metal lath, or foil barriers. The magnetometer may saturate or provide ambiguous readings near very strong magnets, in which case recalibration and accessory removal are essential.
Practical tips:
- Expect repeatable stud line detection within a few millimeters of lateral position, but verify the center with multiple passes.
- Confirm with an independent method (rare-earth magnet, pilot hole, or visual inspection) before loading a heavy mount.
- If a heat map view is available, create a small grid (e.g., 12×12 inches) to visualize the ridge corresponding to the stud.
Metal-Finding Methods Compared
| Method | Detects | Typical Depth | Pros | Cons |
|---|---|---|---|---|
| iPhone magnetometer sweep | Steel studs, screws, ferrous plates | Few cm through drywall | Always with you, no extra hardware, quick mapping | Not reliable for non-ferrous or live wires; sensitive to noise |
| Rare-earth (neodymium) magnet | Screw heads, steel edges at surface | Surface contact | Cheap, definitive for screws, easy confirmation | Short range; can stick to hidden metal unexpectedly |
| Electronic stud finder (magnetic) | Screws and nails | Close to surface | Simple, no batteries (passive types) | Finds fasteners, not necessarily stud center |
| Electronic stud finder (active) | Density changes, some detect AC wires | Varies by model | Can find wood studs and warn of live wires | False positives on textured walls; needs practice |
| Borescope (inspection camera) | Direct visual of cavity | Via small access hole | Definitive identification | Invasive, requires drilling |
For Developers: Sampling the Magnetometer on iOS
If you’re building your own magnetic sweep tool, the Core Motion framework provides tri-axis magnetic field data in microtesla. A simple magnitude calculation and a rolling baseline let you highlight peaks. Keep update intervals at 50–100 Hz for smooth scanning, and apply light filtering to reduce jitter without erasing sharp spikes from screws.
import CoreMotion

let motion = CMMotionManager()
motion.magnetometerUpdateInterval = 1.0 / 60.0 // 60 Hz is a good starting point

motion.startMagnetometerUpdates(to: OperationQueue.main) { data, error in
    guard let field = data?.magneticField, error == nil else { return }
    // Tri-axis field in microtesla (µT)
    let x = field.x
    let y = field.y
    let z = field.z
    // Magnitude of the field vector
    let magnitude = sqrt(x*x + y*y + z*z)

    // TODO: Subtract a rolling baseline and display magnitude + delta
    // Use light smoothing (e.g., EMA) to reveal trends but keep spikes
}
Enhance usability by visualizing a bar or heat map, adding peak hold markers, and guiding the user to keep a consistent orientation while scanning.
FAQs
Can an iPhone reliably find metal studs behind drywall?
Yes—steel studs and drywall screws produce clear magnetic anomalies that are often easy to map with a careful sweep. Depth, wall composition, and nearby magnets can affect results, so validate with a secondary method before drilling.
Will it find wood studs?
Not directly. The magnetometer detects ferromagnetic metal, not wood. However, it can find the screws fastening drywall to wood studs; the screw line lets you infer the stud center. For non-metal fastening systems, use an active stud finder.
Is it safe for detecting live wires?
No. A phone magnetometer is not a substitute for electrical safety tools. Use a non-contact voltage tester or a stud finder with live-wire detection and follow standard safety practices.
Bottom Line
Using a metal stud finder with your iPhone’s magnetometer is a practical, low-cost technique that works well in many drywall scenarios, especially with steel framing. Master the sweep, learn the signal patterns, and always validate with a secondary method before committing to cuts or fasteners. If you prefer an all-in-one, offline measurement suite that includes a magnetometer-based metal detector alongside a level, ruler, compass, and more, consider Level Tool.
