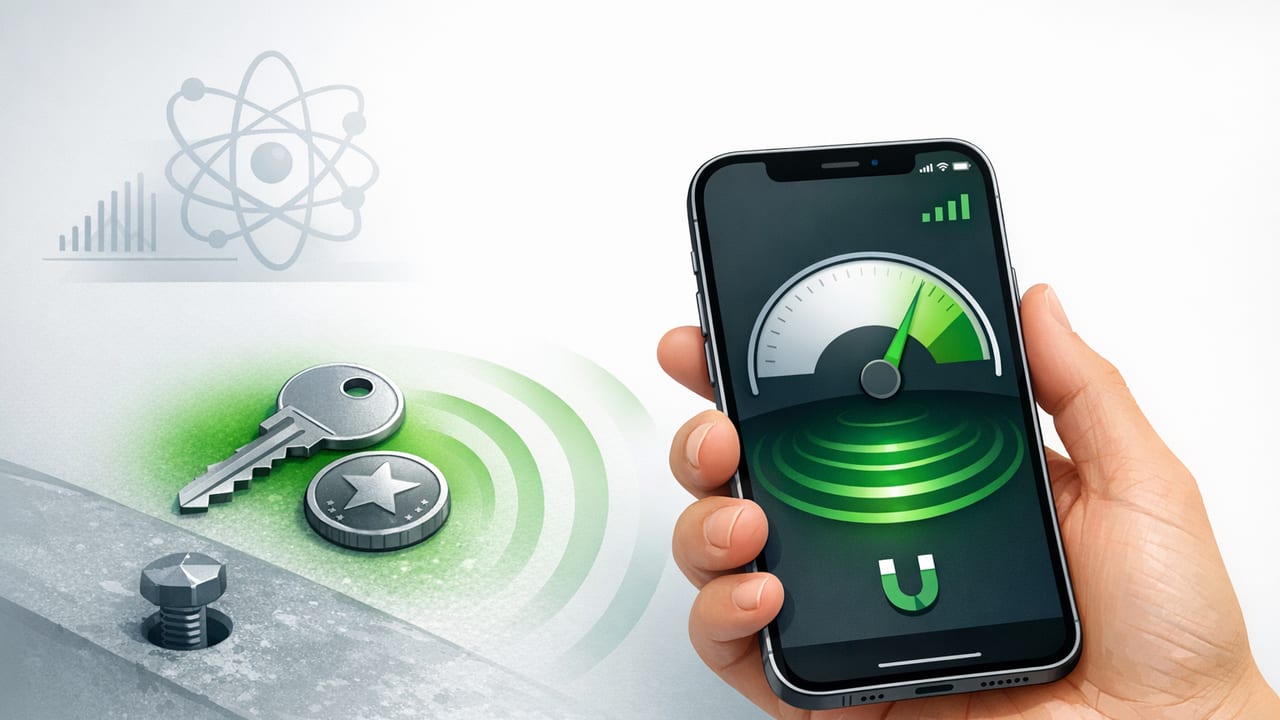
A metal detector app using iPhone sensors can be surprisingly useful for everyday DIY—locating hidden nails, screws, metal studs, electrical box screws, or rebar near the surface before you drill, cut, or mount hardware. The key is understanding what your iPhone is actually measuring, what it can’t detect, and how to use it in a way that produces consistent results.
This guide explains the sensor behind iPhone metal detection, realistic accuracy expectations, and practical scanning techniques you can apply at home or on a jobsite—without turning this into a guessing game.
What sensor makes an iPhone “metal detector” possible?
Most metal detector apps rely on the iPhone’s magnetometer—a sensor designed to measure magnetic field strength and direction. It’s also the sensor that helps power the compass. When ferromagnetic materials (especially iron and steel) are nearby, they can distort the local magnetic field. The magnetometer detects that distortion, and the app visualizes it as a reading, graph, gauge, or alert.
Magnetometer basics (in plain language)
- What it measures: magnetic field strength (commonly shown in microteslas, µT).
- What increases the reading: nearby steel/iron objects, magnetic tools, speakers, some electronics.
- What often won’t change much: non-ferrous metals like aluminum, copper, brass (unless they’re part of something that affects the field indirectly).
Important: An iPhone metal detector feature is essentially a magnetic field scanner. It’s great for “something metal is close,” less great for “this is a copper pipe exactly here.”
What can a metal detector app find (and what it can’t)?
Used correctly, a metal detector app using iPhone sensors can help you locate many common DIY targets—especially items close to the surface. But there are firm limitations you should respect.
Best targets (high success)
- Nails, screws, drywall fasteners in studs or trim
- Metal studs behind drywall
- Steel electrical boxes or mounting screws
- Rebar near the surface of thin concrete (results vary)
- Hidden metal brackets in furniture or cabinetry
Weak targets (hit-or-miss)
- Copper pipes (non-ferrous; may produce minimal effect)
- Aluminum framing (often minimal effect)
- Small jewelry unless very close and ferromagnetic
- Deep targets behind thick walls or deep concrete
Do not rely on it for
- Confirming electrical safety (live wires don’t reliably show up in magnetometer readings)
- Precise depth measurement (most apps estimate at best)
- Professional surveying or compliance-driven inspection work
How accurate is a metal detector app on iPhone?
Accuracy depends less on the app’s UI and more on physics + environment + technique. Magnetometers are sensitive, but they detect field changes, not “metal” directly. That means accuracy is best described as repeatability: can you reproduce the same peak reading when you scan the same area the same way?
In practical DIY terms:
- Close range (0–2 cm from the surface): can be very responsive for nails/screws and metal studs.
- Through drywall: often useful for locating stud fasteners or stud edges if you scan slowly.
- Through tile/backer board: results vary; thicker or denser layers reduce sensitivity.
- Concrete: small items are difficult; rebar may show up if it’s not too deep.
Step-by-step: How to scan a wall, floor, or furniture safely
To get reliable results from a metal detector app using iPhone sensors, treat it like a measurement tool: control variables and scan with a repeatable method.
1) Remove obvious interference
- Take off magnetic phone mounts, MagSafe accessories with strong magnets, and bulky metal cases.
- Keep keys, tools, and fasteners out of the hand holding the phone.
- Step away from large appliances (refrigerators, washing machines) when testing baseline behavior.
2) Find your baseline reading
Hold the phone in open space and note the stable reading (many environments sit roughly in the tens of µT). Your goal is to detect changes from that baseline.
3) Identify where the sensor is on your iPhone
Different models place sensors in slightly different locations. Practically, you can map it:
- Open the metal detector view.
- Bring a small steel item (like a screwdriver shaft) near different corners of the phone.
- Notice where the reading spikes the most—scan with that area closest to the surface.
4) Scan in a grid, not random passes
Random sweeping creates false “peaks.” Instead:
- Move in straight lines, slowly, keeping distance to the surface consistent.
- Overlap your passes (like mowing a lawn).
- When you find a peak, mark it (painter’s tape works), then scan perpendicular to confirm.
5) Confirm with a second method before drilling
A magnetometer spike suggests metal—but you should still confirm with a stud finder, a small pilot hole in a safe zone, construction plans, or visual cues (outlet locations, fastener patterns). Use the app as a screening tool, not the final authority.
Common DIY scenarios and what to expect
| Scenario | What you’re likely detecting | Technique that works best |
|---|---|---|
| Hanging a TV on drywall | Stud screws, metal stud edges | Scan horizontally at bracket height; confirm peaks align vertically |
| Finding nails in trim before cutting | Finish nails | Scan slowly along the trim line; keep sensor close to the surface |
| Locating rebar in thin concrete | Steel reinforcement | Scan a grid and look for repeating linear peaks |
| Checking furniture before drilling cable holes | Hidden brackets, corner plates | Scan corners and joints; confirm peaks from multiple angles |
| Finding a lost screw on carpet | Steel screw (if ferromagnetic) | Lower the phone close to the surface; scan in tight lanes |
How to avoid false positives (the biggest frustration)
False positives are usually caused by one of three things: nearby magnets, electrical/electronic interference, or changing phone orientation.
Practical fixes
- Hold the phone steady (orientation changes can alter readings even with no metal nearby).
- Scan slower than you think; fast sweeps can “miss” peaks.
- Re-check baseline after moving to a different room or floor.
- Watch for repeating patterns; a real stud line often creates consistent peaks in a straight vertical band.
Offline use: why it matters for measurement tools
Many DIY tasks happen in basements, garages, outbuildings, or remote locations where reception is poor. A metal detector app using iPhone sensors doesn’t need the internet to read the magnetometer, but some apps include online features that can distract or add friction.
Offline functionality is valuable because it tends to mean:
- Faster startup and fewer interruptions
- No reliance on cellular/Wi‑Fi for basic measurements
- More predictable behavior in workshops or jobsite environments
For developers: reading magnetometer data (Swift example)
If you’re curious what a metal detector feature is doing under the hood, iOS provides access to magnetic field readings through Core Motion on supported devices. One common approach is to use CMDeviceMotion and read magneticField. Apps typically smooth the signal and trigger UI alerts when readings deviate from baseline.
import CoreMotion

let motion = CMMotionManager()

if motion.isDeviceMotionAvailable {
    motion.deviceMotionUpdateInterval = 0.1
    motion.startDeviceMotionUpdates(to: .main) { data, error in
        guard let data = data else { return }
        let field = data.magneticField.field
        // field.x, field.y, field.z are in microteslas (µT)
        let magnitude = (field.x * field.x + field.y * field.y + field.z * field.z).squareRoot()
        print("Magnetic field magnitude: \(magnitude) µT")
    }
}
Note: This doesn’t “detect metal” directly—it measures field strength. Metal detection logic is a layer you build on top (baseline, thresholds, filtering, and user guidance).
Quick checklist: best practices for reliable scanning
- Remove magnets (mounts, accessories) from the phone.
- Find baseline in open space before each session.
- Keep distance consistent while scanning.
- Scan in a grid and confirm peaks from two directions.
- Mark peaks and look for straight-line patterns (studs, rebar).
- Validate before drilling—use common sense and a second method.
FAQ
Can an iPhone detect gold or silver with a metal detector app?
Usually not reliably. Gold and silver are non-ferrous and don’t strongly distort magnetic fields like steel does. Dedicated metal detectors use different technologies (like electromagnetic induction) that smartphones typically can’t replicate.
Why does the reading jump when I rotate my phone?
Magnetometer readings are vector-based (x/y/z axes). Rotating the phone changes how the sensor axes align with Earth’s magnetic field, which can change the displayed values. Good scanning technique keeps orientation steady.
Do I need to calibrate the compass first?
It can help. If your compass behaves erratically, it’s a sign magnetic interference is present or calibration is needed. Even then, for metal scanning, what matters most is a stable baseline and consistent motion.
Is it safe to use around electronics?
Generally yes, but avoid placing the phone directly on strong magnets or speaker drivers, and be mindful that workshops and power tools can create interference that makes readings noisy.
Putting it all together
A metal detector app using iPhone sensors is best viewed as a fast, pocketable way to spot magnetic anomalies—especially helpful for DIY tasks like finding nails, screws, and metal studs before you drill or cut. If you control interference, scan slowly in a grid, and confirm peaks from multiple directions, you’ll get results that are far more consistent than random sweeping.
If you prefer an offline toolkit approach where a metal detector sits alongside other measurement utilities (like level, ruler, and compass), apps such as Level Tool bundle multiple sensor-based tools into one place—useful when you want fewer installs and more repeatable workflows.
