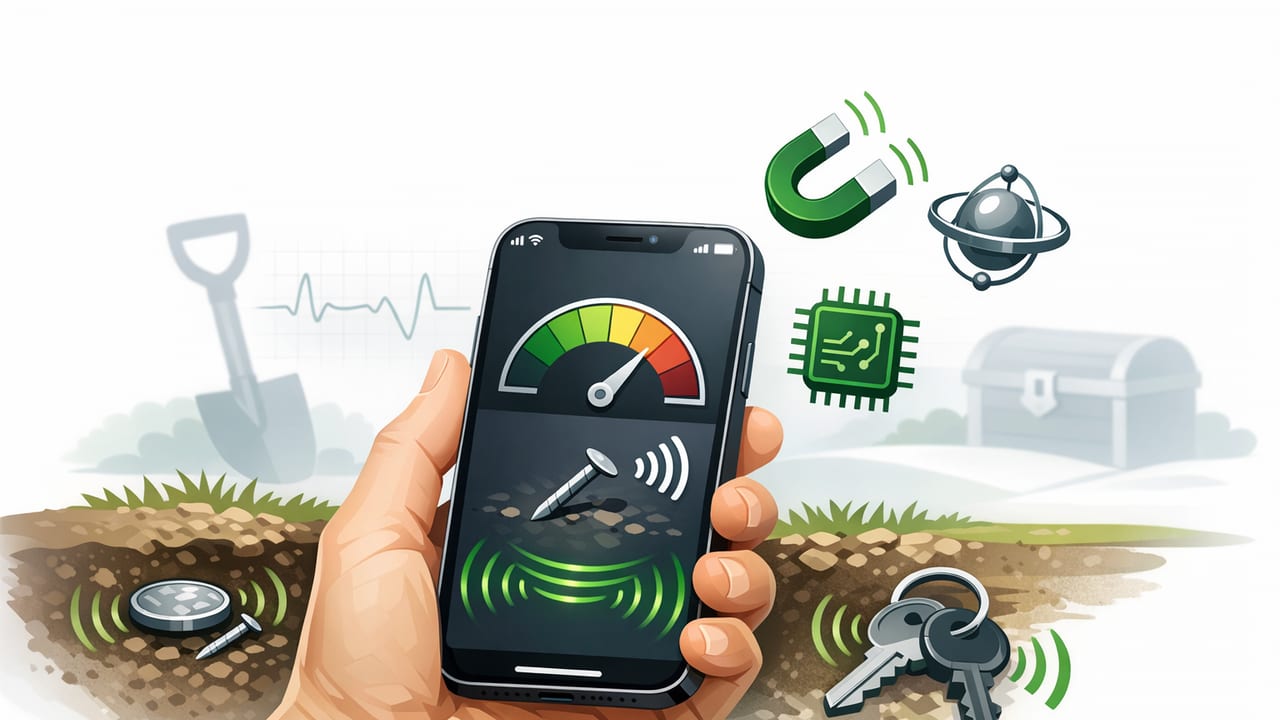
A metal detector app using iPhone sensors can be surprisingly useful for quick checks around the house, workshop, or outdoors—especially when you need a fast answer like “Is there a nail behind this drywall?” or “Is this spot magnetically noisy?” Unlike a dedicated search coil metal detector, an iPhone-based tool is really a magnetic field detector: it reads changes in the Earth’s magnetic field and nearby magnetic sources using your phone’s built-in magnetometer.
This guide explains what iPhone metal detection apps can and can’t do, how the underlying sensors work, what affects accuracy, and how to use one safely and effectively for DIY and home improvement.
What an iPhone “metal detector” app actually detects
Most apps marketed as “metal detectors” on iOS are measuring magnetic field strength, not “metal” in a general sense. The iPhone’s magnetometer is designed primarily for compass heading, so it is most sensitive to ferromagnetic materials and magnetic sources.
Good targets for iPhone sensor-based metal detection
- Steel nails and screws behind drywall
- Iron objects (tools, brackets, some pipes)
- Magnets (cabinet latches, speakers, MagSafe accessories)
- Motors and transformers (appliances, fans, power tools when running)
Poor targets (often not detectable) with a phone magnetometer
- Aluminum (non-ferromagnetic)
- Copper wiring (usually weak unless current is flowing)
- Gold and many stainless steels (often non-magnetic)
- Small objects far from the phone (range is limited)
Rule of thumb: If a fridge magnet sticks to it, an iPhone magnetometer is more likely to react to it.
Which iPhone sensors are involved?
A practical metal detector app using iPhone sensors typically relies on:
- Magnetometer (measures magnetic field in microteslas, µT)
- Accelerometer + gyroscope (stabilization, orientation, smoothing)
Some apps also add helpful UI behavior using the camera (for aiming) or haptics (to “beep” as the field rises), but the core measurement comes from the magnetometer.
How the magnetometer turns into a “metal detector”
The Earth’s magnetic field is typically around 25–65 µT depending on where you are. A magnetometer reads the field vector along three axes (X, Y, Z). When you move the phone near something ferromagnetic—or near a magnet or motor—the local field changes. The app displays:
- Total field magnitude (overall strength)
- Axis values (helpful for orientation and interference spotting)
- Threshold alerts (sound/vibration when crossing a set level)
Many apps compute magnitude like this:
|B| = sqrt(x^2 + y^2 + z^2)Where x, y, and z are magnetometer readings in µT (or device-specific units converted by the framework).
Accuracy and limitations (what to expect realistically)
Phone-based detection is best treated as a near-field indicator, not a deep-search tool. Here are the key limitations:
1) Range is short
Most useful detections happen within a few centimeters to perhaps 10–15 cm for larger items (big screws, brackets, magnets). Drywall, tile, and thin wood are often fine; thicker masonry and distance reduce sensitivity quickly.
2) Interference is everywhere
Common sources of magnetic “noise” include:
- Speakers, laptops, and chargers
- Metal tables and toolboxes
- Vehicles and large appliances
- MagSafe cases/wallets and magnetic mounts
3) It detects magnetism, not “metal”
A nail in a stud can be easy; a copper pipe can be invisible unless current or other factors create a detectable field.
4) Your grip and orientation matter
The magnetometer sits at a fixed location inside the phone. If you rotate the phone or change where you hold it, readings can shift. This is why consistent scanning technique matters (see below).
Best practices: how to scan effectively
To get reliable results from a metal detector app using iPhone sensors, use a repeatable process.
Step-by-step scanning method
- Remove magnetic accessories: detach MagSafe wallets, magnetic rings, and strong-case magnets.
- Move away from obvious interference: step away from a laptop, speaker, or metal workbench if possible.
- Establish a baseline: hold the phone still for 3–5 seconds and note the typical µT reading.
- Scan slowly: move at ~1–3 cm per second; fast motion can make the display lag or overshoot.
- Keep orientation consistent: scan with the same side of the phone facing the surface throughout.
- Confirm with a second pass: scan the same line in reverse. True targets usually repeat in the same spot.
- Map the strongest point: mark where the reading peaks; that’s usually closest to the source.
Grid scanning for walls (quick DIY method)
If you’re checking a wall before drilling, a simple grid approach helps:
- Pick a 30 cm × 30 cm area.
- Scan horizontal lines every 5 cm.
- Then scan vertical lines every 5 cm.
- Mark repeatable peaks with painter’s tape.
Important: This can help you find nails/screws (and sometimes metal corner beads), but it is not a guaranteed way to locate live electrical wiring or plumbing.
Calibration: when and how to do it
Magnetometers can drift due to temperature, nearby magnets, or changes in the phone’s environment. If readings seem “stuck,” jumpy, or unusually high everywhere, recalibration helps.
Practical calibration tips
- Use the figure‑eight motion: slowly wave the phone in a large figure-eight pattern for 10–15 seconds.
- Rotate on all axes: tilt and roll the phone gently to expose the sensor to different orientations.
- Remove the case temporarily: some cases/mounts contain magnetic parts that skew readings.
- Restart the app: many apps reinitialize sensor fusion on launch.
Common use cases (where iPhone-based detection shines)
1) Finding nails/screws behind drywall
The strongest and most repeatable phone detections in home improvement are often fasteners. If you’re hanging a picture or mounting a bracket, a sensor-based scan can help confirm where a stud was previously fastened.
2) Locating metal corner beads and drywall patches
Metal corner bead on outside corners often produces a long, linear magnetic signature. If your readings rise steadily along an edge, you may be tracing a metal strip rather than a single nail.
3) Checking for magnetic interference before compass/navigation tasks
If your compass heading seems unreliable, a magnetometer view can reveal whether you’re standing near a large metal object, vehicle, or hidden magnet that’s distorting readings.
4) Quick workshop checks
Examples include confirming whether a part is ferromagnetic before choosing a fastener or magnet mount, or identifying which drawer/area has a stray magnet affecting tools.
Phone app vs. dedicated metal detector: a practical comparison
| Feature | iPhone magnetometer app | Dedicated metal detector |
|---|---|---|
| Best at detecting | Ferromagnetic objects, magnets, motors | Many metals (depending on tech), including non-ferrous |
| Depth/range | Short (near-field) | Much deeper (coil size + settings dependent) |
| Precision locating | Moderate; depends on technique and interference | High with pinpoint modes |
| Use indoors | Good for quick checks; susceptible to household interference | Varies; can false on rebar/wiring, but more controllable |
| Cost & convenience | Very convenient; uses existing phone | Extra device; higher cost |
Safety notes (don’t skip these)
- Do not rely on a phone to find live wires before drilling. Use a proper stud finder with AC detection, consult building plans, or open access safely.
- Avoid digging based on phone readings in areas that may contain utilities. Call local utility marking services where applicable.
- Keep distance from medical devices (e.g., pacemakers) when testing strong magnets or motors.
For developers: reading magnetometer data in iOS (Swift)
If you’re building your own measurement workflow, iOS provides magnetometer readings via Core Motion. This minimal example starts magnetometer updates and prints the field values:
import CoreMotion

let motion = CMMotionManager()

if motion.isMagnetometerAvailable {
    motion.magnetometerUpdateInterval = 0.1
    motion.startMagnetometerUpdates(to: .main) { data, error in
        guard let field = data?.magneticField, error == nil else { return }
        // Values are in microteslas (µT)
        let x = field.x
        let y = field.y
        let z = field.z
        let magnitude = (x*x + y*y + z*z).squareRoot()
        print("x: \(x) y: \(y) z: \(z) |B|: \(magnitude)")
    }
}
Tip: Real-world apps usually add smoothing (moving average), peak-hold, and calibration prompts to make readings more usable.
Troubleshooting: why readings look wrong
“The number is high everywhere”
- Check for a magnetic case/mount or MagSafe accessory.
- Move away from a metal table, computer, or speaker.
- Recalibrate using the figure-eight motion.
“The value changes when I rotate the phone”
This is expected. You’re changing how the sensor axes align with the field. For consistent results, keep the same phone orientation while scanning and focus on repeatable peaks in the same location.
“It doesn’t detect the pipe/wire I’m looking for”
It may be non-ferromagnetic (copper, PVC, some stainless) or too deep behind the surface. In that case, use a purpose-built detector for the material and depth you need.
Choosing a good sensor-based metal detector app
When evaluating options, prioritize:
- Clear µT readout plus peak/hold or graph view
- Offline functionality (useful in basements, job sites, or outdoors)
- No forced sign-ups for a basic measurement utility
- Calibration guidance and stable updates for new iOS devices
Conclusion
A metal detector app using iPhone sensors is best understood as a magnetic field detector: excellent for quick DIY checks (like finding nails, magnets, or magnetic interference) and less suitable for deep searching or identifying non-ferrous metals. With a consistent scanning technique, baseline awareness, and occasional calibration, it can become a genuinely practical addition to your pocket tool kit.
If you prefer having multiple offline measurement utilities in one place (including magnetic field detection alongside leveling and other tools), an all-in-one iOS toolbox like Level Tool can be a convenient way to keep these functions together.
