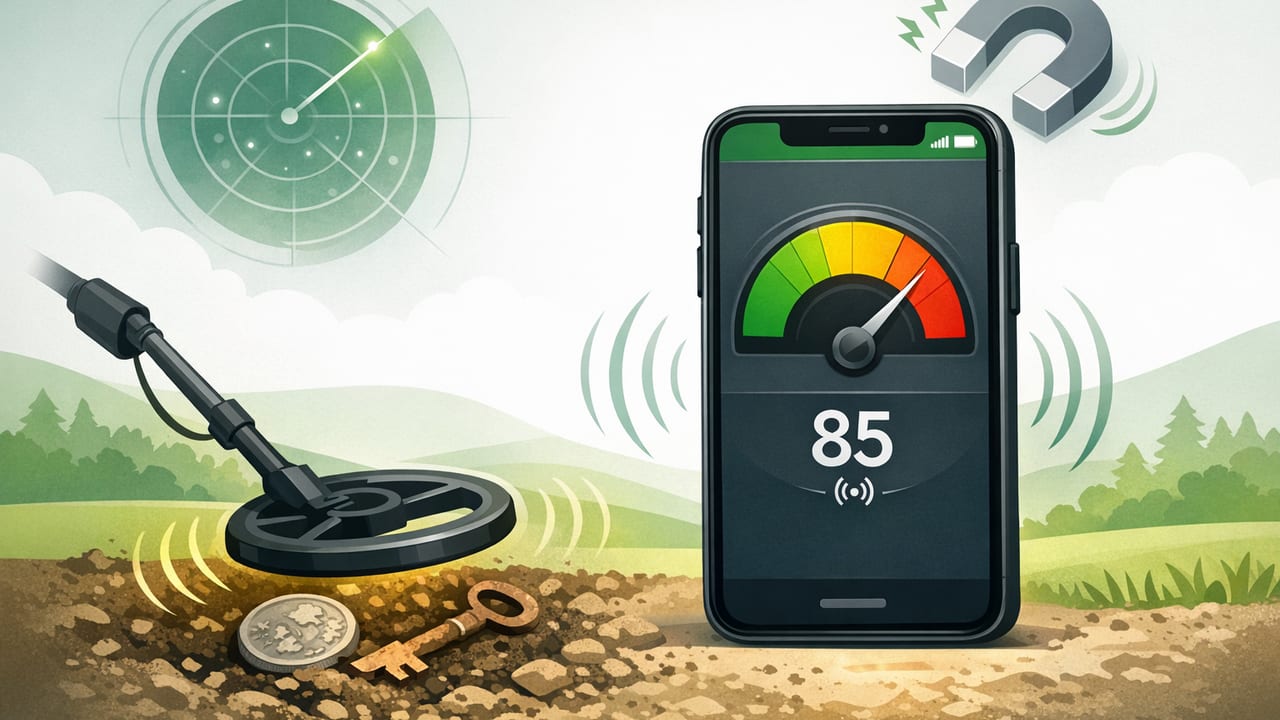
A metal detector app can turn your iPhone into a surprisingly useful tool for quick checks around the house, workshop, or job site. It won’t replace a dedicated metal detector for deep searches outdoors, but it can help you locate nearby ferrous metal (iron/steel) and identify magnetic “hot spots” behind drywall, under furniture, or near appliances. The key is understanding what it’s actually measuring, how to set expectations for accuracy, and how to avoid common false readings.
This guide breaks down how a metal detector app works on iOS, what “accuracy” really means in this context, and a practical step-by-step workflow you can use for DIY tasks.
What a Metal Detector App Actually Measures (and Why That Matters)
Most iPhone metal detection features rely on the phone’s magnetometer—the same sensor used for the compass. A magnetometer measures magnetic field strength around your device, typically displayed in microteslas (µT). Earth’s magnetic field is often in the neighborhood of ~25–65 µT depending on where you are, so the app is looking for changes from that baseline.
- What it detects best: ferromagnetic metals like iron and many steels (nails, screws, some studs, tool parts).
- What it may detect weakly: some magnetic stainless steels (varies by alloy).
- What it often won’t detect reliably: non-ferrous metals like aluminum, copper, brass, gold, and silver (these are typically not magnetic).
Rule of thumb: If a magnet sticks to it, your metal detector app has a much better chance of noticing it.
This is why the phrase “metal detector” can be misleading: the phone isn’t emitting a search field the way many dedicated detectors do. Instead, it’s reading the magnetism around it. That makes the app extremely convenient for fast checks, but also sensitive to interference.
Accuracy: What You Can Expect in Real Life
When people ask if a metal detector app is “accurate,” they usually mean one of three things:
- Repeatability: Does the reading change consistently when you move closer to the same object?
- Precision: Can it help pinpoint the object’s location within a small area?
- Reliability: Does it avoid false positives from electronics, magnets, or structural materials?
In typical indoor DIY use, a well-calibrated metal detector app can be highly repeatable and fairly precise at close range. The limitation is depth: it generally works best when the metal is very close to the phone—often within a few centimeters depending on size and magnetism. A small screw behind thick plaster may not register, while a steel stud corner bead might spike strongly.
Factors That Affect Results
- Object size: bigger metal objects create stronger disturbances.
- Distance: small increases in distance can cause large drops in signal.
- Metal type: ferrous > weakly magnetic alloys > non-magnetic metals.
- Nearby interference: speakers, MagSafe accessories, tools, power supplies, and appliances can overwhelm readings.
- Phone case and attachments: magnetic mounts or ring magnets can ruin detection until removed.
How to Calibrate a Metal Detector App for Better Readings
Calibration doesn’t “tune” the app to metal; it helps the phone’s magnetometer establish a clean baseline and reduce directional bias. If your compass ever acted weird, it’s the same sensor needing attention.
Quick Calibration Checklist
- Remove magnetic accessories (MagSafe wallet, magnetic ring/plate, magnetic mount).
- Move away from obvious interference (large speakers, metal desks, running motors, breaker panels).
- Do a slow figure‑eight motion with the phone for 5–10 seconds.
- Re-open the app and note the baseline reading while holding the phone still.
If the baseline value drifts dramatically while the phone is not moving, you’re likely near interference or there’s something magnetic attached to your device.
A Practical Workflow: How to Scan an Area Without Chasing False Positives
Use a consistent scanning method so spikes actually mean something. Here’s a simple approach that works well for walls, floors, furniture, and cabinetry.
Step-by-Step Scanning Method
- Establish a baseline: hold the phone still and note the resting µT value.
- Scan in a grid: move the phone slowly left-to-right, then slightly down, repeating like mowing a lawn.
- Keep orientation consistent: rotating the phone can change readings; try to keep the same angle.
- Mark peaks: when you see a strong spike, pause and “cross-check” by approaching from another direction.
- Pinpoint: the strongest spot is often directly over an edge/corner of the metal, not the center.
Tip: Move slowly. Many false readings come from quick motion and orientation changes, not actual metal.
Common DIY Uses for a Metal Detector App
A metal detector app shines in “quick confirmation” tasks—especially when you already suspect metal is present.
1) Finding Nails, Screws, and Metal Stud Features
If you’re hanging shelves or mounting a TV bracket, you may want to avoid hidden fasteners and locate metal elements. While it’s not a full stud finder replacement, it can help identify:
- nail/screw lines along studs (when fasteners are ferrous and close enough)
- metal corner bead on drywall edges
- metal lath in plaster walls (often produces broad, noisy readings)
2) Checking for Magnetic Hardware Under Furniture or Rugs
Lost screws, needles, pins, and small tools can sometimes be tracked if they’re ferrous and near the surface. Use the grid method and narrow down the highest peak.
3) Identifying Magnetic Interference Before Compass Navigation
Because the same sensor powers compass features, a quick sweep with a metal detector app can reveal why your compass bearings seem off in a specific spot—like near a car door, a steel railing, or a speaker.
4) Confirming Metal Behind a Finished Surface (with Safety in Mind)
For drilling or cutting, a metal spike can suggest “something metal is near,” but it does not confirm what it is. Treat it as a caution signal—not permission to proceed.
Interpreting Readings: A Troubleshooting Table
| What you see in the app | Likely cause | What to do |
|---|---|---|
| Baseline jumps around while phone is still | Nearby electronics/magnets; magnetic accessory on phone | Remove accessories, step away from interference, recalibrate |
| Big spike near appliances/outlets | Motors, transformers, speaker magnets, wiring fields | Confirm by scanning again with power off (when safe) and from another angle |
| Broad, noisy high readings across a whole wall | Metal lath, foil-backed insulation, dense mesh | Assume widespread metal; switch strategy (visual inspection, borescope, pro tools) |
| Small spike that disappears when you rotate the phone | Orientation sensitivity or sensor bias | Keep phone orientation fixed; rescan slowly; recalibrate |
| No change even right over a suspected metal item | Non-ferrous metal (aluminum/copper), too deep, too small | Try a different method (visual, magnet on string, dedicated detector) |
Limits and Safety Notes (Important for Home Improvement)
A metal detector app is best treated as a screening tool. For home improvement, the biggest risk is assuming “no metal reading” means “safe to drill.” It doesn’t.
- Electrical wiring: many wires are copper (non-magnetic). A metal detector app may not detect them at all.
- Pipes: copper and PEX won’t show as magnetic; steel pipes might.
- Rebar and mesh: can create confusing, broad fields that reduce pinpoint accuracy.
If you’re drilling into unknown areas, use the right safety process: review building plans when available, use a multi-sensor stud finder, and consider inspection holes or professional help for high-risk locations.
Choosing a Good Metal Detector App: Features That Matter
Not all apps present sensor data in a helpful way. When evaluating a metal detector app for iOS, look for:
- Clear µT display (so you can compare baseline vs. peaks)
- Stable refresh rate without jumpy animations that hide trends
- Simple UI you can read while scanning
- Offline functionality (useful in basements, remote cabins, or job sites without reception)
- Calibration guidance and a quick way to reset baselines
A Simple “Peak Mapping” Technique (Optional but Effective)
If you want a more methodical approach, you can map peaks like a mini survey:
// Peak-mapping checklist (manual process)
1. Pick a 30 cm x 30 cm area.
2. Scan rows at ~3–5 cm spacing.
3. Mark the highest reading in each row with painter's tape.
4. The overlap of row peaks is your most likely target zone.
This reduces guesswork and helps you avoid being misled by a single random spike.
FAQ: Metal Detector App Questions People Ask Most
Can a metal detector app find gold or silver?
Usually not reliably. Gold and silver are not magnetic, so a phone magnetometer typically won’t register them unless they’re attached to something ferrous or near a strong magnetic source.
Will it find copper pipes or electrical wiring?
Not consistently. Copper is non-ferromagnetic, so a metal detector app may show nothing even when copper is present.
Why does it spike near my laptop or speakers?
Speakers contain strong magnets, and laptops/power bricks emit fields that can disturb magnetometer readings. Scan farther away from electronics when you want cleaner results.
Final Takeaway
A metal detector app is a practical, pocket-ready way to spot nearby ferrous metal, sanity-check suspicious areas, and add one more layer of information to DIY decisions. Use it with a consistent scan pattern, calibrate when readings drift, and remember its biggest limitation: it measures magnetic field changes, not “all metals,” and it can’t guarantee what’s behind a wall.
If you prefer having multiple offline measurement tools in one place (including metal detection), apps like Level Tool bundle these utilities for quick access in the field.
