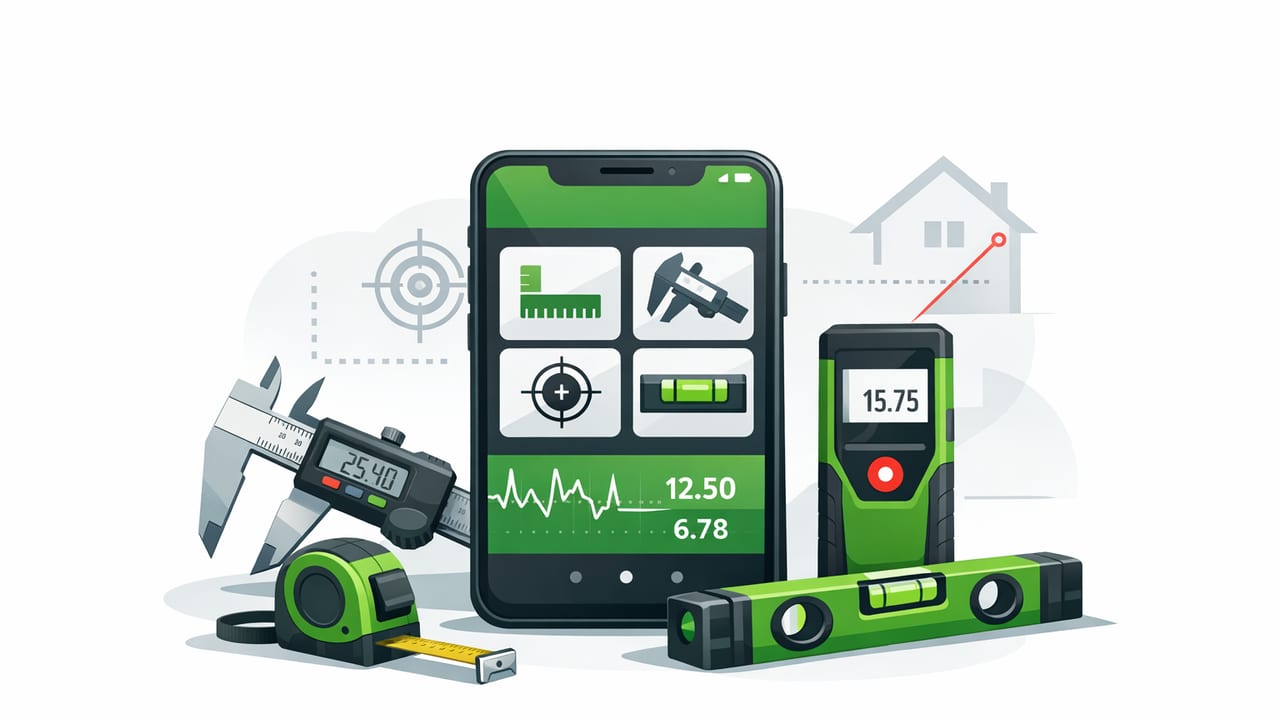
A modern measuring tools app on iOS can replace (or at least back up) several items in your toolbox: a bubble level, ruler, compass, barometer/altimeter, and more. For DIY homeowners, renters, and pros who move between rooms, jobsites, and outdoor locations, having these tools in one place is convenient—but only if you understand how to use them correctly and where the limits are.
This guide breaks down the most useful measurement tools you can run from an iPhone, what they’re best for, how to get more reliable results, and when you should still reach for a physical tool. It’s designed for practical outcomes: straighter installs, fewer do-overs, and better navigation even when you’re offline.
What a measuring tools app can do (and how it works)
An iOS measuring tools app typically relies on the phone’s built-in sensors:
- Accelerometer + gyroscope for level/plumb and angle measurements
- Magnetometer for compass headings (sensitive to nearby metal/electronics)
- Barometer for air pressure trends and approximate altitude changes
- Camera/AR (optional) for visual alignment or projected lines (varies by app)
Used well, these sensors can be impressively capable. Used casually—without calibration, stable placement, or environmental awareness—you can get readings that are “close” but not dependable.
Rule of thumb: An app is great for fast checks, layout, and verification. For final tolerances (cabinetry, finish carpentry, long spans), confirm with a trusted physical tool.
Quick-start workflow: get reliable readings in 60 seconds
Before your first measurement (or if results seem off), do a quick setup:
- Remove bulky cases that wobble on surfaces or block flat contact.
- Clean the contact surface (dust and grit can tilt the phone slightly).
- Calibrate on a known flat surface (a sturdy countertop can work). If your app supports “flip calibration,” do it: calibrate, rotate the phone 180°, confirm the reading matches.
- Let the reading settle for a second—tiny hand movements matter.
DIY use cases: the tools you’ll use most
1) Level / plumb / slope checks
The bubble level (or digital level) is usually the centerpiece of a measuring tools app. It’s ideal for:
- Hanging frames and mirrors
- Aligning shelves, curtain rods, and towel bars
- Checking if a table, appliance, or washing machine is sitting level
- Verifying plumb on posts or partitions
- Quick slope checks for drainage (with realistic expectations)
Accuracy tip: The biggest source of error is how the phone sits on the surface. For repeatable results, place the phone in the same orientation each time (e.g., top edge always facing left). If you must hold it by hand, brace your elbows and use two hands.
2) Laser/projection or alignment line (when available)
Some iOS measurement apps offer a projected line or a visual alignment feature. This can help with:
- Marking a consistent height across multiple studs
- Aligning a row of hooks or gallery wall layout points
- Keeping tile lines visually straight before committing
Practical note: If the feature depends on camera/visual alignment, lighting and reflective surfaces can affect usability. Treat it like a “layout assist” rather than a certified laser level replacement.
3) Ruler / short measurement checks
An on-screen ruler is handy for quick checks such as screw lengths, drill bit diameter comparisons, or marking small offsets. For best results:
- Use it for short distances where parallax and screen scaling won’t compound errors.
- Confirm units (inches vs cm) before copying a measurement.
- For critical cuts, verify with a tape measure or calipers.
4) Compass for direction and alignment
A compass tool helps in both DIY and outdoor contexts:
- DIY: checking approximate wall orientation for solar gain, garden planning, or antenna placement
- Outdoors: keeping a bearing on trails when signage is poor
Compass reliability tip: Magnetometers hate interference. Step away from rebar, steel beams, vehicles, speakers, and power tools. If readings drift, recalibrate using your app’s instructions (often a figure‑eight motion).
5) Barometer / altimeter for weather awareness and elevation changes
A barometer tool is underrated. You can use it to:
- Spot rapid pressure drops that may signal incoming weather
- Track relative altitude change during hikes (helpful for pacing)
- Compare indoor pressure shifts when storms approach (informal, but useful)
Reality check: Pressure-based altitude is influenced by weather systems, not just elevation. It’s great for trends and relative change, not survey-grade elevation.
Pick the right tool for the job (table)
| Task | Best tool in a measuring tools app | What to watch out for |
|---|---|---|
| Hang a shelf | Bubble/digital level | Phone must sit flat; confirm on both ends of shelf |
| Align a row of picture frames | Level + alignment line | Wall texture can tilt the phone—use a straightedge if needed |
| Check floor slope | Angle/slope readout | Short measurements can mislead; average across multiple spots |
| Navigate off-grid | Compass (offline) | Magnetic interference; keep distance from metal |
| Quick size check (small parts) | Ruler | Screen scaling assumptions; verify with a real ruler for precision |
| Weather trend awareness | Barometer | Altitude estimates vary with weather; focus on pressure trends |
Calibration and accuracy: a practical mini-checklist
Accuracy complaints usually come from a few repeatable issues. Here’s a quick checklist you can run anytime results feel “off.”
Level tool checklist
- Surface test: Place the phone on a flat surface, note the reading, rotate 180°, and compare. If readings don’t match (equal and opposite), recalibrate.
- Edge vs back: Some tasks work better with the phone on its edge (like a torpedo level). If your phone case prevents stable edge placement, remove it.
- Temperature and handling: Extreme temperature changes or constant motion can increase sensor noise. Let the phone acclimate if coming from a hot car or cold outdoors.
Compass tool checklist
- Move away from interference: even a steel watch band or magnetic phone mount can skew readings.
- Recalibrate: follow the app’s calibration prompts.
- Cross-check: compare with a physical compass if you’re navigating in high-stakes conditions.
Offline matters: why it’s a real feature, not a bullet point
Many people assume measurement apps require internet, but the core tools (level, ruler, compass, barometer) generally don’t. Choosing an app that works fully offline matters because:
- Jobsites often have weak reception or restricted Wi‑Fi.
- Basements and garages can be dead zones right when you need measurements.
- Outdoor navigation is more dependable when core tools don’t depend on signal.
- Privacy and reliability improve when sensor readings stay on-device.
A simple “measurement log” template (copy/paste)
Logging what you measured—and how—can prevent mistakes when you return to a project later. Paste this template into Notes or your preferred app:
Project:
Location:
Date:

Measurements:
- Item:
  Tool used (level/ruler/compass/barometer):
  Reading:
  Unit:
  Orientation (phone edge/back, direction faced):
  Notes (surface, calibration, conditions):

Verification:
- Confirmed with physical tool? (Y/N)
- If yes, result difference:
When you should not rely on an app alone
A measuring tools app is excellent for speed and convenience, but there are cases where a dedicated tool is the safer call:
- Long spans and finish work: cabinets, long countertop runs, or trim alignment over several meters/feet.
- Code-sensitive installs: anything that could create safety issues (stairs, railings) should be verified with appropriate tools.
- High magnetic interference environments: structural steel, industrial equipment, or vehicles nearby can ruin compass readings.
- Precision metal detection needs: phone-based metal sensing (where available) is for rough locating, not definitive identification.
What to look for in a measuring tools app (buyer’s checklist)
Not all apps are built the same. If you’re comparing options, prioritize:
- Clear calibration controls (and instructions you’ll actually use)
- Dual-axis leveling (helps avoid “it’s level in one direction only” surprises)
- Offline functionality for all core tools
- No subscription lockout for basic measurements (especially if it’s part of your toolbox)
- Readable UI with stable readings (filtering/smoothing that doesn’t lag excessively)
Putting it all together
A good measuring tools app can be the fastest way to confirm level, check a quick dimension, orient a wall or route, and keep moving—especially when you’re working in awkward spaces or away from signal. The key is treating your phone like an instrument: calibrate it, place it consistently, and verify with physical tools when stakes are high.
If you’re looking for an iOS option that bundles multiple sensor-based tools into one offline toolkit, Level Tool is one example of an app designed around that all-in-one approach.
