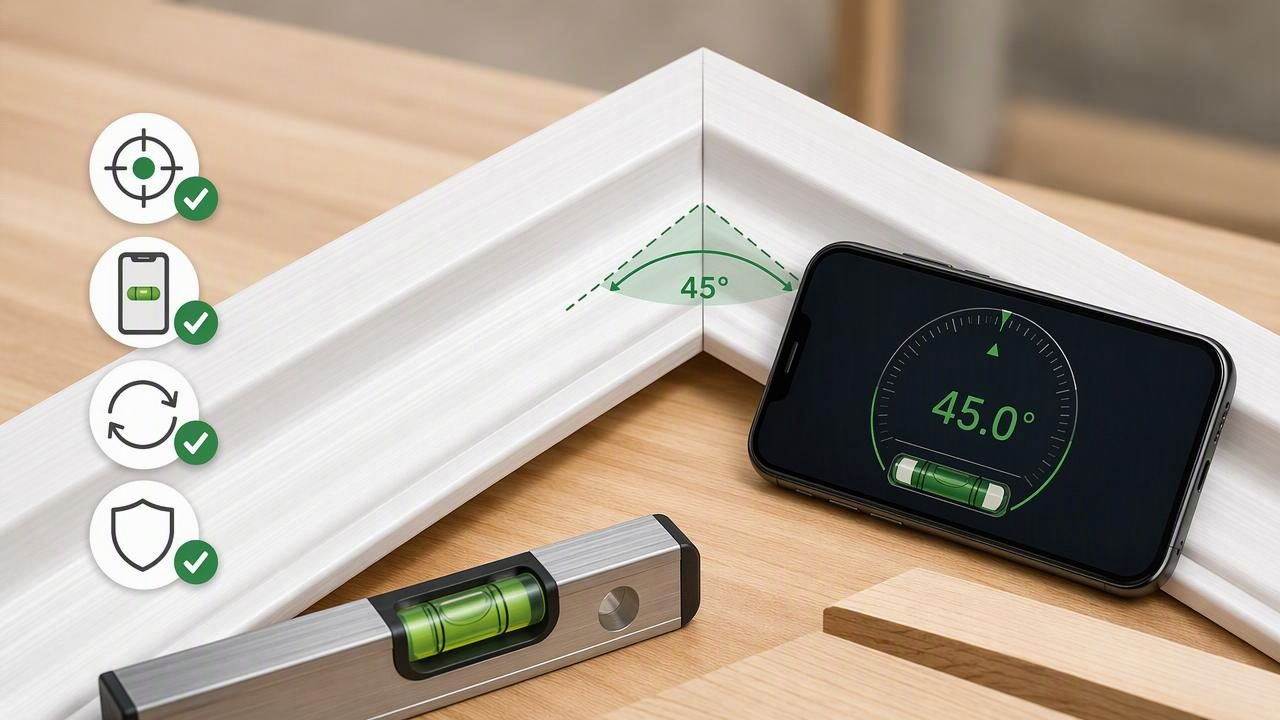
Getting a clean miter joint starts long before glue-up. Whether you are installing baseboards, building a picture frame, trimming a cabinet, or cutting molding, a small angle error can leave a visible gap at the face of the joint. A pocket level app can help you check setup angles, confirm a transferred reference, and repeat a measurement consistently—but only when you use it in the right orientation.
This guide explains how to measure a miter angle checklist with pocket level app workflows, including what an iPhone angle meter can measure directly, when you need a transfer tool, and how to avoid mistaking a bevel reading for a miter reading. The goal is not to replace a miter gauge, saw scale, or precision protractor. It is to create a dependable verification routine for practical DIY and finish-work tasks.
First: Know the Difference Between a Miter and a Bevel
A miter angle and a bevel angle are often confused because both affect how two pieces meet. They are measured on different planes.
| Measurement | What it describes | Typical example | Can a level app read it directly? |
|---|---|---|---|
| Miter angle | The angle across the face or width of a board. | A 45-degree cut for a 90-degree outside corner. | Not usually when the board stays flat and horizontal. |
| Bevel angle | The blade or edge tilt through the board thickness. | A 45-degree bevel on a box edge. | Often yes, when the phone contacts a suitable tilted surface. |
| Slope or pitch | The rise or fall from horizontal. | A sloped shelf, ramp, or roof framing member. | Yes, when the phone is held firmly against the surface. |
Most phone level and angle meter apps use motion sensors to determine orientation relative to gravity. If you rotate a flat board across a level workbench to change its miter direction, the board may remain perfectly horizontal. Since its tilt relative to gravity has not changed, a phone placed flat on it cannot reliably reveal the miter angle.
This is the central limitation to remember: a contact angle meter measures tilt, not every angle drawn on a flat horizontal surface. To use a pocket level app for a miter angle, you must either measure a surface that actually tilts or transfer the miter angle into a vertical or otherwise measurable plane.
What You Need Before Measuring
A careful setup matters more than speed. Gather the following before checking a miter cut or saw setting:
- An iPhone with a calibrated level or angle meter app.
- A stable, reasonably flat work surface.
- A straight reference edge, such as a known straight board, metal rule, or saw fence.
- A sliding bevel, angle finder, or cardboard template for transferring an inside or outside corner.
- A pencil for marking references and test cuts.
- A short offcut of the same material as the final workpiece.
Clean the phone case, saw fence, stock, and reference edge first. Sawdust, a raised camera bump, a soft case, or a small chip in the wood can prevent full contact. For the most repeatable reading, remove a thick or uneven case and place the phone against a broad, stable surface rather than balancing it on a narrow edge.
Measure a Miter Angle Checklist With a Pocket Level App
Use this checklist for a miter saw, hand miter box, trim layout, or any project where you need to verify an angle rather than rely only on printed markings.
- Identify the angle you actually need. For a square 90-degree corner made from two equal pieces, each miter is normally 45 degrees. For an uneven corner, do not assume it is square. Measure or transfer the full corner angle first, then divide it between the two mating pieces when the trim profile and installation call for equal miters.
- Separate the corner angle from the saw setting. An inside corner opening of 92 degrees typically needs two 46-degree miters if both pieces share the angle equally. Write down the full corner angle and the required cut angle so you do not set the saw to the wrong number.
- Calibrate on a reference surface. Put the phone in full contact with a stable surface or reference edge. Use the app's calibration or zero function only when that surface represents the reference you want. If you zero against the saw fence, you are checking deviation from that fence—not necessarily true level.
- Check the reference twice. Take a reading, rotate the phone 180 degrees on the same contact surface, and take another reading. Similar results indicate better repeatability. A noticeably different result suggests uneven contact, a case interference issue, debris, or a reference surface that is not uniform.
- Use a transfer tool for a horizontal miter. Capture the corner with a sliding bevel or make a cardboard template. Position that transferred angle in a vertical plane where the phone can contact one leg or a purpose-made jig can convert the angle into measurable tilt. Do not expect a phone lying flat on the saw bed to detect the saw's horizontal rotation.
- Set the saw and lock it. Move the miter saw to the intended setting, lock the detent or clamp, and confirm that the workpiece is fully against the fence. A correct scale setting will not help if the stock is twisted, bowed, or held away from the fence.
- Make a test cut. Cut a short sample from matching material. Join two samples for a shared miter or place one sample against the template for a single-angle check. This reveals errors from saw setup, blade deflection, stock movement, and cut orientation.
- Measure again using the same reference. Repeat the transferred-angle check with the same phone position and the same calibration reference. Consistency is more useful than changing methods halfway through the project.
- Use tolerance deliberately. For rough framing, a small discrepancy may be acceptable. For painted baseboard, picture frames, or stain-grade trim, use a tighter tolerance and let the test-fit decide whether to adjust the saw.
- Mark the final orientation. Label face, back, left, right, inside, and outside on the stock. Many apparent angle mistakes are actually mirrored cuts or reversed workpieces.
Concrete Example: Checking an Uneven Baseboard Corner
Imagine an inside corner that appears square but measures 92 degrees with a physical angle transfer tool. If two baseboard pieces will meet with equal miters, divide 92 by two:
92° corner ÷ 2 pieces = 46° miter per pieceSet the saw for a 46-degree miter, not 45 degrees. Next, cut two short test pieces with their visible faces marked. Hold the cut faces together on a flat surface and inspect the joint from the front. If the joint opens at the front but closes at the back, check whether the baseboard was fully seated against the fence and saw bed; the issue may be workpiece position rather than the miter setting.
To use your pocket level app as a secondary check, transfer the 92-degree corner onto a sliding bevel or template. Place the transfer arrangement in a stable vertical orientation or use a simple jig that turns the transferred angle into a physical tilt. Calibrate to one reference leg, then read the other leg. Repeat after repositioning. If repeated readings agree, your transfer is likely consistent. The final proof remains the test-fit of the two actual cut pieces.
How to Improve Repeatability
Repeatability means getting nearly the same reading when you measure the same setup again. It does not automatically prove certified accuracy, but it is essential for useful DIY decisions. Improve repeatability with these habits:
- Keep the phone in actual contact with the same broad surface each time.
- Use the same edge, orientation, and calibration reference for every comparison.
- Wait for the reading to settle before recording it.
- Use target and tolerance indicators when available rather than chasing a constantly changing last decimal.
- Enable sound or haptic feedback if it helps you hold a target angle while keeping your eyes on the workpiece.
- Take at least two readings after moving and replacing the phone.
A practical tolerance depends on the job. Trim with a visible face joint may require small adjustments after a test cut, while a hidden utility enclosure may tolerate more variation. Wood movement, wall irregularities, blade condition, and molding profile can matter as much as the nominal angle.
Important Limits of a Phone Angle Meter
A level app is useful for orientation checks, but it has limits. It cannot see through a joint, determine whether a wall corner is perfectly straight along its entire height, compensate automatically for a warped board, or guarantee that a saw is calibrated. It also cannot directly measure a horizontal miter rotation merely because the phone is resting on a level saw table.
Avoid measuring on a running saw, on unstable material, or where the phone could fall into the cutting area. Keep the device away from the blade path, clamp stock securely, and make adjustments only with the saw powered down. When a highly precise angle is required for expensive material, critical cabinetry, or professional tolerance requirements, confirm the result with suitable dedicated measuring tools and a test assembly.
Use the App as a Check, Not a Shortcut
The best workflow combines a transferred corner angle, careful saw setup, a contact-based app reading where appropriate, and a real test cut. That process catches the difference between a mathematically correct setting and a joint that actually closes cleanly in the room.
For a practical reference on calibration, contact placement, and angle readings on an iPhone, see Level Tool's guide to measuring angles on iPhone. Use it to support your setup checks, then trust repeat measurements and the test-fit before cutting final stock.
