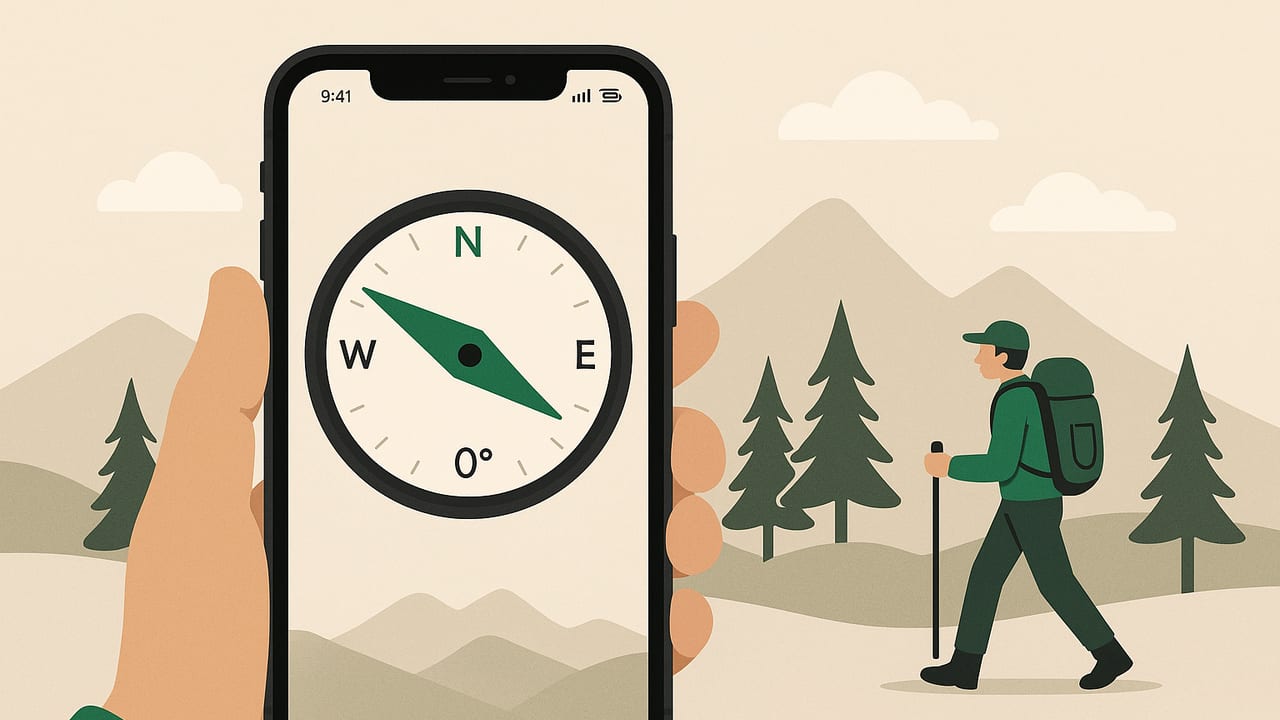
Your phone can be more than a camera and map viewer in the wilderness. When set up correctly, the iPhone compass for backcountry hiking navigation is a reliable, offline tool for bearings, route finding, and quick location checks—even when GPS or service is spotty. This guide explains how your phone’s compass works, how to calibrate and prepare it, and the core techniques pros use to move safely and accurately off-road.
How a Phone Compass Works in the Wild
An iPhone determines heading with an onboard magnetometer that senses Earth’s magnetic field. It fuses this with motion sensors (accelerometer and gyroscope) and, when allowed, GPS to stabilize and refine the direction you see onscreen.
- Magnetic North vs. True North: The compass can show either magnetic north (what a traditional needle points to) or true north (geographic). True north requires your device to know your location to apply declination.
- Declination: The angle between magnetic north and true north. It varies by region and slowly changes over time. Your iPhone can apply declination when you enable true north and allow location access.
- Offline behavior: The magnetometer works without service. You’ll still get a heading in airplane mode. However, features like automatic declination and coordinates need recent location data.
Pre-Trip Setup and Calibration Checklist
Before you leave the trailhead, run through this quick checklist to optimize your iPhone compass for backcountry hiking navigation:
- Enable True North (optional): Settings > Compass > Use True North. If you navigate with magnetic bearings, leave it off and note declination separately.
- Confirm Location Services: Allow the compass app to access location so it can apply declination and show coordinates. You can toggle airplane mode later as needed.
- Calibrate sensors: If headings feel unstable, move the phone in a slow figure-8 and rotate it around each axis. Remove magnetic cases or mounts.
- Download offline maps: Save topographic tiles from your preferred app. Mark critical waypoints.
- Power plan: Fully charge, enable Low Power Mode, dim the screen, and carry a small battery pack.
- Redundancy: Pack a physical baseplate compass and a paper topo map. Electronics fail; redundancy prevents bad days.
Essential Techniques with an iPhone Compass
1) Take and Follow a Bearing Without a Map
Ideal for fog, forest, or low-visibility crossings when you already know the direction you need to travel.
- Stabilize: Hold the phone level and away from metal. Wait for the heading to settle.
- Set your target bearing: Rotate your body until the desired bearing (e.g., 285°) aligns with the indicator. Many apps let you “lock” a bearing or highlight it.
- Pick a landmark: Choose a tree, rock, or notch on the horizon exactly along your bearing. Walk to it.
- Leapfrog landmarks: Once you reach the first object, recheck the bearing and choose the next landmark. This leapfrogging keeps your line tight.
- Account for drift: Wind, slope, and brush push you off course. Check your bearing often—every few minutes in tight terrain.
2) Use Your iPhone Compass with a Paper Map
This is the backbone of orienteering—combine map and compass to move with precision.
- Orient the map: Place the map on a flat surface. Set the iPhone to either true or magnetic north to match how you’ll work. Align the map so grid north or the map’s north edge matches your phone’s north.
- Handle declination: If your device is set to true north, use true bearings from the map. If it’s set to magnetic north, adjust the bearing by the local declination printed on your map (add or subtract as indicated).
- Plot a course: On the map, measure the bearing from your location to your destination (using the map’s protractor or an orienteering tool). Note the value—for example, 132° true.
- Transfer to phone: Set the iPhone compass to the same north reference and turn to the bearing you just measured. Sight along that direction and identify a landmark to walk toward.
- Handrails and catching features: Favor terrain features that guide you (ridges, streams) and features that stop you from overshooting (trails, lakes, cliffs). This reduces error.
3) Triangulate Your Position with Two Bearings
When you’re uncertain where you are, you can fix your position by taking bearings to known, visible features.
- Identify two distinct landmarks: Peaks, towers, lake outlets, or saddles clearly marked on your map and visible in the field.
- Take bearings: Aim your iPhone at landmark A and record the bearing. Repeat for landmark B.
- Convert if needed: Ensure both bearings use the same north reference as your map (apply declination if you’re using magnetic bearings).
- Back-bearings: On the map, draw lines from each landmark toward your position using the reciprocal bearing (bearing ± 180°). Where the lines intersect is your estimated location.
- Refine with a third bearing: A third line tightens the fix, especially if the first two are nearly parallel.
GPS vs. Compass: When to Use Which
Both are powerful. Use them together and you’ll travel faster with confidence.
| Tool | Best For | Pros | Limitations |
|---|---|---|---|
| iPhone Compass | Precise direction, short legs, triangulation, navigating in fog/forest | Works offline, instant heading, no satellites needed | Sensitive to interference; heading can drift without calibration |
| GPS (Phone) | Position fixes, tracking, route following on maps | Shows coordinates, elevation, speed; integrates with topo maps | Needs satellites; heavy battery use; can be blocked by canyons/forest |
| Baseplate Compass | Map work, long bearings, reliability | No battery, stable, easy declination routines | No coordinates; requires practice and map skills |
Use GPS to confirm where you are and the iPhone compass to keep you pointed exactly where you intend to go. If GPS is degraded under canopy, a stable bearing and pacing will still get you there.
Declination and Magnetic Interference
Declination matters. A 10° error over 1 km can put you roughly 175 m off course. Keep these points in mind:
- Know your value: Check current declination before you go (NOAA, Natural Resources Canada, or the map margin). Jot it on your map.
- Stay consistent: Either set the phone to true north and use true bearings exclusively, or leave it on magnetic and adjust every map bearing. Mixing methods invites errors.
- Avoid interference: Keep the phone away from magnets (cases, mounts), metal tools, foil wrappers, or batteries when taking a reading. Step away from vehicles or large iron-rich rocks.
Battery and Offline Strategy
Your compass heading works offline, but smart power habits are essential on multi-day trips.
- Low Power Mode: Enable it from the Control Center to reduce background activity.
- Airplane Mode: Use it when not actively checking maps. Toggle briefly to grab a GPS fix if needed.
- Screen discipline: Dim brightness and keep sessions short. Pre-plan legs to minimize screen time.
- Offline maps and waypoints: Download before leaving service. Name critical features and camps.
- External battery: A lightweight 5,000–10,000 mAh bank covers most weekend trips.
Field Accuracy: What to Expect
In clean magnetic environments and with good calibration, expect roughly 3–5° of heading accuracy. In real terrain with mild interference, 5–8° is common. Sight to a distant landmark to minimize angular error, and re-check bearings often on long legs or in brush.
Quick Reference: Common Mistakes to Avoid
- Switching between true and magnetic mid-trip without recalculating bearings.
- Taking readings near metal gear, vehicles, or granite with high magnetic content.
- Holding the phone at odd angles; keep it level and steady.
- Forgetting to leapfrog landmarks, which increases drift in low visibility.
- Relying only on GPS tracks; use the compass to maintain intentional direction.
FAQ: iPhone Compass for Backcountry Hiking Navigation
Does the iPhone compass work without service?
Yes. The magnetometer provides heading offline. You’ll still see a direction in airplane mode. GPS-based features (coordinates, true north updates) require recent location data.
Should I use true north or magnetic north?
Both work—just be consistent. If you prefer to avoid manual corrections, enable true north and use true bearings from your map. If you’re comfortable with declination, use magnetic throughout.
How do I calibrate the iPhone compass?
iOS calibrates automatically, but you can improve results by moving the phone in a slow figure-8 and rotating it around each axis. Remove magnetic cases and step away from metal.
How accurate is it compared to a traditional compass?
Under good conditions, a phone can be within a few degrees of a quality baseplate compass. However, it’s more susceptible to nearby interference and user posture. For critical navigation, carry a physical compass as backup.
Can I navigate at night or in fog with a phone compass?
Yes. Take a bearing, choose closer landmarks (tree trunks, boulders), and re-check frequently. Pair with pacing or timing to estimate distance between rechecks.
What about elevation and weather?
Some apps read the barometer for elevation trends and weather shifts. A sudden pressure drop can signal deteriorating weather—useful context alongside your navigation plan.
Final Thoughts
With sound setup, disciplined technique, and a backup baseplate compass, your iPhone compass can anchor safe, precise travel in the backcountry. For an offline toolkit that includes a compass, barometer, and other measurement tools in one app, consider exploring Level Tool.
