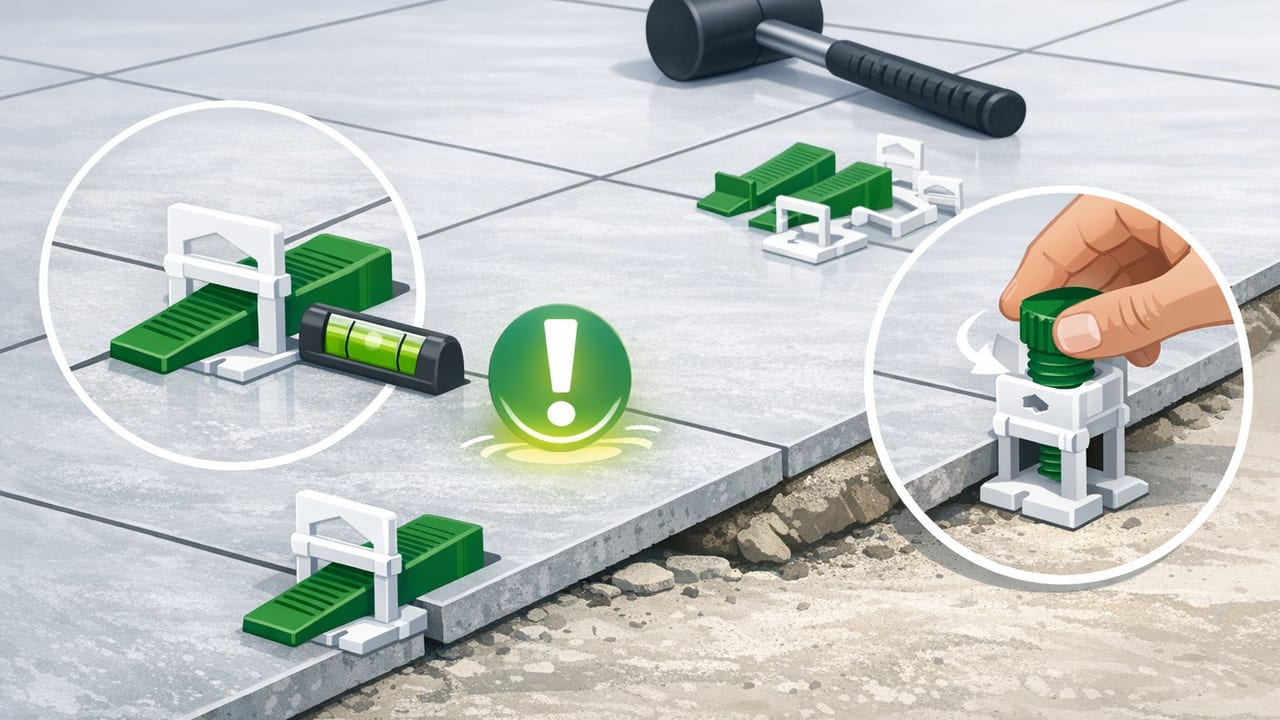
Nothing slows an installation down like discovering the surface is out of level when you are already committed: cabinets are hung, a dishwasher is halfway in, a TV bracket is drilled, or a vanity top is set. In those moments, you need a last minute leveling solution during installation that is fast, repeatable, and accurate enough to avoid call-backs. This guide walks through a practical workflow that pros use on-site: establish a reference, measure correctly (in two axes), choose the right correction method, and lock the result so it stays put.
The goal is not perfection for its own sake. The goal is functional level: doors that don’t swing, drawers that don’t creep open, water that drains as intended, tile lines that read straight, and hardware that aligns.
Why leveling problems show up at the worst time
Most last-minute leveling issues come from one of these realities:
- The reference surface was assumed (floors, countertops, studs, and slabs are often out).
- Only one direction was checked (level side-to-side but not front-to-back, or vice versa).
- Fasteners pulled parts out of alignment (tightening a screw can rack a bracket or twist a cabinet).
- Materials moved (shims compress, adhesive beds settle, lumber cups, drywall flexes).
- Measurement tools weren’t available (or a long level/laser wouldn’t fit behind the install).
A phone-based level can be an excellent back-pocket option because it fits into tight spaces and reads both axes quickly. But to use it as a reliable last minute leveling solution during installation, you need a clean method.
The quick leveling toolkit (what to have within arm’s reach)
- Shims: composite or hardwood, plus snap-off shims for cabinets.
- Adjustable feet tools: wrench, nut driver, or the manufacturer’s adjustment key.
- Fastener control: impact driver with clutch control, hand screwdriver for final torque.
- Spacers: 1/16 in to 1/4 in blocks for consistent gaps.
- Marking: pencil, painter’s tape, fine marker.
- Verification: a short torpedo level or straightedge (optional, but helpful).
A field workflow for last-minute leveling (fast and repeatable)
Use this sequence whenever you realize something is off and you need to recover without tearing everything apart.
1) Establish the reference plane (don’t trust the floor)
Decide what “level” should be relative to:
- Cabinets: usually level to the room’s sightlines (often the most visible line), not necessarily the floor.
- Appliances: level to function (refrigerator doors, washer vibration), sometimes with a slight tilt per manufacturer.
- Drain surfaces: showers and exterior surfaces need slope, not level.
- Wall-mounted items: level to the horizon and adjacent trim lines.
If the floor is out, you can still install level by creating your own datum: a level line on the wall (from any level you trust) and measuring everything from it.
2) Calibrate your phone level in 20 seconds
Before you rely on a phone as a last minute leveling solution during installation, do a quick sanity check:
- Place the phone on a reasonably flat surface and note the reading.
- Rotate the phone 180 degrees in the same spot.
- If the readings are equal and opposite (or very close), you are good. If not, use the app’s calibration if available, or switch to a different reference surface and re-check.
Tip: remove a thick phone case if it rocks or has an uneven camera bump.
3) Measure both axes every time
Many “it’s level” installs fail because only one direction was verified. Always check:
- Side-to-side (left/right)
- Front-to-back (in/out)
On narrow edges (like a cabinet face frame), bridge with a straightedge or place the phone on a wider, stable surface that is mechanically tied to the part you’re leveling.
4) Decide on the correction method (choose the least invasive fix)
Use the smallest change that solves the problem and won’t relax later:
- Shims (best for: cabinets, base plates, trim, door hinges, brackets).
- Adjustable feet (best for: appliances, worktables, tool stands).
- Slot and shift (best for: wall brackets, mounts, hardware with slotted holes).
- Scribe/plane (best for: fillers, toe kicks, countertop edges meeting an out-of-level floor).
- Re-bed (best for: small tile lippage, sinks/fixtures in wet areas; follow product cure times).
5) Make the adjustment using measured increments
When you can, convert “how out” into “how much shim.” Here is a simple rule of thumb:
- Slope (%) = (height difference / run) × 100
- Shim needed at one end ≈ height difference you want to correct
# Quick shim math
# If a cabinet is out by 1/8 inch over a 24 inch depth,
# the correction at the low side is approximately 1/8 inch.

height_diff_in = 0.125
run_in = 24
slope_percent = (height_diff_in / run_in) * 100  # 0.52%
You rarely need the slope percent on site, but it helps you communicate severity and verify you’re within acceptable tolerances.
6) Lock it in (then re-check after tightening)
Many assemblies move during final fastening. Use this sequence:
- Bring the part close to level.
- Tack fasten (light torque).
- Re-check both axes.
- Final tighten in stages (alternating fasteners to avoid pulling).
- Re-check again.
Pro habit: Every time you tighten a fastener that can rack a part (brackets, rails, cabinet backs), assume the reading changed and verify before moving on.
Acceptable tolerances (what “good enough” looks like)
Perfect level is not always required. These practical tolerances reduce rework while keeping the install functional and visually straight. Use manufacturer specs when available.
| Installation | Common tolerance goal | Why it matters |
|---|---|---|
| Upper/lower cabinets | Within ~1/16 in over 8 ft | Doors align, reveals stay consistent |
| Countertops (appearance) | Visually level to backsplash/trim lines | Most noticeable horizontal in the room |
| Refrigerators | Slight back tilt per manual (often a small amount) | Doors self-close, seals perform |
| Washers | As level as possible in both axes | Reduces vibration and walking |
| TV mounts / shelves | Near-zero visible tilt | Small errors read as “crooked” |
| Interior doors | Plumb jambs; consistent reveals | Latch works, no swing-open/swing-closed |
| Showers / exterior flatwork | Not level: consistent slope (e.g., 1/4 in per ft where required) | Drainage and water management |
Fast fixes for common “oh no” moments
These are the scenarios where a last minute leveling solution during installation saves hours.
Cabinets: the countertop won’t sit flat
- Check: cabinet run level side-to-side; then check front-to-back on multiple boxes.
- Fix: shim under low corners, then re-secure to studs. If the wall bows, shim behind the cabinet at fastening points.
- Lock: once level, screw adjacent boxes together before final wall tightening to keep faces aligned.
Dishwasher: door doesn’t align with the cabinets
- Check: level side-to-side at the top frame; then front-to-back.
- Fix: adjust front feet first; then rear foot (often a center screw or rear leg adjustment). Use anti-tip brackets as required.
- Lock: re-check after fastening to the countertop or side cabinets.
Shelves and brackets: it was level until the last screw
- Check: bracket alignment before the shelf goes on; confirm the wall surface isn’t pushing the bracket.
- Fix: loosen, insert a thin shim washer/spacer behind the bracket on the low side, then re-torque gradually.
- Alternative: use the bracket’s slotted holes to micro-adjust rather than re-drilling.
Tile lippage: one edge sits proud
- Check: confirm the substrate is flat; level alone doesn’t prevent lippage.
- Fix: while mortar is workable, lift and re-bed with correct trowel angle and coverage. Use a leveling clip system if appropriate.
- Note: after cure, grinding can weaken glaze; follow best practices for the tile type.
Interior door swings open by itself
- Check: hinge-side jamb plumb; then head jamb level.
- Fix: re-shim behind hinges (or strike side) to bring jamb into plumb. Small changes at hinge shims make big changes at the latch.
Accuracy and troubleshooting (when readings don’t make sense)
- Surface isn’t stable: a narrow edge or rounded trim will rock the phone. Bridge with a straightedge.
- Case interference: uneven cases create false tilt. Remove the case for precision checks.
- Magnetic or vibration noise: power tools running, metal surfaces, or movement can create fluctuating readings. Pause tools and hold steady.
- Thermal drift: sensors can drift slightly as the phone warms. Re-check calibration if the job is sensitive.
- Confusing level vs plumb: confirm you’re using the correct mode/orientation when checking vertical jambs or posts.
A quick cross-check that builds confidence: take a reading, rotate the phone 180 degrees, and verify the result mirrors. If it doesn’t, recalibrate or use a different reference.
A pre-finish checklist to avoid rework
- Verify the reference plane (what must be level, and what must be sloped).
- Check both axes on at least two points (ends and middle of runs).
- Make adjustments in small increments (shim, adjust, re-check).
- Final tighten in stages and re-check after torque.
- Confirm function: doors, drawers, drainage, appliance behavior.
- Document tricky areas with a photo before covering them (helpful for future service).
Putting it all together
The best last minute leveling solution during installation is a disciplined process: measure against the right reference, verify both axes, adjust with the least invasive method, and re-check after tightening. Whether you’re setting cabinets, dialing in an appliance, or rescuing a bracket that shifted, those steps prevent the classic “it looked fine until we finished” problem.
If you prefer an all-in-one, offline set of phone measurement tools for these moments, Level Tool is one option that combines a dual-axis level with other on-site utilities in a single iOS app.
