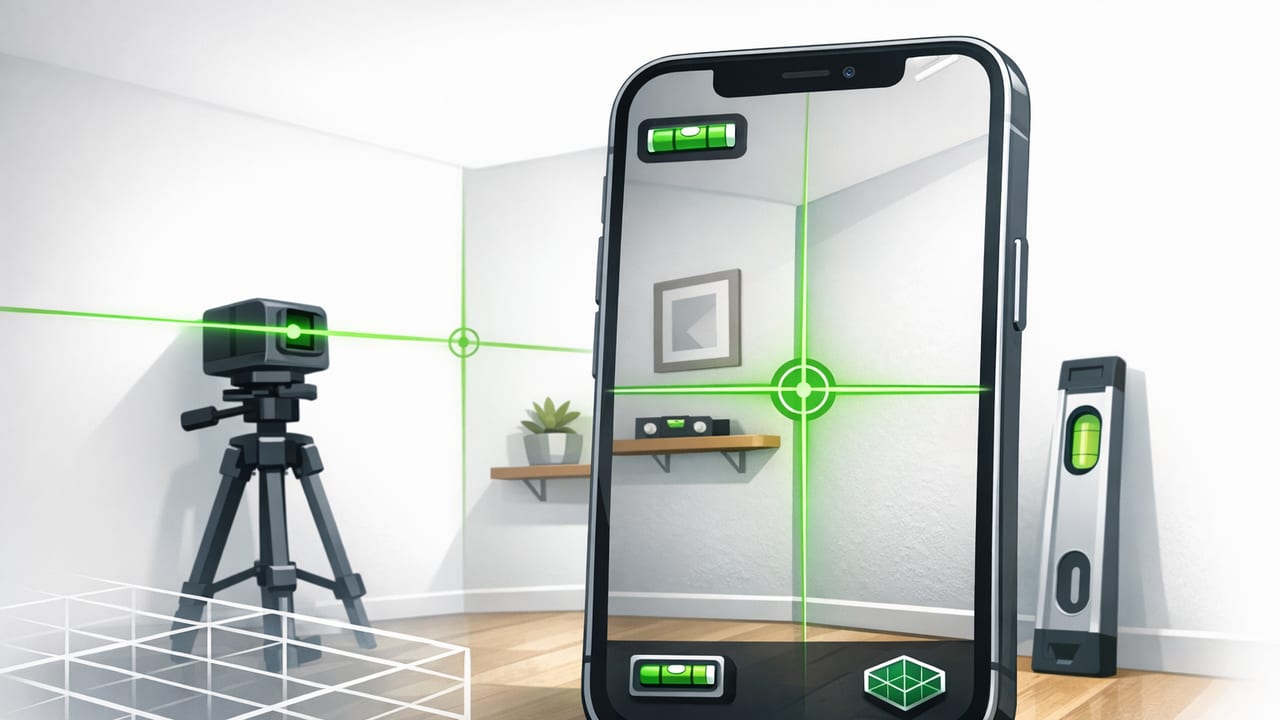
A laser projection level app iOS users can rely on is one of the most practical ways to turn an iPhone into a fast alignment tool—especially when you’re hanging multiple frames, installing floating shelves, laying out recessed lighting, or checking a surface before cutting. While a phone can’t physically emit a true construction-grade laser beam, many modern apps can create a laser-style reference line on-screen (and sometimes as an AR overlay) to help you align and level objects with surprising precision when used correctly.
This guide explains how laser projection leveling works on iOS, when it’s a great choice (and when it isn’t), and how to get consistent results using the sensors you already carry every day.
What “laser projection” means in a laser projection level app on iOS
In most iOS measurement apps, “laser projection” refers to a straight reference line that behaves like a laser level line—usually a bright horizontal/vertical line you can align objects to. Depending on the app and device capabilities, this can appear:
- As an on-screen line tied to the device’s inclinometer (bubble level sensors).
- As an AR overlay (using the camera view) that visually helps you “project” alignment onto the scene.
- As a combined tool alongside a dual-axis bubble level for plumb/level checks.
The core idea is consistent: your phone reads its orientation (pitch/roll, sometimes yaw), then draws a line that stays locked to true level or true plumb. That makes it easier to align items than relying on the tiny bubble in a physical level—especially for small indoor projects.
Best use cases (and where it beats a standard bubble level)
Laser-style alignment is most useful when you care about repeatability and layout across multiple points—like ensuring three frames line up across a wall, or that a row of hooks stays consistent.
Projects where a laser projection level app shines
- Gallery walls: set one reference line and align multiple frames to it.
- Floating shelves: check both the bracket and shelf surface are level.
- Tile layout planning: verify reference lines before committing to adhesive.
- Cabinet hardware: keep pulls/handles level and evenly placed.
- TV mounts: confirm mount plate is level before drilling.
- Workbenches: check for twist and shim legs more methodically.
When you should use a physical laser level instead
A phone-based laser projection tool is a convenience tool, not a replacement for a rotary laser on a jobsite. Consider a physical laser level if you need:
- Long-distance projection across an entire room or exterior wall.
- Outdoor visibility in bright sunlight.
- High tolerance requirements for professional framing over long spans.
- Hands-free operation without mounting your phone.
How accurate is a laser projection level app on iOS?
Accuracy depends on three factors: sensor quality, calibration, and how you physically use the phone. Modern iPhones have excellent motion sensors, but small handling mistakes can produce big real-world errors—especially over distance.
To understand why, consider a tiny angle error:
- If your device is off by 0.2°, at 1 meter you’re off by about 3.5 mm.
- Over 2 meters, that becomes about 7 mm.
That’s still fine for many DIY tasks (frames, shelves, hardware), but it explains why careful setup matters.
Step-by-step: getting reliable results with a laser projection level app iOS users trust
Use this workflow to reduce drift and avoid “it looked level on my phone” surprises.
1) Start with a stable reference surface
Don’t calibrate or align while holding the phone in midair. Rest it on something stable:
- a countertop you trust
- a solid shelf board
- a straightedge or aluminum level (even a short one)
Tip: Soft surfaces (couches, beds) and flexible boards can introduce small tilts that the app will faithfully “lock in.”
2) Calibrate the level (and verify it)
Most leveling apps offer calibration. If yours does, do a quick verification:
- Place the phone on the reference surface and note the reading.
- Rotate the phone 180° on the same spot (top becomes bottom).
- The reading should be the same (or extremely close). If not, recalibrate.
This “flip test” helps catch bias in how the device is resting or how the calibration was performed.
3) Lock orientation and reduce movement
Any motion changes the sensor readings. For layout tasks, aim for consistency:
- Enable the app’s hold/lock feature if available.
- Use a simple phone clamp, tripod, or a stable prop when possible.
- Avoid tapping the screen repeatedly while aligning—tap can shake the device.
4) Use two checks: line + bubble (or dual-axis)
The best approach is a redundant check:
- Use the laser projection line to align the object visually.
- Confirm with the bubble/dual-axis readout for a numeric sanity check.
This reduces the odds you align to a line that looks right but is slightly offset.
5) Mark a reference line before drilling
Even if you’re using an AR overlay, don’t drill “off the screen.” Instead:
- Align the projected line.
- Mark the wall lightly with pencil at two points.
- Connect with a straightedge.
- Measure and drill from the physical pencil line.
That turns a digital guide into a repeatable physical layout.
Common mistakes that make phone leveling feel inaccurate
If your laser projection level app on iOS seems inconsistent, it’s usually one of these:
- Using a phone case with a rounded edge: it can rock slightly on a surface.
- Calibrating on an untrusted surface: you’re “teaching” the app a tilt.
- Aligning too far away: small angle errors become large offsets.
- Not accounting for wall texture: bumpy plaster can throw off flush contact.
- Confusing level vs. plumb: horizontal level and vertical plumb are separate checks.
Rule of thumb: the farther your reference spans, the more you should rely on a physical straightedge or a mounted setup rather than handheld alignment.
Practical examples: three quick DIY layouts
Example 1: Leveling a set of three frames
- Decide the frame centerline height and mark it lightly.
- Use the app’s laser projection to create a level reference across the wall.
- Mark two points along that line (left and right of your arrangement).
- Use a tape measure to space hangers consistently from the marks.
Pro tip: If frames vary in size, align by center points rather than top edges for a cleaner look.
Example 2: Installing cabinet handles in a straight row
- Pick the vertical distance from the cabinet edge (e.g., 60 mm) and mark it on one door.
- Use the laser projection line to keep that height consistent across all doors/drawers.
- Use a template/jig for the drill-hole spacing (hardware center-to-center).
This combines the phone for level reference and a jig for repeatable drilling.
Example 3: Checking a countertop or shelf for twist
A surface can be “level” at one point but twisted across its length. To check:
- Measure level at the left end and note it.
- Measure level at the right end and note it.
- Measure level in the center.
If the readings change in a way that suggests torsion, shim supports and re-check. Dual-axis readings are especially helpful here.
Quick comparison: phone laser projection vs. physical levels
| Task | Laser Projection Level App (iOS) | Physical Bubble Level | Physical Laser Level |
|---|---|---|---|
| Hang a single frame | Fast and accurate enough | Great | Overkill |
| Align 5–10 frames | Excellent for reference line + marks | Slower (reposition repeatedly) | Great if you own one |
| Kitchen cabinet run | Useful for spot checks and planning | Essential | Ideal for long runs |
| Outdoor grading | Not recommended | Limited | Best choice |
Offline advantage: why it matters for measurement apps
Leveling and alignment don’t require internet, but not all apps behave the same when you’re offline. An offline-capable tool is useful because:
- You can use it in basements, garages, and remote sites without signal.
- No connectivity prompts interrupt the workflow while your hands are full.
- Sensor-based readings remain consistent regardless of network state.
For many DIYers, offline functionality is also a privacy and reliability benefit—your measuring tools should work anytime you need them.
A simple “job note” template you can copy for repeatable installs
Consistency improves accuracy. Here’s a small template you can paste into Notes to track an installation so you don’t re-measure constantly:
PROJECT:
REFERENCE LINE HEIGHT (from floor): ____ mm
LEFT EDGE OFFSET: ____ mm
RIGHT EDGE OFFSET: ____ mm
HARDWARE SPACING (center-to-center): ____ mm
LEVEL CHECKS:
- Point A: ____°
- Point B: ____°
- Point C: ____°
FINAL NOTES:
- Shims used: yes/no
- Fasteners: __________
Choosing the right laser projection level app on iOS: a checklist
- Dual-axis leveling so you can see both directions at once.
- Calibration with a quick, repeatable workflow.
- Clear laser-style line (high contrast, minimal clutter).
- Offline operation for reliable use anywhere.
- Extra measurement tools (ruler, compass, barometer) if you want an all-in-one kit.
Final thoughts
A well-designed laser projection level app iOS can dramatically speed up alignment work, especially for indoor DIY where you’re balancing precision with convenience. The key is treating the phone like a measurement instrument: stabilize it, calibrate it, verify with a second check, and convert digital guidance into physical marks before committing to cuts or holes.
If you prefer an offline toolbox-style approach that bundles leveling with other sensor-based tools, Level Tool is one example of an iOS app that combines laser-style alignment with multiple measurement utilities in a single place.
