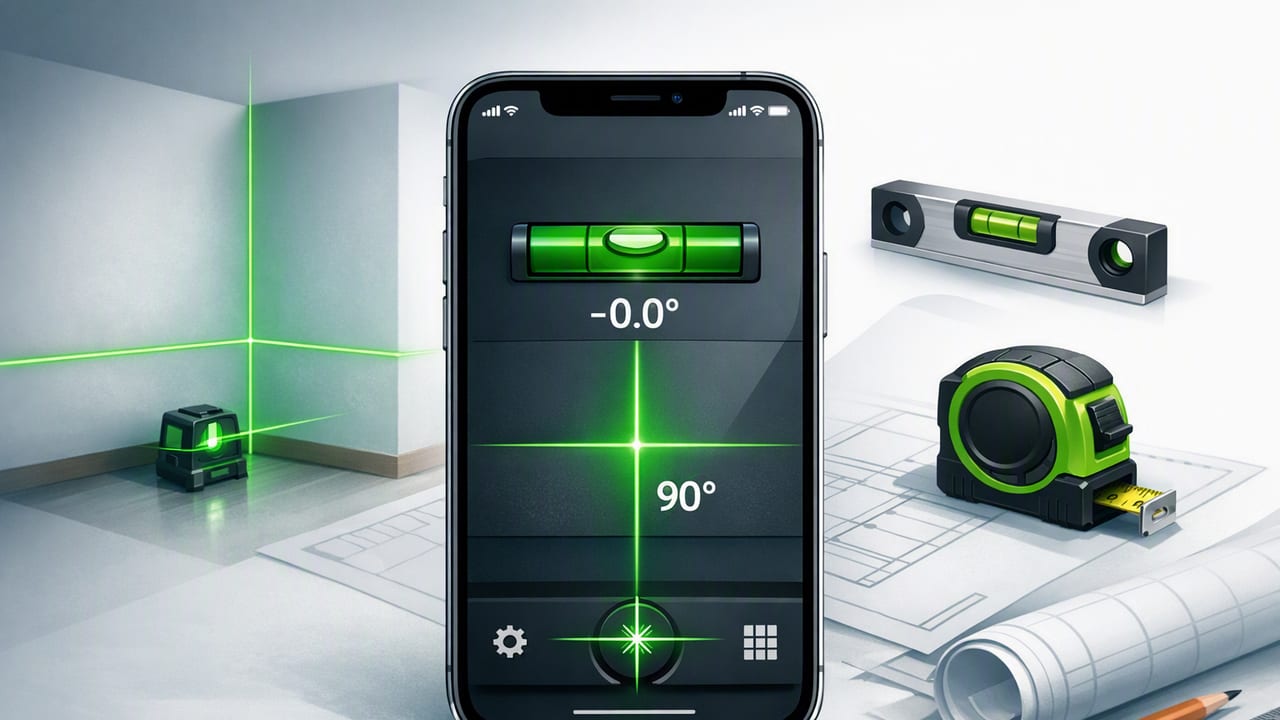
A laser projection level app for iOS can turn your iPhone into a practical layout assistant for DIY projects and light professional work—especially when you need a quick straight reference line, consistent leveling, or repeatable alignment from room to room. Used correctly, iOS measurement tools can help you hang shelves, set tile reference lines, square frames, check slopes, and verify plumb/level without hunting for multiple tools.
One important clarification up front: an iPhone doesn’t physically project a real laser line onto a wall the way a dedicated laser level does. In iOS apps, “laser projection” usually means a virtual laser line—a crisp on-screen line/beam overlay (often paired with the camera view, AR, or a simple HUD) that helps you align objects, edges, and marks with a consistent reference. Some workflows can also complement an external laser level by using the phone to verify angles, slope, and level.
What “Laser Projection” Means on iPhone (and Why It Still Helps)
Different iOS apps use the phrase “laser projection” in slightly different ways, but most approaches fall into these categories:
- On-screen laser line overlay: A visual straight line that behaves like a pointer or guide while you rotate or tilt your phone.
- Camera/AR alignment guide: A line or crosshair displayed over the camera feed to help you align edges (useful for picture frames, trim, and rough layout).
- Angle + level pairing: The “laser” is the visual cue, while the real measurement comes from iPhone sensors (accelerometer/gyroscope) reporting level, plumb, or degrees.
Even though it’s virtual, the advantage is speed: you get an immediate, high-contrast reference without unfolding tripods or finding a clear line-of-sight for a physical laser. For many indoor tasks, the decision you’re making is “Is this aligned?” and a stable visual guide plus a numeric tilt readout is often enough.
Best DIY Uses for a Laser Projection Level App for iOS
Here are common projects where a virtual laser line and sensor-based leveling can save time:
1) Hanging a Series of Frames in a Straight Line
Use the app’s line overlay to keep the top edges aligned, then verify level with a bubble/dual-axis readout. Mark the first and last positions, then use the overlay as a consistent reference while placing intermediate frames.
2) Shelf and Bracket Layout
For wall-mounted shelves, consistency matters more than absolute measurement. A projected on-screen line plus an angle readout helps you align bracket holes and avoid gradual drift across a long shelf run.
3) Tile, Backsplash, and Wainscoting Reference Lines
A quick straight baseline reduces compounding errors. Many people snap a chalk line; a level app helps you verify the line’s level and check your first course.
4) Checking Slope for Drainage or Pipe Runs
Even when you’re not “level,” you often need a consistent slope (for example, 1–2% over a run). An iOS level/angle readout is useful for quick verification, especially in tight spaces.
5) Quick Plumb Checks (Door Frames, Posts, Cabinets)
Use the plumb mode (90°) or a vertical reference with the overlay. The key is to use consistent contact points (explained below) so your readings are repeatable.
How to Get Accurate Results: Calibration and Setup
The biggest mistake people make with any iOS measurement tool is skipping setup. Good results come from consistent surfaces, correct calibration, and repeatable technique.
Step-by-step calibration checklist
- Choose a stable reference surface: A countertop, a known-flat shelf, or a thick piece of MDF on sawhorses works well.
- Clean the phone contact edge: Dust or a protruding case edge can introduce small angle errors.
- Remove or loosen bulky cases (if needed): Cases can change how the phone sits against a surface.
- Calibrate at least once per workspace: Temperature changes and minor bumps can affect sensor bias over time.
- Verify with a flip test: Measure the angle, rotate the phone 180° on the same surface, and confirm the reading is consistent (or averages to the expected value).
Practical rule: If the reading changes when you flip the phone on the same surface, calibrate again or change contact points.
Positioning tips for repeatability
- Use the same edge every time: Don’t switch between bottom edge and side edge mid-task.
- Keep contact pressure light and consistent: Pressing hard can slightly flex thin materials or shift your reference.
- Prefer longer reference surfaces: A longer straightedge reduces the impact of small surface imperfections.
Laser Line Workflow: A Reliable Method for Straight Layout
If your app offers a laser-like line overlay, you can use it as a repeatable layout guide. Here’s a simple workflow for walls and long runs:
- Pick two anchors: Identify the start and end points of your desired line (e.g., first frame center and last frame center).
- Mark lightly: Use painter’s tape and pencil ticks rather than permanent marks until verified.
- Align the on-screen laser line to anchor marks: Adjust the phone position and rotation until the line visually passes through both marks.
- Lock the orientation if your app allows: Some tools let you “hold” a reference line while you move slightly.
- Transfer intermediate marks: Place intermediate items so their key edges match the line.
- Verify level with the numeric readout: Even a perfect visual line can be misread if the phone isn’t held consistently—use the angle/level number to confirm.
Tip: If you’re working alone, set the phone on a stable support (box, tripod, or clamp) so the reference line doesn’t drift while you mark.
When a Physical Laser Level Still Wins (and How iOS Complements It)
Virtual laser projection is excellent for quick checks and alignment, but dedicated tools remain better for certain tasks. Use this comparison to choose the right approach.
| Task | Laser projection level app (iOS) | Physical laser level |
|---|---|---|
| Hang 2–6 frames, quick straight line | Fast setup, great for small rooms | Usually overkill unless doing many walls |
| Kitchen cabinet runs across multiple walls | Helpful for verification and spot checks | Best for continuous lines and long distances |
| Tile reference lines | Good for checking and re-checking level | Excellent for keeping a continuous baseline |
| Outdoor grading/drainage | Useful for slope checks at close range | Better visibility and range in bright light |
| Tight mechanical spaces (pipes, HVAC) | Often easier to fit the phone in place | May not fit or project clearly in cramped areas |
In practice, many DIYers do both: use a physical laser for the long “master line,” then use an iOS measurement tool to verify level, plumb, and angles at specific points.
Offline Matters: Reliability in Garages, Basements, and Job Sites
Measurement and layout work often happens in places with weak reception: basements, workshops, cabins, or new builds. An offline iOS app avoids lag, login prompts, and feature lockouts. It also reduces distractions (no “connect to continue” interruptions) when you’re in the middle of a cut list or aligning hardware.
If you’re choosing a laser projection level app for iOS, confirm that core measurement features work without internet, and that calibration settings persist.
Accuracy: What You Can Expect (and What Can Throw It Off)
iPhones can be surprisingly consistent for angle measurement, but results depend on technique. Here are the most common sources of error:
- Uneven contact surfaces: Textured walls, rounded trim, or bowed lumber can skew a reading.
- Case geometry: A case lip can prevent flat contact on a surface.
- Hand movement: Micro-tilts change readings—use a rest or brace your hands.
- Magnetic interference (for compass-based alignment): Metal studs, speakers, and tools can affect heading; rely on level/angle when possible.
- Parallax with camera overlays: If you’re using the camera view, the line is only as accurate as your viewing angle and distance.
A simple slope conversion you can use
When a level app shows an angle, you may want to convert that to slope percent. This can help when you’re targeting a drainage pitch.
// Convert degrees to slope percent
// slope% = tan(angleRadians) * 100

angleDeg = 1.5
angleRad = angleDeg * (3.14159265 / 180)
slopePercent = tan(angleRad) * 100
As a reference, a 1° slope is about 1.75%, and a 2° slope is about 3.5%.
Choosing the Right Laser Projection Level App for iOS: Feature Checklist
If you’re comparing apps, prioritize features that improve repeatability and real-world usability:
- Dual-axis leveling: Shows tilt in two directions—useful for shelves and appliances.
- Fine resolution + stable display: Look for smoothing that doesn’t lag but also doesn’t jitter.
- Calibration controls: Easy recalibration and a clear indication of the current reference.
- Laser/line overlay modes: A clean, high-contrast line for alignment tasks.
- Offline functionality: No required account, no feature lock behind connectivity.
- Extra tools that match real workflows: Ruler for quick checks, compass for orientation, barometer/altimeter for outdoor context, etc.
Safety and Best Practices
- Don’t rely on a phone near moving blades: For saw work, mark and measure away from the cutting area.
- Protect the phone when using adhesives or grout: A sealed bag still allows basic touch input and keeps dust out of ports.
- Double-check before drilling: Use at least two verification methods (e.g., app level + tape measure spacing) before committing holes.
Putting It Together: A Practical Mini-Checklist for a “Straight-Line” Project
Use this quick sequence when you want consistent results:
- Calibrate on a stable surface.
- Remove bulky case if it prevents flat contact.
- Set two anchor marks (start/end).
- Align the laser line overlay to the anchors.
- Confirm level/plumb numerically.
- Transfer intermediate marks and re-verify after every 2–3 placements.
Done this way, a laser projection level app for iOS becomes less of a gimmick and more of a repeatable layout method—especially for indoor projects where speed and convenience matter.
Gentle note: If you’re looking for an offline iOS toolkit that combines leveling with a laser-style overlay and other measurement utilities in one place, apps like Level Tool are designed around that “one device, many tools” workflow.
