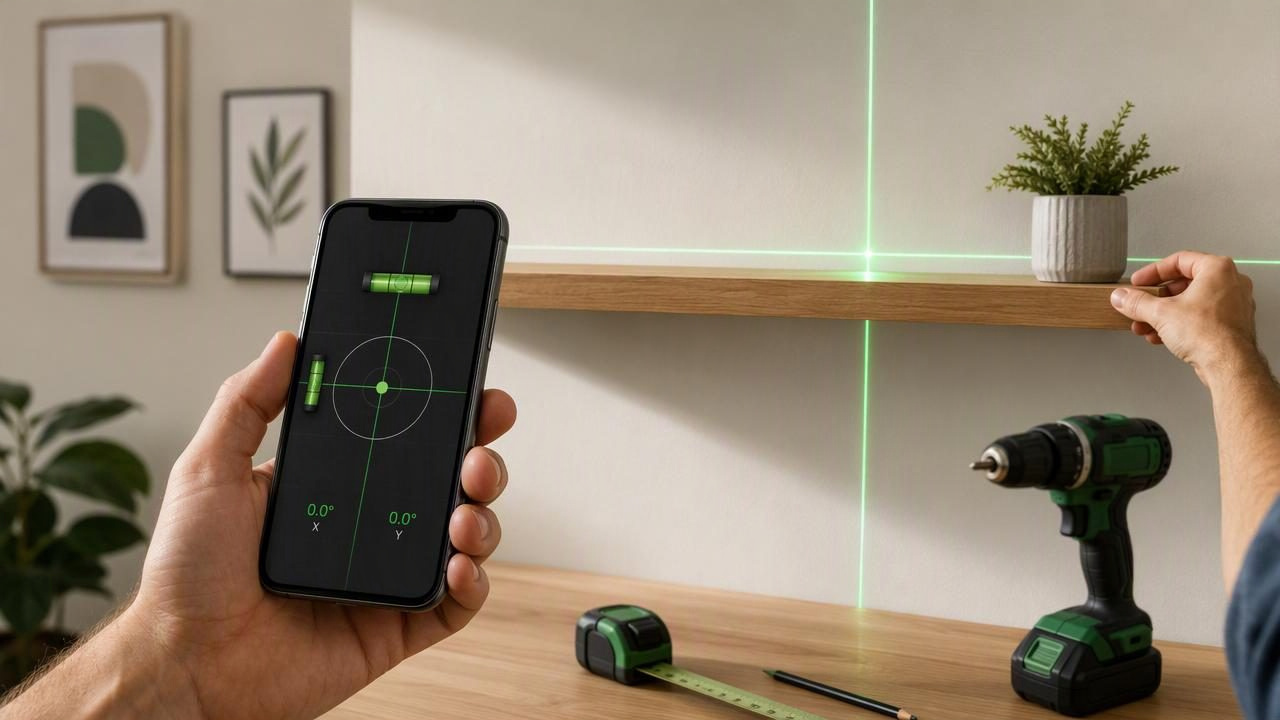
A laser projection level app can make everyday alignment tasks easier when you need a quick visual reference for leveling, angles, or straight layouts. Whether you are mounting a shelf, positioning a picture frame, checking an RV surface, or setting a consistent slope, an iPhone can provide useful sensor-based measurements without adding another bulky tool to your kit.
It is important to understand what this type of app does well. A level app uses the motion sensors in your phone to detect tilt and orientation. Its laser projection feature is typically an on-screen visual guide, not a physical laser beam projected across a wall or room. It can help you follow a horizontal, vertical, or angled reference while you work, but it cannot replace a dedicated rotary laser, a long spirit level, or professional survey equipment when those tools are required.
Used carefully, however, a calibrated iPhone level can be a practical addition to home improvement and navigation tasks—especially when you need a compact, offline measurement tool.
What Is a Laser Projection Level App?
A laser projection level app combines a digital bubble level or angle meter with a visual alignment reference. The app reads your iPhone’s internal sensors and displays whether the device is level, plumb, or tilted by a specific number of degrees. A projection-style display can make it easier to see the target orientation at a glance while you position an object.
For example, instead of watching a small digital number while adjusting a shelf bracket, you may use a horizontal target line, centered bubble, or angle indicator. The goal is simple: move the phone or the object until the display reaches the chosen target.
The most useful apps provide more than a single left-to-right bubble. Look for functions such as:
- Dual-axis leveling to check front-to-back and side-to-side tilt at the same time.
- Angle measurement for checking slopes, cuts, ramps, or tilted surfaces.
- Custom targets for common angles, such as 0°, 1°, 2%, or 45°.
- Tolerance settings that indicate when a measurement is close enough for the task.
- Sound or haptic feedback so you can focus on positioning the work rather than staring at the screen.
- Offline functionality for garages, basements, campsites, job sites, and other areas with unreliable service.
Know the Difference Between Visual Projection and Laser Measurement
The word “laser” can be confusing in app descriptions. A phone app does not turn an iPhone into a physical construction laser that throws a visible line onto a distant wall. It also does not perform laser distance measurement simply by displaying a line on the screen.
Instead, the projection element is a visual aid within the app interface. It helps you interpret the phone’s level or angle reading and align the device with a chosen reference. For reliable results, the iPhone must make actual contact with the surface being measured, or it must be held consistently against a straight edge that contacts that surface.
Practical rule: Treat the display as a guide to the orientation of the phone—not as proof that a wall, shelf, or object is level unless the phone is properly referenced to it.
This distinction matters. Holding a phone near a wall may help you visualize a target, but it will not accurately tell you whether the wall is plumb unless the phone is physically aligned with that wall or with a trusted reference edge.
How to Set Up Your iPhone for Repeatable Level Readings
Before using a laser projection level app on a project, spend a few minutes preparing the phone and checking calibration. A digital measurement is only as useful as the contact surface, reference position, and repeatability of the process.
- Clean the phone case and surface. Dust, a raised camera bump, a thick case, or a loose grip can prevent stable contact.
- Choose a stable reference. Use a known flat countertop, a straight level, or a verified board. Avoid soft carpet, bowed lumber, and uneven tile.
- Calibrate when needed. Follow the app’s calibration process on a stable surface. Do not assume every tabletop or floor is perfectly level.
- Use the same phone edge. If you measure using the bottom edge, continue using that edge throughout the task. Different edges and cases may sit differently.
- Check twice from opposite directions. Turn the phone 180 degrees on the same surface. If the readings differ significantly, recalibrate or inspect the surface and phone contact.
- Set a sensible tolerance. A picture frame may need a tight 0° target, while a drainage surface may intentionally require a small, repeatable fall.
Repeatability is often more useful than chasing a perfect-looking number. If you can place the phone in the same position and obtain the same reading several times, you have a more dependable basis for making an adjustment.
Concrete Example: Aligning a Wall-Mounted Shelf Rail
Consider a 48-inch shelf rail that needs to be installed above a desk. The rail has several mounting holes, and a slight tilt will be noticeable once books or storage bins are placed on it. A laser projection level app can help during the layout and final adjustment stages.
Step 1: Mark the approximate height
Measure and mark the desired rail height at both ends of the installation area using a tape measure. This establishes placement; the level app will help refine the horizontal alignment.
Step 2: Use a straight reference
Hold the rail against the wall, or use a straight board temporarily positioned where the rail will go. Place the iPhone flat against the front face of that straight reference. Do not rest the phone only on a rounded case or press it against an uneven wall texture.
Step 3: Select a 0° target
Set the digital level to a horizontal target. If the app offers sound or haptic feedback, enable it so you can concentrate on holding the rail while receiving confirmation near level.
Step 4: Adjust and verify
Move one end of the rail slowly until the bubble centers or the display reaches the selected tolerance. Mark the mounting holes. Before drilling, remove and reposition the phone at least once to confirm the same reading. After installing the first fastener, check again before securing the remaining fasteners.
Step 5: Check the finished installation
Once the shelf is mounted, place the phone on the shelf surface or against the rail, using the same contact method as before. A final check confirms that tightening the hardware did not pull the rail out of position.
This process works because the phone is measuring the orientation of a real, straight reference that is in contact with the object being installed. The on-screen projection guide helps with positioning, while the sensor reading provides the actual tilt information.
Choose the Right Reference for the Job
| DIY task | Useful target | Best contact method | Important check |
|---|---|---|---|
| Picture frame | 0° horizontal | Phone against the frame edge | Check the frame, not the wall |
| Shelf or cabinet rail | 0° horizontal | Phone against a straight rail face | Verify before and after fastening |
| Ramp or drainage board | Specified slope | Phone on a straight board | Confirm direction of fall |
| RV counter or table | Level or chosen tolerance | Phone flat on the surface | Measure in two directions |
| Miter layout | Specific angle | Phone against a straight guide | Keep the guide from shifting |
Common Mistakes That Reduce Accuracy
Many disappointing level readings come from setup errors rather than the phone sensor itself. Avoid these common problems:
- Measuring through a bulky case: A case can create an uneven contact point, especially near camera bumps or raised corners.
- Trusting a single reading: Reposition the phone and compare results. A repeat check takes seconds and can prevent a visible installation error.
- Using a warped board as a reference: A bowed or twisted board transfers its error into the measurement.
- Ignoring surface texture: Textured walls, grout lines, trim details, and fastener heads can tilt the phone away from the intended plane.
- Confusing level with plumb: A horizontal shelf is level; a vertical wall edge is plumb. Select the correct target before making adjustments.
- Expecting the screen to measure at a distance: The phone should contact the object or a stable reference. It is not photo-based measurement and cannot assess a distant surface from an image alone.
When an iPhone Level App Is Not Enough
A laser projection level app is well suited to small home improvement jobs, quick angle checks, furniture setup, camping, and routine alignment. It has limits, though. For long-distance wall layouts, suspended ceilings, major framing, grading, structural work, or compliance-sensitive construction, use the appropriate professional instrument and follow local requirements.
Likewise, do not use a phone app as certified evidence of accuracy, as a substitute for a survey tool, or as an automatic method for lifting or leveling a vehicle. When leveling an RV or camper, make small, controlled adjustments with proper leveling equipment and verify the result from a stable interior surface.
Make the Most of Offline Measurement Tools
Offline access is especially useful when you are working in a shed, an unfinished property, a remote campsite, or a garage with poor reception. Before starting, open the app, confirm the level function works, and set your preferred target or tolerance. This avoids interruptions when you are holding a rail, ladder, or board in position.
A practical workflow is to calibrate once on a reliable reference, take repeated contact-based readings, and record the target you used for the project. That simple routine produces clearer, more consistent results than relying on a quick glance at an unverified display.
For a closer look at contact-based angle checks, calibration, and practical targets on iPhone, Level Tool’s guide to measuring angles on iPhone offers additional context for DIY measurement work.
