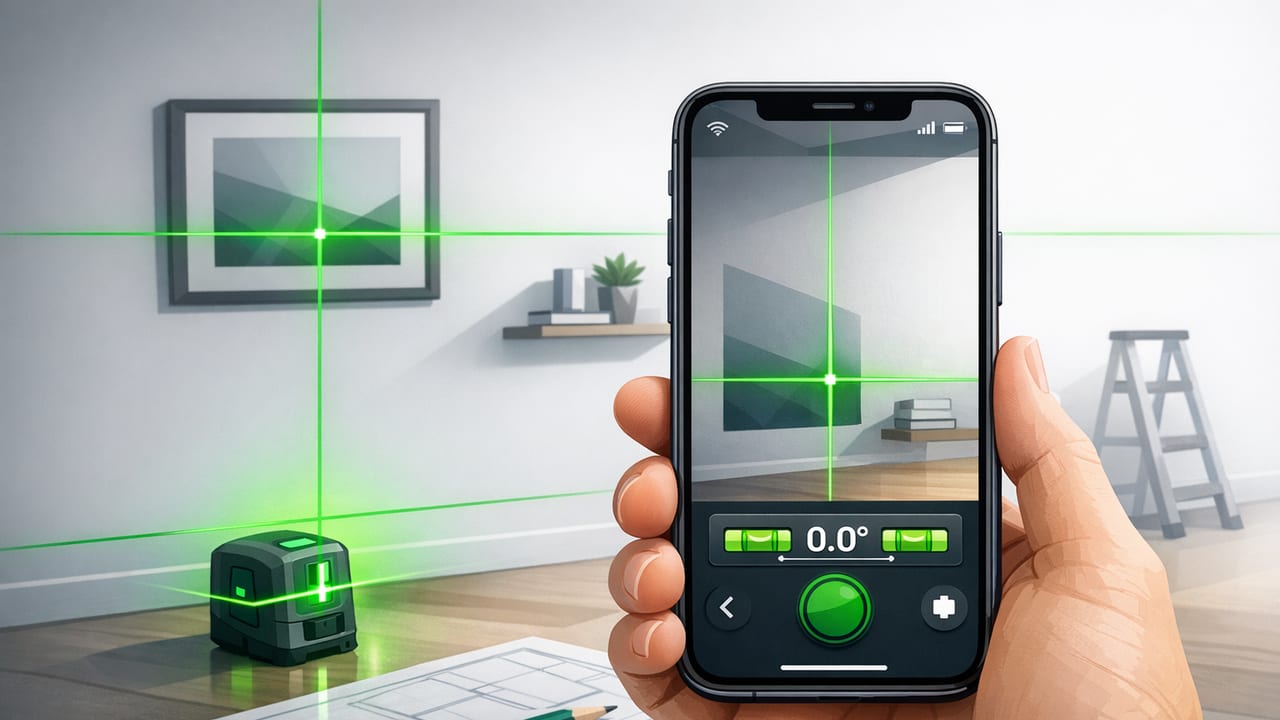
A laser level projection iPhone app can make DIY layout work faster and cleaner—especially when you need a straight reference line but don’t want to drag out a full-sized tool kit. Whether you’re hanging shelves, aligning picture frames, planning tile rows, or checking slope, the combination of iPhone sensors (gyroscope and accelerometer) and an on-screen “projected” line can help you transfer straight, level, or plumb guidance to real surfaces.
One important clarification: an iPhone doesn’t emit a construction-grade laser line by itself. In most apps, “laser projection” means a visual guide (often a bright line on-screen and/or an AR overlay through the camera) that helps you line up marks and maintain an angle while you work. Used correctly, it’s a practical assist for everyday projects—especially indoors and at short distances.
What “Laser Level Projection” Means in an iPhone App
When you enable projection mode in a laser level projection iPhone app, you’re typically getting one (or a mix) of these behaviors:
- Sensor-locked line guidance: The app uses the phone’s orientation sensors to keep a horizontal/vertical (or user-set) angle locked while you move the device.
- Camera overlay (AR-style): You view a surface through the camera with a line overlay that stays level/plumb relative to gravity, helping you place marks.
- Angle “hold” for repeatability: You capture an angle (e.g., 3° slope) and the app helps you reproduce it across multiple points.
Rule of thumb: Treat app-based projection as layout guidance. For long distances, bright sunlight, or high-precision commercial installs, a dedicated laser level still wins.
Best DIY Uses for a Laser Level Projection iPhone App
These are the scenarios where a laser level projection iPhone app tends to shine—because you’re working at short-to-medium range, indoors, and you mainly need consistent straightness rather than survey-grade precision.
1) Hanging shelves and cabinets
Use projection to establish a consistent horizontal reference. It’s especially helpful when you’re working solo and need to mark multiple bracket holes at the same height.
2) Picture wall grids and gallery layouts
Projection makes it easier to align top edges or centerlines across several frames. You can also verify small differences in height that the eye misses.
3) Tile layout and backsplash planning
Before setting adhesive, a projected guide line helps you preview grout line alignment and avoid “drift” across a row.
4) Quick plumb checks for posts and door frames
Vertical projection guidance can help you spot lean while you shim, screw, or brace.
5) Slope checks (drainage, ramps, shower pans)
If your app supports degrees or percentage grade, you can set a target slope and replicate it.
Setup: Getting Reliable Results in 10 Minutes
The biggest difference between “pretty close” and “surprisingly accurate” is setup. Follow this workflow once, and you’ll get consistent results on future projects.
- Remove bulky cases (if possible): Thick cases can create wobble on edges and corners and can prevent your phone from sitting flush on flat surfaces.
- Clean the contact edge: Dust or debris can tilt the phone slightly—enough to matter over longer lines.
- Calibrate on a known-flat surface: A sturdy countertop, a quality carpenter’s level, or a flat table works well. Follow the app’s calibration routine if available.
- Choose a repeatable reference edge: Always use the same side/bottom edge of the phone against the surface so your results remain consistent.
- Enable projection/line mode and lock your target: Lock to level/plumb, or lock a custom angle if your project needs slope.
Tip: If you’re working on walls, consider leaning the phone against a straightedge (like a long ruler or a clean piece of lumber). This reduces hand tremor and improves repeatability.
Accuracy: What Affects It (and How to Improve It)
Phone sensors are excellent for consumer-grade measurement, but they’re still sensors. Understanding the limits helps you avoid the most common “why is this line off?” frustrations.
| Accuracy Factor | What Can Happen | How to Reduce Error |
|---|---|---|
| Calibration drift | Level reads slightly off, especially after updates or drops | Recalibrate before critical work; verify with a known level |
| Hand movement | Line “wobbles” while marking points | Brace phone on a straightedge; use a stand/tripod if possible |
| Surface irregularities | Phone doesn’t sit flat, causing tiny tilt | Use a flatter reference area or a straight board as a base |
| Distance magnifies error | A small angle error becomes a big offset across a long span | Mark multiple short segments; re-check frequently |
| Magnetic/metal interference | Can affect compass-based features (not the level itself) | Keep away from strong magnets; don’t rely on compass near metal studs |
A quick reality check: translating degrees into “how off”
Even tiny angle errors add up. Here’s a simple way to estimate how much offset a small angle creates over a given length:
offset ≈ length × tan(angle)

Example:
length = 2.0 m
angle  = 0.5°
offset ≈ 2.0 × tan(0.5°) ≈ 0.017 m ≈ 17 mm
This is why short-range marking and frequent verification matter. A laser level projection iPhone app is excellent for layout and alignment, but you should still confirm critical points—especially over long spans.
Practical Workflow Example: Hanging Two Floating Shelves Evenly
Let’s walk through a repeatable approach that works well for most shelf kits.
Tools you’ll use
- Your iPhone with a laser level projection iPhone app
- Pencil and painter’s tape
- Tape measure (or an in-app ruler for quick checks)
- Stud finder (optional but recommended)
Steps
- Decide the shelf height: Place a small piece of painter’s tape where the top of the shelf should land.
- Calibrate: Do a quick calibration pass if you haven’t used the app recently.
- Project a level line across the wall: Use the line to align the tape marks. If your app offers a “hold” feature, lock it to level so the line stays steady.
- Mark bracket hole locations: Rather than drawing one long line, mark several points along the projected guide (left, center, right). Multiple points reduce the risk that one shaky moment ruins the whole line.
- Measure spacing: Use the tape measure to confirm the shelf-to-shelf spacing and equal margins from nearby edges (window trim, cabinet side, etc.).
- Verify before drilling: Re-check the projected line and compare to a physical level if the shelf must be perfect.
Why this works: You’re using the app for what it’s best at—fast visual alignment—while using measurement and verification to protect against compounded error.
Common Mistakes (and Easy Fixes)
- Drawing one continuous line: Instead, make several reference marks and connect them with a straightedge. This looks cleaner and is more accurate.
- Ignoring the phone’s edge geometry: Some cases or camera bumps prevent flush contact. If the phone rocks, accuracy suffers.
- Using compass readings indoors: Compass features can be affected by metal studs, appliances, and wiring. Use the level function for gravity-based work; reserve compass for outdoor navigation.
- Assuming AR equals precision: AR overlays are great for visualization, but they depend on lighting, surface texture, and tracking stability. Use AR as a guide, not a guarantee.
Why Offline Matters on Jobsites and in the Garage
Many DIY and field projects happen where connectivity is unreliable: basements, garages, cabins, or outdoor work areas. An offline iOS measurement app keeps core tools available without waiting for sign-ins, ads, or network checks. It also improves consistency: the same features work the same way every time you open the app, even when you’re mid-project.
When to Choose a Dedicated Laser Level Instead
App-based projection is convenient, but there are times a dedicated laser level is the better tool:
- Long hallways or large rooms: Distance magnifies small errors, and a real laser line stays visible across the span.
- Bright sunlight: Phone screens and AR overlays can be hard to see outdoors.
- Commercial finish work: If tolerances are tight and inspection matters, use dedicated equipment.
- Hands-free layout: Dedicated units can be tripod-mounted and left in place while you work.
Quick FAQ
How accurate is a laser level projection iPhone app?
For typical indoor DIY use—short spans, careful calibration, and stable bracing—accuracy is often good enough for shelves, frames, and basic layout. For longer spans or high-stakes installs, verify with a physical level or use a dedicated laser level.
Do I need LiDAR?
No. LiDAR can improve AR scene understanding on supported devices, but gravity-based leveling uses the gyroscope/accelerometer found on modern iPhones.
Can I rely on it for navigation?
For navigation, prioritize compass and mapping best practices (and understand magnetic interference). For straight lines and plumb/level, rely on gravity-based leveling.
Takeaway: Use Projection for Layout, Then Verify
A laser level projection iPhone app is most powerful when you treat it as a fast alignment tool: set up carefully, lock your reference, mark multiple points, and confirm key measurements. That workflow gives you clean results without overcomplicating the job.
If you’re looking for an offline iOS toolkit that includes projection-style guidance alongside other measuring essentials (like level, ruler, and compass), Level Tool is one example that bundles multiple sensor-based tools into a single app.
