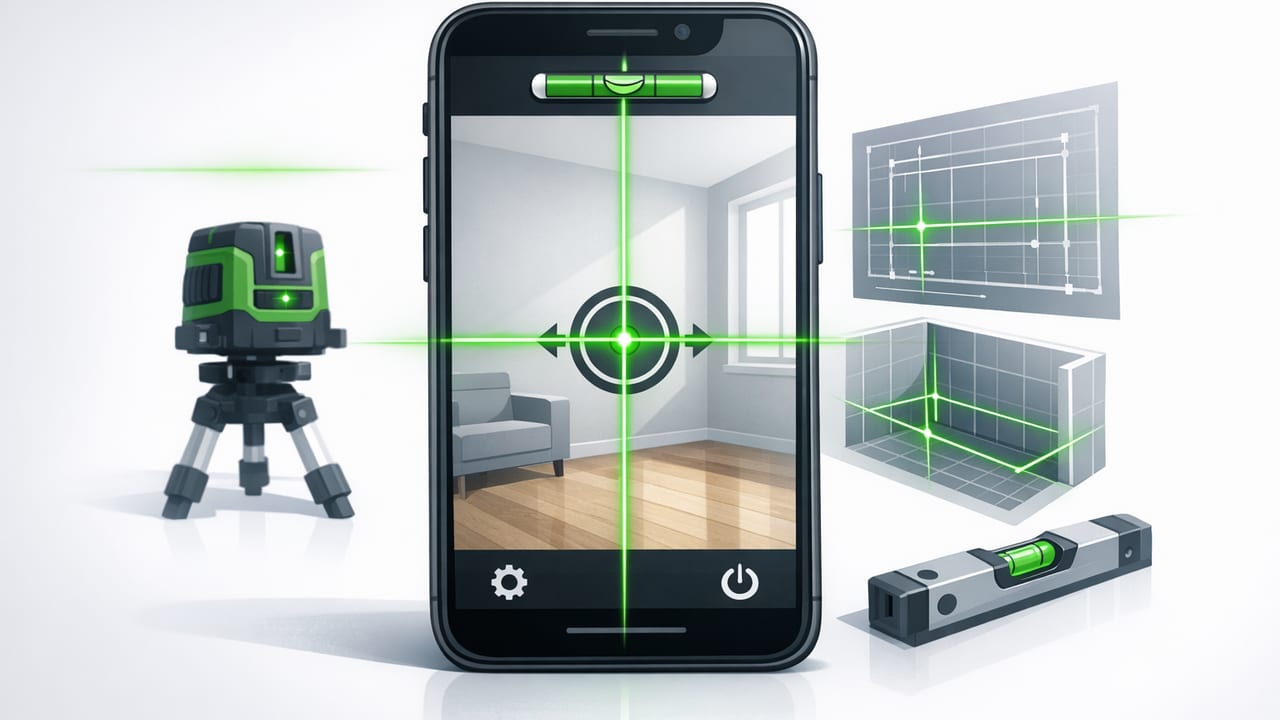
A laser level app can turn your iPhone into a fast, portable leveling helper for common DIY jobs—hanging frames, aligning shelves, setting cabinet runs, or checking slopes. But it’s important to understand what you’re getting: most phones do not physically project a laser beam. Instead, a laser level app typically provides (1) a highly readable digital level/inclinometer using the iPhone’s motion sensors, and/or (2) an AR “laser line” overlay in the camera view to help you align to a straight reference line. Some setups can also pair an app with an external laser accessory.
This guide walks through how a laser level app works, what “accuracy” means in real projects, how to set it up for repeatable results, and when a dedicated laser level tool is still the better choice.
What a “Laser Level App” Actually Does (and Doesn’t)
The phrase laser level app is used in a few different ways. Knowing which type you’re using will help you set realistic expectations.
- Digital level / inclinometer (sensor-based): Uses the accelerometer and gyroscope to measure tilt and show 0.0° when level (or 90.0° when plumb). This is the most reliable “leveling” capability on a phone.
- AR straight-line overlay (camera-based): Draws a line on top of the camera image. Useful for visual alignment, but it depends on lighting, tracking, and how steadily you hold the phone.
- External laser accessory control: Less common, but some systems combine a phone app with a small laser module. In that case, the laser is real—coming from the accessory, not the phone.
Key reality check: iPhones don’t emit a leveling laser line by themselves. If your goal is a true projected line across a wall in bright daylight, you’ll still want a dedicated laser level device (or an accessory).
Phone vs. Dedicated Laser Level: A Practical Comparison
For many indoor DIY tasks, a laser level app can be “accurate enough” and dramatically faster to deploy. For long runs, bright environments, or high-stakes installs, dedicated laser tools win.
| Use Case | Laser Level App (iPhone) | Dedicated Laser Level |
|---|---|---|
| Quick indoor leveling (shelves, frames) | Fast, convenient, very capable | Also great, but slower to grab/set up |
| Long wall line (tile, cabinets across a room) | Depends on method; AR overlay may drift | Strong advantage: true projected line |
| Outdoor work in sunlight | Screen visibility limits; wind/handshake issues | Designed for outdoor use (often with detector) |
| Precision angle checks (slope, pitch, bevel) | Excellent when calibrated and stable | Good, but often overkill for angle-only tasks |
| Budget and portability | Usually low-cost and always with you | Higher cost; another tool to carry |
How Accurate Is a Laser Level App?
Accuracy for a laser level app usually comes down to two things: sensor accuracy and setup consistency.
1) Sensor accuracy (the phone’s “tilt reading”)
Modern iPhones have excellent motion sensors. In practice, you can often achieve repeatable results for common DIY jobs—especially when you’re verifying level/plumb on a short span (like a bracket, shelf, appliance, or picture rail). The limiting factor is less about the sensors and more about how you reference the phone to the work surface.
2) Setup consistency (the part DIYers control)
If the phone rocks on an uneven case, sits on a dusty surface, or you “eyeball” a corner that isn’t square, the reading can be off even if the sensor is perfect.
Field rule: A stable reference surface beats a fancy feature list. If you can’t place the phone consistently, you can’t measure consistently.
Best Setup for Reliable Results (Step-by-Step)
Use this workflow whenever you need a reading you can trust—especially for cabinets, trim, tile layout, or mounting hardware.
- Remove bulky cases (if they wobble): A thick case lip can create tiny rocking points that change the angle.
- Clean the contact surface: Dust, grout crumbs, sawdust, or drywall texture can tilt the phone.
- Choose the right reference edge: If the surface is rough (like popcorn ceiling) use a known straightedge (a level, ruler, or aluminum square) and rest the phone against it.
- Calibrate if your app supports it: Place the phone on a known level surface, zero it, rotate 180°, and confirm the reading matches (more on this below).
- Lock your orientation: Use a feature that holds or “freezes” the measurement once you hit level (handy when you have to move to mark).
- Mark, then verify: Don’t trust one pass. Mark your line, then re-check at two additional points.
Quick calibration check (the 180° test)
This is an easy way to detect bias without special equipment:
- Place the phone on a flat surface and note the reading (e.g., +0.2°).
- Rotate the phone 180° in the same spot.
- If the reading flips to roughly the opposite (e.g., -0.2°), you’re in good shape. If it changes a lot (e.g., +0.2° to +0.8°), recalibrate and re-test.
Using a Laser Level App for Common DIY Jobs
Hanging multiple frames in a straight line
Use the app’s level readout to ensure your reference (a straightedge, a shelf, or even painter’s tape) is truly level before you commit holes.
- Lightly tape a guide line on the wall.
- Use the app to level the tape by adjusting until the reading is 0.0°.
- Mark centers for hooks along the tape.
Installing a floating shelf
Most shelf failures come from a bracket that’s slightly off level. A laser level app helps you set the bracket precisely before tightening everything down.
- Hold the bracket in place; lightly snug one screw.
- Place the phone on top of the bracket (or against a straightedge aligned to it).
- Adjust until level, then drive the remaining screws.
- Verify again after tightening (screws can shift alignment).
Cabinet runs and toe-kick leveling
For cabinets, you often care about both level and consistent reveal. Even if the floor is out of level, you can use the app to maintain a consistent baseline.
- Find the high point of the floor along the run.
- Set that cabinet height as your reference.
- Use the app to keep each cabinet face level and plumb while you shim.
Checking ramp, driveway, or yard slope
Instead of guessing grade, use the inclinometer reading:
- Lay a straight 4–6 ft board on the surface.
- Place the iPhone on the board and read the angle.
- Convert degrees to slope percent if needed (see snippet below).
// Quick conversion: degrees to slope percentage
// slope% = tan(degrees * π/180) * 100

// Example:
// 5° slope ≈ tan(5 * π/180) * 100 ≈ 8.75%
AR “Laser Line” Tips (If Your App Includes a Camera Overlay)
An AR overlay can be excellent for visualization—especially when you want to “see” a line across a wall. It’s also the mode where people get misled most often. To make it more dependable:
- Use strong reference points: Corners, door frames, and long straight edges help AR tracking.
- Improve lighting: Dim, flat lighting reduces tracking quality.
- Reduce motion: Move slowly; sudden pans can cause the overlay to jump.
- Confirm with a second method: After you mark, verify with a sensor-based level reading or a physical straightedge.
Common Mistakes That Make Readings “Wrong”
- Measuring off an untrustworthy surface: Trim pieces, drywall edges, and old plaster walls may not be straight or square.
- Ignoring phone placement: If only one corner touches (rocking), your reading is unreliable.
- Assuming the floor is level: Many floors aren’t. Always establish a reference line for the project.
- Chasing perfection where it doesn’t matter: For aesthetics, consistent alignment can matter more than absolute level (e.g., matching an existing line in an old house).
Choosing the Right Laser Level App: What to Look For
App stores are full of “laser level” claims. Focus on capabilities that improve real outcomes:
- Dual-axis readout: Shows left-right and forward-back tilt at the same time for faster setup.
- Clear calibration tools: Simple zeroing and repeatable checks (like the 180° test workflow).
- Offline functionality: Useful in basements, job sites, remote cabins, or anywhere you don’t want ads/tracking.
- Multiple measurement modes: Level + inclinometer + ruler/compass can reduce the number of apps you juggle.
- Readable UI: Big numbers, strong contrast, and optional sound/haptic cues help when you’re on a ladder.
FAQ: Laser Level Apps on iPhone
Can an iPhone project a real laser line?
No. iPhones don’t have a laser projector that can cast a line on a wall like a construction laser. A “laser level app” typically uses sensors for tilt and may show an AR overlay line in the camera view.
Is a laser level app good enough for tile layout?
For small areas and quick checks, yes—especially to confirm level/plumb and angles. For long, continuous lines across a room (or when you need a bright reference), a dedicated laser level is more efficient and easier to see.
Why does my reading change when I rotate the phone?
Small changes are normal if the phone isn’t placed in the exact same contact points. Large differences suggest you need calibration, a flatter reference surface, or a case that doesn’t rock.
Do I need internet for a laser level app?
Not inherently. The sensors work offline. If offline matters for privacy, reliability, or job-site convenience, choose an app designed to run without a connection.
What’s the fastest way to improve accuracy?
Use a straightedge and do the 180° calibration check. Most “bad” results come from inconsistent placement, not bad sensors.
Bottom Line
A laser level app is best thought of as a pocket-friendly leveling toolkit: great for quick alignment, angle checks, and repeatable indoor tasks—especially when you combine it with good setup habits and verification. When you need a bright projected line across long distances or in harsh lighting, a dedicated laser level still earns its keep.
If you prefer an offline, multi-tool approach on iOS (level, inclinometer, and more in one place), an app like Level Tool can be a convenient way to keep essential measurement tools available without relying on subscriptions or connectivity.
