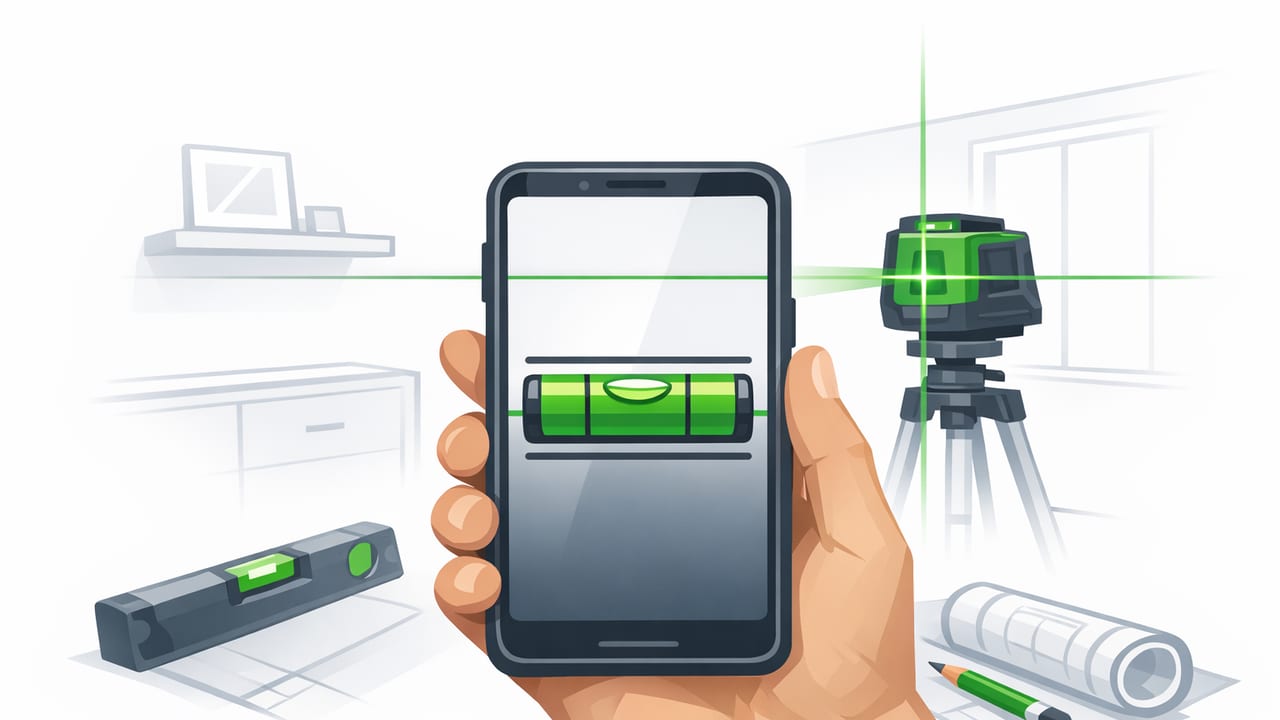
A laser level app can turn your iPhone into a fast, practical alignment tool for DIY and light professional work. Instead of guessing by eye (or constantly re-checking with a tape measure), you use your phone’s sensors to establish a level or plumb reference and then project or display a straight line you can build to. The goal isn’t to replace every dedicated laser level on a job site—it’s to give you a reliable reference line when you’re hanging frames, leveling appliances, laying out tile rows, or aligning cabinet hardware.
This guide focuses on how to get dependable results: setup, technique, common mistakes, and when a phone-based laser/line method is the right tool.
What a “laser level app” really does
Different apps use the term “laser level” in slightly different ways. Most fall into two categories:
- Line level (screen-based): The app shows a crisp horizontal/vertical line on-screen while the phone acts as the reference. You align your work to the line by placing the phone against a surface or using it as a sight guide.
- Laser projection (accessory or integrated feature): Some solutions can project a visible line onto a surface (often using an add-on, a case attachment, or a built-in projection feature if available). This is closer to how a traditional laser level feels: you see a line on the wall and work to it.
In both cases, accuracy depends on the same fundamentals: sensor calibration, stable placement, and good technique. Your iPhone’s accelerometer and gyroscope are precise, but they’re still sensitive to movement, pressure, and uneven contact points.
Best use cases in DIY and home improvement
Here are common projects where a laser level app is genuinely useful—especially when you’re working solo and need a repeatable reference line.
1) Gallery walls and picture frames
Use a level reference to align the top edges of multiple frames or keep a series of hooks on the same line. This is one of the biggest “time savers” because small misalignments are very noticeable across several frames.
2) Shelves, rails, and wall-mounted organizers
Floating shelves and rails look wrong if they’re even slightly off. A reference line helps you mark multiple bracket holes at the same height without measuring from the floor repeatedly.
3) Cabinet hardware and appliance leveling
Consistent handle height across doors/drawers matters. For appliances (like a washer or fridge), a level reference helps you confirm front-to-back and side-to-side leveling after adjusting feet.
4) Tile layout (horizontal rows and accent bands)
A straight baseline keeps tile courses from “walking” as you go. You can set a reference line for your first row or an accent strip, then periodically re-check as you work.
5) Quick outdoor alignment tasks
For temporary setups—like aligning a small sign, a portable work surface, or a camping table—an iPhone line/level is convenient and fast, especially when you want offline functionality without carrying extra gear.
Step-by-step: How to get accurate results
Step 1: Pick the right reference (horizontal vs. vertical vs. angle)
Decide what “correct” means for your project:
- Horizontal (level): shelves, frames, tile rows
- Vertical (plumb): door trim lines, vertical tile stacks, wall panels
- Specific angle: stair rails, ramps, repeated bevel layouts
Step 2: Check calibration before you trust the line
Many measurement apps include a calibration workflow (often a quick “set to zero” procedure). If yours does, use it—especially if you’ve recently dropped the phone or changed cases.
Practical tip: If your readings seem inconsistent, remove thick or uneven phone cases. A case lip can keep the phone from sitting flat, which can bias your level reference.
Step 3: Stabilize the phone (this matters more than people expect)
For screen-based line leveling, treat your phone like a precision tool:
- Use a stable contact surface: a clean countertop, a straightedge, or a known-flat board.
- Avoid hand-holding during marking: your grip pressure can tilt the phone.
- Let the reading settle: pause for a second before marking.
Step 4: Transfer the line to the work surface
Once you have a stable level/plumb reference, you need to move it onto the wall or material:
- Mark two points along the reference line (e.g., left and right ends of where the shelf will go).
- Connect the marks using a straightedge or chalk line if the span is long.
- Re-check at the midpoint (quick sanity check before drilling).
If you’re using a projection feature (where a visible line appears on the surface), you’ll still want to verify stability: bumping the phone even slightly can shift the projected line.
Step 5: Confirm with a second method when precision matters
For anything load-bearing (shelves with heavy items) or visually critical (long tile runs), confirm with a backup:
- A small physical bubble level
- A measured height check from a fixed reference point
- A straightedge check across multiple points
Laser level app vs. other alignment methods
| Method | Best for | Pros | Limitations |
|---|---|---|---|
| Laser level app (line/sensor) | Quick indoor alignment, small-to-medium spans | Fast, portable, often offline, no extra tools | Depends on stable placement; limited for long distances |
| Traditional laser level | Long runs, bright rooms, professional layout | Highly visible line, designed for job-site stability | Costs more; another device to carry/charge |
| Bubble level + straightedge | Short spans, checking installed items | Simple, reliable, no batteries | Requires physical reach across the span |
| Chalk line | Long straight lines (walls, floors) | Very straight over distance, fast marking | Messy; needs two endpoints; not “live” feedback |
Common mistakes (and how to avoid them)
Mistake 1: Trusting one reading taken while holding the phone
If you’re squeezing the phone, you can introduce tilt. Set it down or brace it against a flat edge before marking.
Mistake 2: Using an uneven “flat” surface as your baseline
Some countertops and trim pieces aren’t level. If you reference a surface that’s already off, your line will match the error. When possible, reference the actual target surface (the wall, cabinet side, or board you’re installing).
Mistake 3: Forgetting that walls aren’t always plumb
Older homes can have bowed drywall and out-of-plumb corners. Decide what matters more: level to gravity or parallel to an existing feature (like a ceiling line). A laser level app helps you choose deliberately rather than accidentally.
Mistake 4: Not accounting for the thickness of your straightedge
If you mark along a ruler or board, be consistent about which edge you’re using. A small offset can become obvious across multiple brackets.
A quick “do this every time” checklist
- Remove bulky cases if they prevent flat contact.
- Calibrate if the app supports it.
- Stabilize the phone (no hand-holding for final marks).
- Mark two points minimum, then connect.
- Verify once before drilling/cutting.
When you should not rely on a phone-based laser/line tool
A laser level app is convenient, but there are times a dedicated tool is the better (or safer) choice:
- Long-distance layout across large rooms or exterior walls where visibility and stability matter.
- High-precision installs like cabinetry runs, large-format tile, or commercial-grade work where tolerances are tight.
- Bright sunlight conditions where projected lines are hard to see.
- Any situation where your phone can’t be placed securely (e.g., unstable ladders, awkward angles).
Advanced tip: Using a reference line for repeated measurements
One powerful workflow is to use the level line as a “master datum” for repeated marks (e.g., multiple hooks, multiple cabinet pulls, or a series of shelf standards). Here’s a simple approach:
// Repeatable layout workflow (conceptual)
1) Establish a level reference line at target height
2) Mark endpoints A and B
3) Measure spacing along the line: A -> A1 -> A2 -> A3...
4) Transfer each point down/up by a fixed offset if needed
5) Drill/install, then re-check against the same reference
This reduces cumulative error because you’re not “measuring from a measurement” over and over.
Choosing an iOS measurement app for laser-level style work
If you’re evaluating options in the App Store, prioritize practical features over flashy demos:
- Offline capability: useful in garages, basements, job sites, and outdoors without relying on a connection.
- Clear dual-axis feedback: helps prevent subtle twist errors.
- Calibration support: so you can restore trust after bumps or case changes.
- Multiple tools in one: level + ruler + compass can cover a surprising range of DIY needs.
As one example, Level Tool bundles several offline iOS measurement tools (including leveling and line-based features) in a single app, which can be handy if you prefer an all-in-one toolkit.
