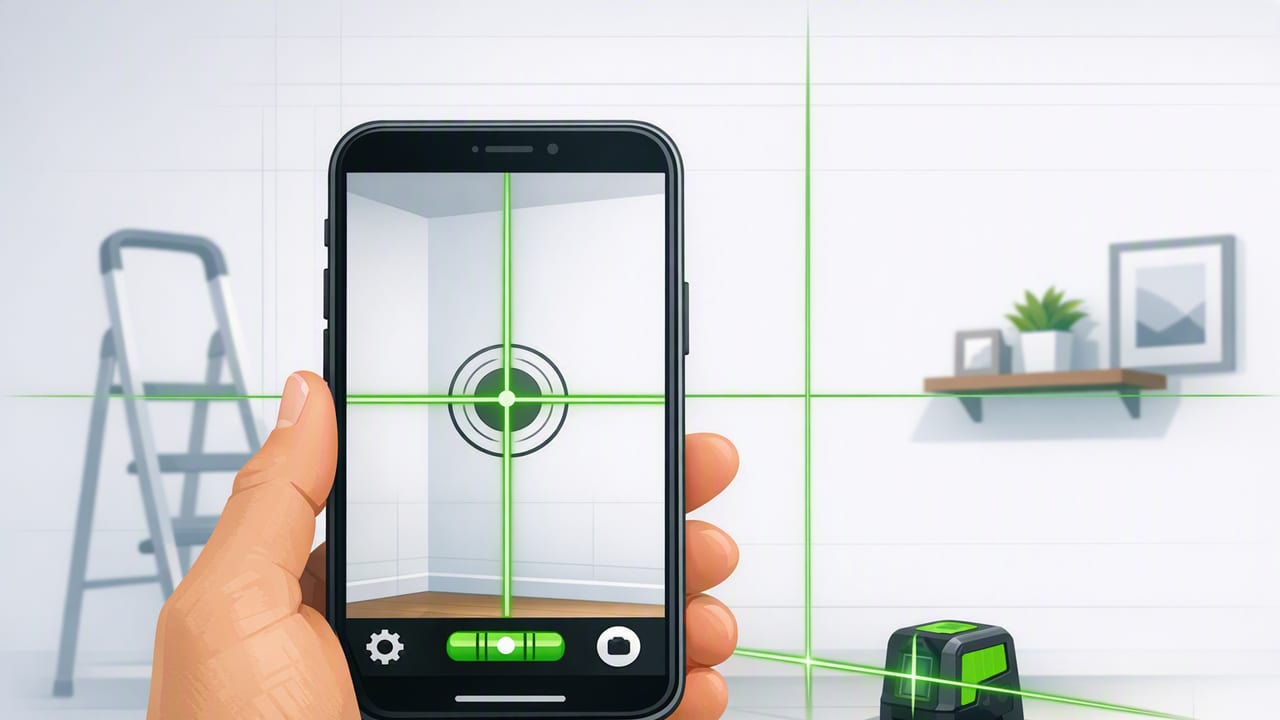
A laser level app can turn your iPhone into a fast layout assistant for everyday projects—hanging frames, aligning shelves, setting tile reference lines, or marking level points across a room. While a dedicated hardware laser level is still the best choice for long distances, bright sunlight, or jobsite abuse, a phone-based laser projection combined with a digital bubble level can cover a surprising amount of home-improvement work when you set it up correctly.
This guide focuses on practical, repeatable workflows: how to position your phone, how to verify accuracy, and how to get clean reference lines you can actually build from.
What a laser level app actually does (and what it doesn’t)
Most people expect a “laser level” to physically self-level and project a perfectly horizontal line across a wall. A phone-based laser level app typically works differently:
- Leveling: uses the iPhone’s motion sensors (accelerometer/gyroscope) to determine level, plumb, or a chosen angle.
- Projection: uses the phone’s camera/flash or on-screen guides to help you aim and mark. Some apps support a “laser” style projection effect for line guidance; others provide highly visible on-screen crosshairs and rely on you to transfer marks.
- Repeatability: your results depend heavily on stable mounting, careful marking, and quick verification.
Bottom line: treat a phone-based laser leveling workflow like a precision layout tool for short-range tasks, not a replacement for a rotary laser on a construction site.
Accuracy is less about the sensor and more about the setup: stable mounting, consistent reference points, and a quick verification routine.
Best DIY uses for a laser level app
These projects benefit most from a laser level app because they’re indoors, close-range, and require alignment more than distance measurement:
1) Hanging pictures and gallery walls
Use a level line to keep frames aligned and evenly spaced. The key is setting a consistent “centerline” height and measuring offsets.
2) Installing shelves and curtain rods
Mark both bracket points off the same level reference. This reduces the common error of measuring from floor trim that isn’t perfectly level.
3) Backsplash and tile layout
Tile work often starts with a level ledger line. A phone-guided level line helps you establish a straight baseline even when countertops are slightly out of level.
4) Aligning wall-mounted TVs, soundbars, and lighting
These installs are visually unforgiving. Even a 2–3 mm tilt can look “wrong,” especially above a straight countertop or media console.
5) Quick checks for cabinets and appliances
Before you shim a cabinet or level a washer/dryer, verifying level/plumb in two axes can save time and reduce wobble.
Setup that makes (or breaks) accuracy
Even the best laser level app can’t overcome poor mounting. Here’s how to get a stable, repeatable setup.
Mounting options (ranked)
- Tripod mount: best stability. Use a phone clamp and place the tripod on a firm surface.
- Wall mount/adhesive plate: good for quick indoor work; ensure it doesn’t sag.
- Stacked books + non-slip mat: decent in a pinch. Use a rubber mat to prevent sliding.
- Handheld: least reliable. Your wrists introduce tiny rotations that become visible over distance.
Environmental tips
- Reduce vibration: turn off nearby fans, avoid leaning on the wall you’re marking, and don’t work on bouncy flooring.
- Control glare: dim harsh overhead lighting if the projected guide is hard to see.
- Clean the lens: if the app uses the camera/flash, fingerprints can blur projected guidance.
A quick accuracy check you can do in 60 seconds
You don’t need special equipment to sanity-check a laser level app. Use the flip test to detect offset error.
The flip test (level line)
- Mount your phone and display the level/laser line.
- Make a small pencil mark on the wall aligned to the app’s horizontal reference.
- Rotate the phone 180° (top becomes bottom) while keeping it in the same physical position.
- Check whether the reference still hits the same mark.
What it means:
- If it matches closely, your setup is likely good.
- If it shifts, the error is roughly half the observed difference (because flipping reverses the bias).
Repeat this test whenever you change mounts, move rooms, or after a significant temperature change (phones and mounts can flex slightly).
Step-by-step workflows (real projects)
Workflow A: Hang two frames perfectly level
- Pick the target height: measure from the floor to the frame centerline (common gallery height is around eye level, but your space may differ).
- Establish a level line: use your laser level app to project/indicate a horizontal line at that height.
- Mark frame centers: lightly mark two vertical ticks where each frame center will sit.
- Measure hanging hardware offset: from the frame top to the hook/wire point. Transfer that measurement down from the level line.
- Place anchors: drill/anchor at the hardware points, then hang and micro-adjust.
Pro tip: If the wall is textured, use painter’s tape for marks. Pencil can wander on heavy texture.
Workflow B: Install a long shelf without “creep”
“Creep” is when one bracket ends up a hair higher, and you only notice after the shelf is up.
- Mount the phone on a tripod or stable surface facing the wall.
- Use the app’s horizontal reference and make a pencil line (or two marks) spanning the bracket locations.
- Mark bracket hole centers along the same reference.
- Before drilling, re-check the line (flip test or simply re-aim after a minute).
- Drill and install both brackets, then set the shelf and confirm.
Workflow C: Set a tile ledger line (backsplash)
- Find your starting point: measure tile height and decide whether you’ll start from the counter or a ledger.
- Check the countertop: run the app’s level across the counter. If it’s out, don’t follow it.
- Project a level baseline: set your ledger line based on the tile plan and use the app to mark it level across the work area.
- Fasten a straight ledger board: align its top edge to your marks.
- Lay the first course: build upward from the ledger for a clean, level visual result.
Understanding error: why tiny angles matter
A small tilt becomes a big miss over distance. If your reference is off by an angle θ, the vertical error grows roughly like:
error ≈ distance × tan(θ)Here’s a simple example using degrees:
# Pseudocode
theta_deg = 0.2
distance_m = 3
error_m = distance_m * tan(theta_deg * pi/180)
# error_m ≈ 0.0105 m  (about 10.5 mm)
That’s why stable mounting and quick verification matter so much—especially for long shelves, curtain rods, or anything spanning multiple studs.
Laser level app vs. hardware laser level: when to choose which
| Task | Laser level app | Hardware laser level |
|---|---|---|
| Hanging frames, small shelves (indoor) | Great if mounted and verified | Also great, often faster |
| Tile ledger lines (small/medium walls) | Good for layout and marks | Best for continuous bright lines |
| Whole-room leveling, long hallways | Can work but error is easier to notice | Recommended |
| Outdoor use in daylight | Often hard to see | Recommended (with receiver if needed) |
| Rough jobsite conditions | Risky for the phone | Built for it |
Pairing a laser level app with other iOS measurement tools
The most efficient approach is combining tools instead of forcing one tool to do everything:
- Digital bubble level (dual-axis): confirm level and plumb, and spot twist (roll) that can skew a projected line.
- Ruler/scale reference: measure offsets like bracket hole spacing, frame hardware drop, or tile grout reveals.
- Compass: helpful for outdoor projects like aligning a trail sign, checking bearing, or orienting a panel.
- Barometer: useful for hikers and DIYers who want weather/pressure context before outdoor work—especially when fully offline.
If you’re working in a garage, basement, or remote area, offline functionality matters: you want the tools to keep working without Wi‑Fi, logins, or subscriptions.
Troubleshooting: common problems and fixes
The line looks level, but the shelf still tilts
- Confirm the bracket holes are centered and drilled straight.
- Check the shelf itself for warp.
- Verify you didn’t reference off angled trim or an uneven floor.
My marks don’t match after I move the phone
- Re-mount and run the flip test again.
- Use two reference marks (left and right) rather than trusting a single point.
The guide is hard to see
- Dim the room slightly and increase screen brightness.
- Mark endpoints and snap a chalk line (for longer spans) once you have two accurate points.
Safety and best practices
- Eye safety: if your workflow uses any form of light projection, avoid aiming toward eyes and reflective surfaces.
- Protect the phone: keep it away from dust-heavy cutting, wet tile saw areas, and ladders where a fall is likely.
- Mark lightly first: do a “dry run” with small pencil ticks; commit only after confirming alignment.
Checklist: fast repeatable results
- Mount securely (tripod if possible).
- Run a quick flip test.
- Use two marks (endpoints) for any line longer than a couple of feet.
- Measure offsets carefully (hardware drop, bracket spacing).
- Re-check before drilling or fastening.
Used this way, a laser level app becomes less of a gimmick and more of a reliable layout routine—especially for the kind of alignment tasks that make DIY projects look professional.
Note: If you prefer keeping multiple tools in one offline iOS kit (level, ruler, compass, barometer, and more), an app like Level Tool can simplify your toolbox without adding subscriptions.
