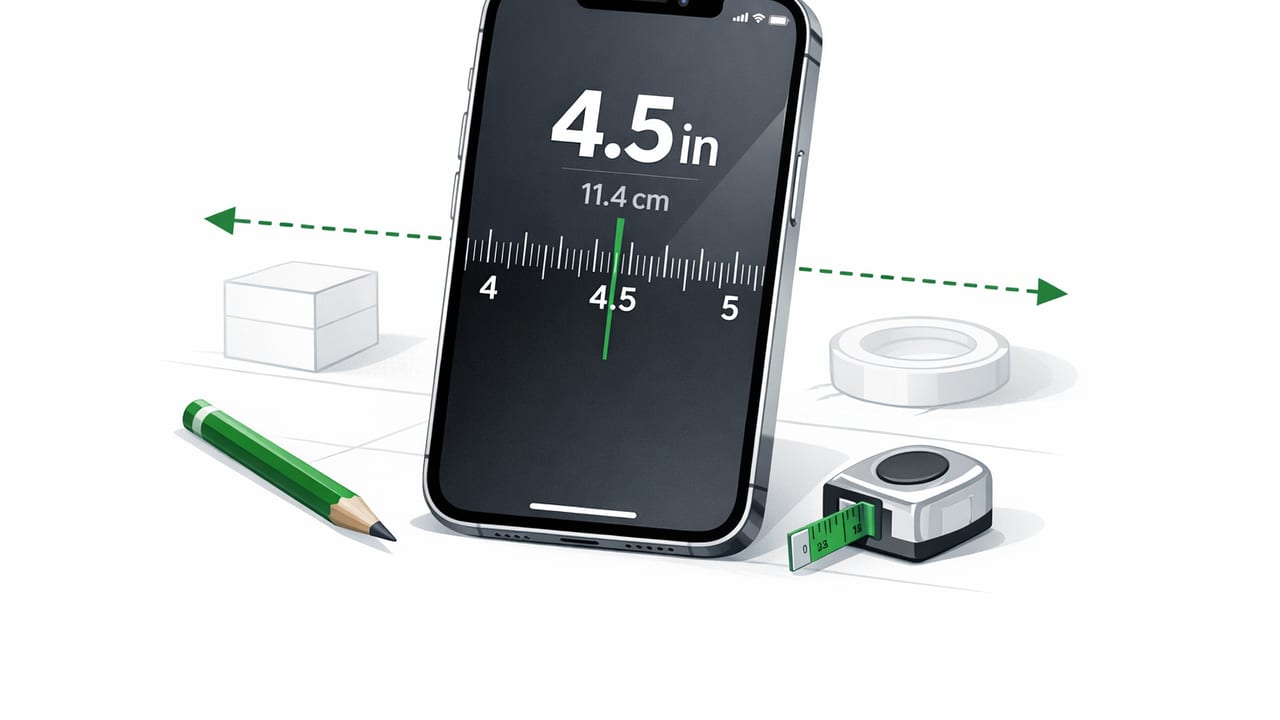
An iPhone ruler can be surprisingly useful when you need a quick measurement and don’t have a tape measure nearby. Whether you’re checking if a package fits in a mailbox, confirming the diameter of a screw head, or sizing a small part in a DIY project, your iPhone can act like a pocket-sized measuring tool.
But accuracy isn’t automatic. Phone-based measuring depends on how the ruler is implemented (screen-based vs camera/AR), your settings, and your technique. This guide walks through what an iPhone ruler can realistically do, how to set it up for better precision, and the most common mistakes that cause “off by a few millimeters” results.
What “iPhone ruler” means: two common types
1) Screen-based ruler (best for small objects)
A screen ruler displays a scale (inches or centimeters) on your iPhone display. You place an object on or against the screen and read the measurement. These are ideal for small, flat items—like a drill bit, a label, a battery, or a piece of hardware.
Strengths: consistent results, works offline, less affected by lighting.
Limits: you’re constrained by screen size; cases and rounded edges can interfere.
2) Camera/AR ruler (best for larger objects)
AR rulers use the camera and motion sensors to estimate distance between points you tap on the screen. These can work well for larger measurements like furniture dimensions or wall spacing—when conditions are right.
Strengths: measures beyond the screen’s physical size.
Limits: depends on lighting, surface texture, and sensor tracking; can drift if you move too fast.
When an iPhone ruler is the right tool (and when it isn’t)
Use an iPhone ruler when you need speed and convenience, especially for “close enough” decisions (or when you can double-check with a known reference).
- Great use cases: checking small part dimensions, quick package sizing, craft measurements, confirming hole spacing, estimating furniture fit before a purchase.
- Not ideal: precision woodworking cuts, long distances where small errors compound, or any measurement that must meet code/tolerance without verification.
Rule of thumb: If a 1–2 mm error would cause a problem, verify with a physical ruler or tape measure.
Set up your iPhone ruler for better accuracy
A few setup steps can dramatically improve repeatability—especially with screen-based rulers.
1) Check display scaling (the silent accuracy killer)
Some iPhone display settings can affect how content is scaled. Before trusting a screen ruler, confirm you’re not using unusual zoom/scaling modes that might change UI sizing.
- Open Settings → Display & Brightness.
- Review Display Zoom settings (if available) and ensure you’re using the expected default for your device.
- If your ruler app includes an in-app calibration step, complete it after you finalize display settings.
2) Remove bulky cases for edge-to-edge measuring
If you’re measuring by aligning an object to the phone’s edge, a thick case can offset your starting point by a millimeter or more. For small hardware measurements, that can be the entire error.
3) Clean the screen and use a stable surface
Dust or smudges can make it harder to align edges precisely. For best results, place the phone on a table and bring the object to the phone—rather than holding both in the air.
4) Choose the right unit and read the right mark
Switch to millimeters for small parts. The difference between “about 1/8 inch” and “3 mm” matters when you’re matching screws, washers, or drill bits.
Quick calibration you can do at home (no special tools)
If your screen ruler supports calibration, use a known-size object to validate the scale. Two common references:
- Credit/debit card: standard size is 85.60 mm × 53.98 mm (ISO/IEC 7810 ID-1).
- US quarter: diameter is 24.26 mm (handy for quick checks).
How to validate: Place the reference on the screen, align one edge with “0,” and confirm the opposite edge lands on the expected mark. If it’s off, look for an in-app calibration slider or re-check display scaling.
Practical iPhone ruler workflows (that reduce mistakes)
Workflow A: Measuring small objects with a screen ruler
- Set units to mm for anything under ~10 cm.
- Lay the phone flat on a table.
- Align the object’s straight edge with the ruler’s 0 line (not the physical phone edge unless the app instructs it).
- Read the measurement straight on to avoid parallax (don’t view from a sharp angle).
- Measure twice, rotating the object 180° to confirm consistency.
Workflow B: Measuring bigger items with AR (camera-based)
- Ensure good lighting and visible texture (plain white walls can reduce tracking quality).
- Start close to the surface, then slowly move to frame both endpoints.
- Tap precisely on corners/edges; zooming in can help.
- Repeat the measurement from a second angle to detect drift.
Workflow C: Transferring a measurement to a cut/mark
For DIY tasks, the most common failure is not the measurement—it’s transferring it to the workpiece.
- Use painter’s tape on the workpiece and mark on the tape (cleaner, more visible lines).
- Write the measurement next to the mark immediately.
- If the cut is critical, confirm with a physical ruler before cutting.
Common iPhone ruler errors (and how to avoid them)
- Case interference: thick lips and bumpers shift the “start” edge. Remove the case or measure from on-screen zero.
- Parallax: reading the mark from an angle can add or subtract 1–2 mm. Look straight down.
- Rounded corners: some objects can’t seat cleanly against the phone’s rounded edge. Use the on-screen scale, not the hardware edge.
- AR drift: fast movement, low light, or low-texture surfaces cause inconsistent endpoints. Move slowly and re-check.
- Wrong reference point: mixing “screen zero” with “phone edge” is a classic error. Pick one method and stick to it.
Which method should you use? (Quick comparison table)
| Task | Best iPhone ruler type | Accuracy tip |
|---|---|---|
| Measure a screw, washer, drill bit | Screen-based ruler | Use mm and remove the case |
| Check if a package fits a slot | Screen-based (small) / AR (large) | Measure twice and add a clearance margin |
| Estimate furniture dimensions in a room | AR ruler | Good lighting; repeat from a second angle |
| Confirm spacing between wall anchors | AR ruler (then verify) | Mark endpoints with tape before measuring |
| Measure a phone-accessory part | Screen-based ruler | Validate with a credit card reference |
Helpful conversions (when your plan uses different units)
DIY instructions often mix fractional inches with millimeters. If your iPhone ruler shows mm but your plan is in inches (or vice versa), quick conversions help avoid rounding errors.
// Quick conversions
// inches to mm:
mm = inches * 25.4

// mm to inches:
inches = mm / 25.4

// common fractions (approx):
// 1/8"  = 3.175 mm
// 1/4"  = 6.35 mm
// 3/8"  = 9.525 mm
// 1/2"  = 12.7 mm
Offline measuring: why it matters
Measurement tools are most useful when they work anywhere: in a garage with poor reception, at a hardware store aisle, or outdoors. Offline functionality also reduces privacy concerns because your measurements and sensor readings don’t need to leave your device.
If you’re building a lightweight “phone toolbox,” prioritize ruler/measurement apps that don’t require sign-ins, don’t depend on cloud processing, and remain usable without a subscription lockout.
Pair your iPhone ruler with other built-in measurement habits
A ruler is often just one part of doing a task correctly. Consider combining quick measuring with simple alignment checks:
- Ruler + level: measure placement, then level the shelf/frame before final fastening.
- Ruler + angle finder: confirm slope or cut angle when fitting trim or ramps.
- Ruler + compass: outdoors, measure map scale items or gear dimensions while using bearings for navigation.
A simple accuracy checklist (copy/paste)
- Use screen-based ruler for small items; AR for larger ones.
- Confirm display scaling and run in-app calibration if available.
- Remove bulky cases when measuring against edges.
- Read straight down; avoid parallax.
- Measure twice (and from a second angle for AR).
- When tolerance matters, verify with a physical ruler/tape.
Final thoughts
An iPhone ruler won’t replace a high-quality tape measure for every job, but it can be a reliable everyday tool when you understand its strengths and limits. Use screen rulers for small, precise checks; use AR rulers for convenience on larger objects; and build a habit of quick validation when the measurement matters.
If you prefer keeping multiple offline measurement tools in one place (ruler plus level, compass, and more), an iOS toolbox app like Level Tool can simplify your setup without relying on subscriptions or connectivity.
