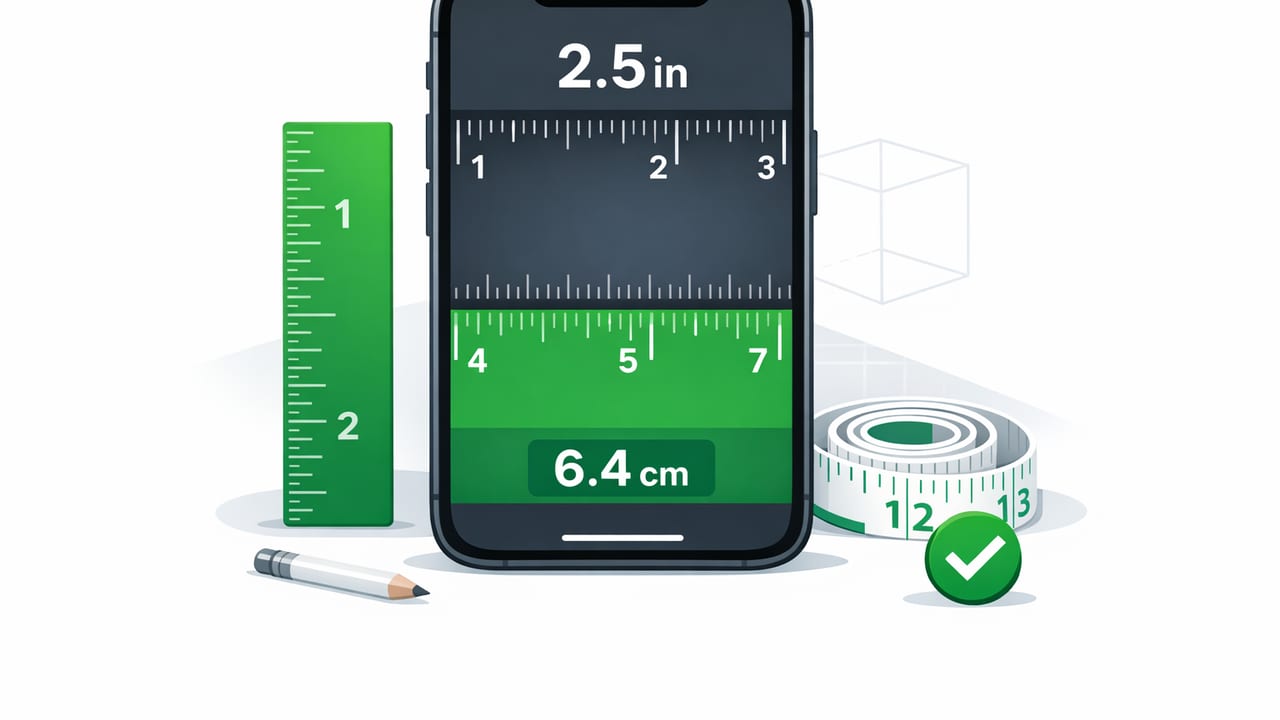
A reliable iPhone ruler app for inches and cm can save time in DIY, home improvement, and everyday tasks—especially when you don’t have a physical tape measure nearby. But getting accurate results on a phone screen requires understanding how digital rulers work, how to calibrate them, and when to choose a different measuring method.
This guide walks through practical, repeatable steps to measure in inches and centimeters, reduce common mistakes, and set realistic expectations for accuracy. Whether you’re measuring a drill bit, a picture frame bracket, a piece of trim, or a small part for a repair, you’ll learn how to make a phone ruler a dependable tool in your kit.
What an iPhone ruler app can (and can’t) measure well
Most ruler apps use the iPhone’s display as a reference scale. That makes them best for small, flat objects that can sit directly on the screen—think screws, bolts, dowels, washers, cards, and small hardware.
Great use cases
- Measuring small items up to the length of your iPhone screen
- Confirming diameters (e.g., screw head width) by aligning edges
- Marking quick cut lines on small craft materials
- Checking clearances (gap sizes) in millimeters or fractions of an inch
When not to rely on a phone ruler
- Long measurements (anything longer than your screen)
- Flexible materials (cables, fabric, hoses) that don’t sit flat
- Critical tolerances (machining, precision joinery, safety-critical parts)
- Thick objects that can’t lay flush on the glass
For those cases, use a tape measure, calipers, or a straightedge. A phone ruler is best thought of as a convenient reference tool for quick checks and small items—not a full replacement for professional measuring tools.
How a ruler app measures inches and centimeters
An iPhone ruler app typically displays a scaled ruler overlay (in inches, cm, or both). The key detail is the screen’s pixel density (PPI) and how iOS reports the device’s scale factors. A quality app maps pixels to real-world length so that, for example, 1 inch on the display corresponds to 1 real inch.
Because iPhone models vary in screen size and pixel density, accurate scaling depends on:
- Correct device detection (model and display metrics)
- Orientation handling (portrait vs. landscape)
- Optional calibration to account for edge cases or display zoom settings
Tip: If your iPhone uses Display Zoom or accessibility scaling, some apps may require a quick calibration check to stay accurate.
Step-by-step: Using an iPhone ruler app for inches and cm
1) Choose the unit you need (inches or centimeters)
Switch to inches for common U.S. hardware and building materials. Use cm (or mm) for many product specs, international parts, and finer granularity when you need more readable subdivisions.
2) Place the object flat and align a “zero” edge
Accuracy starts with alignment. Put the object on the screen so one end is exactly at the 0 mark. If the app has a hard zero line, use it. If the screen has a bezel or rounded corners, avoid measuring into those curved areas—keep the object within the rectangular display region.
3) Read the opposite edge carefully
Look straight down at the screen to reduce parallax. If you read from an angle, the edge can appear to shift.
4) For small parts, measure twice
Rotate the object 180° and measure again. If results differ, average them or redo the alignment—small shifts (even 1 mm) can matter with hardware.
5) Use centimeters for quick inch-to-metric cross-checks
If you’re unsure whether you’re reading a fraction correctly (like 5/8" vs 11/16"), switching to cm or mm can help confirm which value makes sense.
Calibration: the difference between “close enough” and “repeatable”
Some ruler apps work accurately out of the box. Others offer calibration to ensure the on-screen scale matches real-world units precisely. If your app includes calibration, it’s worth doing once—especially if you use a non-default display mode.
Quick calibration method using a known object
- Get a known-length reference: a physical ruler, a tape measure, or a standard card with a published size.
- Set the app to inches or cm.
- Match the on-screen marks to the physical reference (many apps provide a slider or adjustment step).
- Verify by measuring a second reference length (e.g., 2 inches or 5 cm).
Best practice: Calibrate in the orientation you measure most (portrait or landscape). If you use both, verify both.
Accuracy expectations (and what affects them)
A phone ruler can be surprisingly useful, but accuracy depends on how you use it. Here are the biggest factors:
- Edge alignment: The most common error is starting slightly past zero.
- Object thickness: If the item doesn’t sit flush, the edge position is harder to judge.
- Screen protector reflections: Glare can hide the exact edge.
- Parallax: Reading at an angle introduces visual offset.
- Display scaling settings: Some zoom modes can affect certain apps.
For many DIY tasks, being within ±1 mm or ±1/32 inch is acceptable. If you need tighter tolerances, switch to calipers or a physical ruler designed for precision.
Common DIY measurements you can do with a phone ruler
Measuring screws and anchors
Use centimeters (or millimeters) to measure the diameter of a wall anchor or screw shank more clearly, then switch to inches if the packaging uses imperial sizing.
Checking drill bit size
Lay the bit flat (not on the tip) and measure across the widest diameter you can align. For round items, you’re estimating the tangent points, so take two readings and average.
Spacing for frames, hooks, and brackets
For small bracket spacing, use the ruler for a quick check, then confirm with a tape measure before drilling—especially if the holes must align with studs or anchors.
Craft and hobby cuts
Phone rulers are handy for quick marks on paper, vinyl, foam board, or thin wood pieces when you’re working on a small surface.
Inches vs centimeters: fast conversions (and how to avoid mistakes)
Many projects involve mixed specs—hardware in inches, product dimensions in cm, or vice versa. The core conversion is simple:
1 inch = 2.54 cm
cm = inches * 2.54
inches = cm / 2.54
If you ever feel unsure reading fractions on an inch scale, convert your measurement to cm (or mm) for clarity. Metric subdivisions can be easier to interpret quickly on a phone screen.
Mini conversion table
| Inches | Centimeters |
|---|---|
| 1" | 2.54 cm |
| 2" | 5.08 cm |
| 4" | 10.16 cm |
| 6" | 15.24 cm |
| 12" | 30.48 cm |
How to choose a good iOS ruler app (features that matter)
Not all ruler apps are equal. If your goal is a dependable iPhone ruler app for inches and cm, look for these practical features:
- Clear inch and cm modes with readable tick marks
- Fine subdivisions (mm and fractional inches) that don’t clutter the screen
- Calibration option (or verified device scaling) for consistency
- Offline functionality so you can measure in a garage, basement, or job site with no signal
- No forced subscriptions for basic ruler features
- Extra measurement tools (level, angle, compass) if you want an all-in-one DIY toolkit
Ruler vs AR measuring: which is better?
AR measuring is great for estimating room dimensions or larger objects, but it can drift depending on lighting and surface detection. A screen-based ruler is often more consistent for small hardware and short measurements.
| Task | Best tool | Why |
|---|---|---|
| Screw length, washer width | On-screen ruler | Direct contact and quick alignment |
| Picture frame spacing (small) | On-screen ruler + confirm | Fast check, then verify before drilling |
| Room width, furniture footprint | AR measure or tape | Larger ranges than a phone screen |
| Precision diameters | Calipers | Better contact geometry and resolution |
Troubleshooting: why your measurements look “off”
The ruler is consistently too long/short
This usually points to scaling or display settings. If the app offers calibration, do it once with a known reference. Also check whether you’re using Display Zoom and whether the app notes any limitations.
The measurement changes when you rotate the phone
Some apps handle portrait and landscape differently. Verify both orientations against a real ruler and stick with the one that matches best.
The object edge is hard to see
Reduce glare, increase screen brightness, and use a contrasting background (e.g., place a white paper strip under a dark screw). Small visual improvements can prevent 1–2 mm reading errors.
Safe handling tips (yes, it matters)
- Avoid sharp edges directly on the glass (blades, drill bits). Place a thin clear sheet or use caution.
- Keep metal filings away from ports and speakers when measuring hardware in a workshop.
- Clean the screen before measuring to prevent debris from shifting alignment.
Takeaway: make a phone ruler a dependable part of your toolkit
An iPhone ruler app for inches and cm is most useful when you treat it like a fast, practical reference: align carefully, verify with a known standard, and know when to switch to a tape measure or calipers. With a quick calibration check and good measuring habits, you can get consistent results for everyday DIY tasks.
If you prefer keeping multiple tools in one offline iOS toolkit (ruler plus level, compass, and more), an app like Level Tool can be a convenient way to keep essentials on your phone without relying on connectivity.
