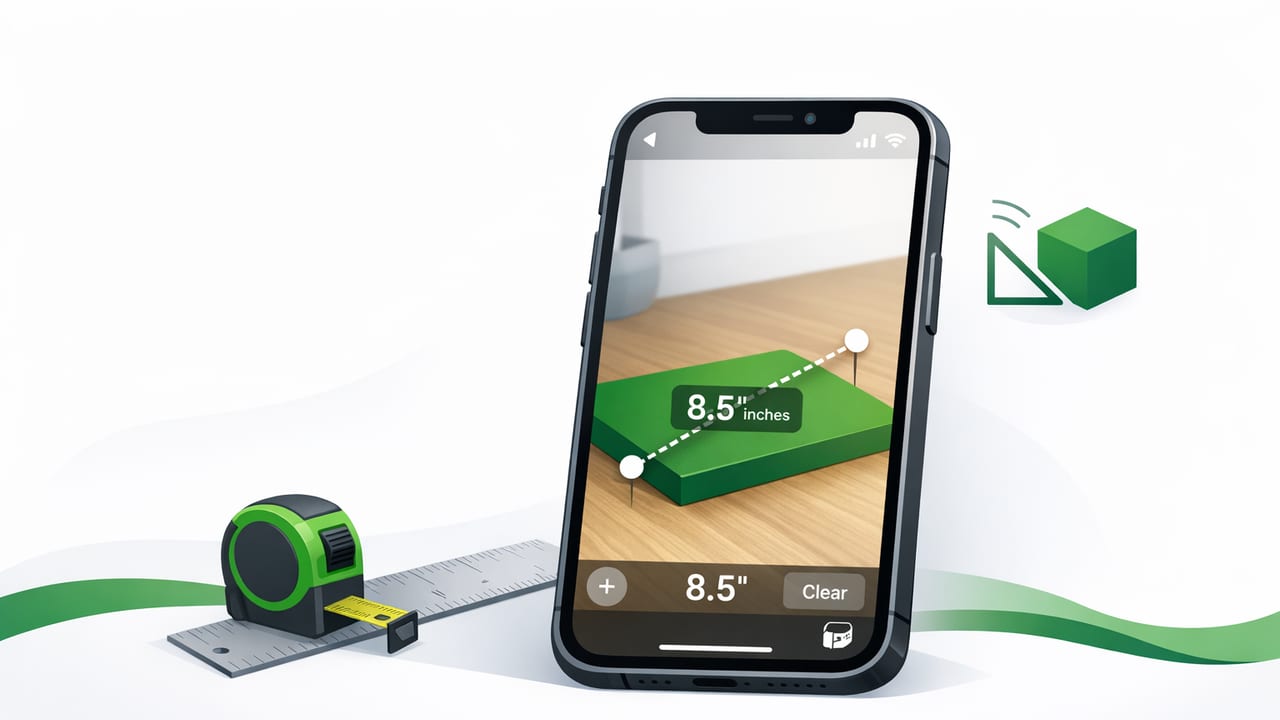
An iphone ruler app can be surprisingly useful for quick measurements—checking a screw length at the hardware store, confirming a picture frame size before buying hooks, or measuring a gap for weatherstripping. But accuracy depends on the type of ruler app you’re using and how you set it up. This guide explains the main measurement methods, how to improve precision, and when you should still reach for a physical tape measure.
What “iPhone ruler app” can mean (3 common types)
Not all ruler apps measure the same way. Understanding the method helps you predict accuracy and avoid common mistakes.
1) Screen ruler (on-screen inches/cm)
A screen ruler shows a scale on your display. You place the object directly on the screen and read the measurement.
- Best for: small, flat objects (coins, screws, SD cards, small hardware)
- Typical accuracy: good for quick checks, but depends on calibration and object placement
- Main limitation: you’re limited by screen size, and thick/curved items don’t sit flush
2) Photo-based ruler (measure from a picture)
These apps measure in a photo using a known reference object (like a credit card) or a reference distance you set manually.
- Best for: measuring items you can’t place on the screen (fabric pieces, parts on a bench)
- Typical accuracy: moderate—perspective distortion is the big challenge
- Main limitation: results vary heavily with camera angle and reference placement
3) AR ruler (camera + AR tracking)
AR rulers use Apple’s AR capabilities to estimate distances in 3D space by placing points in the camera view.
- Best for: room measurements, furniture sizing, larger objects
- Typical accuracy: often good for general sizing, less reliable for sub-millimeter precision
- Main limitation: depends on lighting, surface texture, and stable tracking
How accurate is an iPhone ruler app, realistically?
Accuracy is usually “good enough” for many DIY decisions, but it’s not the same as a calibrated steel rule. In practice:
- Screen rulers can be quite accurate for short measurements if correctly calibrated and if the object is flat and aligned.
- AR rulers are excellent for estimating sizes and planning, but can drift by a few millimeters (or more) depending on conditions.
- Photo rulers can be accurate when shot perfectly perpendicular with a solid reference—otherwise perspective error creeps in fast.
Rule of thumb: If your project needs “exact fit” tolerances (cabinetry reveals, machined parts, precision woodworking), verify with a physical measuring tool.
Best practices: measure more accurately in any ruler app
Start with the right unit and scale
Many mistakes come from unit confusion (inches vs cm) or reading the wrong tick marks. Before measuring:
- Confirm the unit (in or cm/mm).
- Zoom only if the app supports it without changing scale (some “zoom” views are visual-only, others change scale settings).
- Use the finest scale available (mm markings if you need detail).
Keep objects aligned and flush (screen rulers)
If the object isn’t perfectly aligned with the scale, your reading can be off. For best results:
- Line up one edge exactly with the zero mark.
- Keep the object parallel to the scale (avoid diagonal placement).
- Use flat objects—thick objects can float above the screen, creating parallax.
Control perspective (photo and AR rulers)
Perspective is the #1 accuracy killer. Try these techniques:
- Photo measurement: Hold the camera as perpendicular to the object as possible.
- Include the reference object in the same plane as the item you measure (not behind it).
- AR measurement: Move slowly, let the app “lock” tracking, and measure on textured surfaces when possible (blank glossy surfaces reduce tracking quality).
Measure twice—using two different approaches
For DIY tasks, a great habit is to take two readings:
- Measure once with your primary method (screen/AR/photo).
- Measure again from another angle or with a different method.
- If the numbers differ beyond what your project can tolerate, verify with a tape measure or physical ruler.
Calibration: the make-or-break step for screen ruler apps
Screen rulers are only as accurate as their scale. Some apps auto-detect device characteristics, while others need manual calibration.
Quick calibration method using a standard card
A common way to calibrate is with a card that has a standardized size, such as an ID/credit card (ISO/IEC 7810 ID-1). The standard dimensions are:
- Width: 85.60 mm
- Height: 53.98 mm
Steps:
- Place the card on the screen.
- Adjust the on-screen scale until the displayed length matches the known card dimension.
- Re-check by measuring the other dimension.
Tip: Remove thick phone cases during calibration if the object can’t sit flat near the scale.
Sanity check with a real ruler
If you have a physical ruler, check the app at multiple points (e.g., 1 in, 3 in, 5 in). If it’s accurate at 1 inch but off at 5 inches, the scale may be drifting due to incorrect calibration or display scaling.
Which measuring method should you use? (Comparison table)
| Method | Best Use | Pros | Common Errors |
|---|---|---|---|
| Screen ruler | Small objects, quick checks | Fast, simple, works offline | Not flush, misalignment, poor calibration |
| Photo-based | Bench parts, objects you can’t place on screen | Can measure larger items than screen size | Perspective distortion, reference not in same plane |
| AR ruler | Rooms, furniture, home planning | Measures big distances, flexible | Tracking drift, lighting issues, wrong point placement |
Practical DIY examples where an iPhone ruler app shines
1) Choosing the right screw length
At the store, you can quickly compare a screw to the on-screen scale to confirm whether it’s 25 mm or 30 mm (or 1 inch vs 1¼ inch). This is one of the best use cases because the tolerance is usually forgiving.
2) Measuring clearance gaps
Need to know whether a spacer will fit behind a wall plate? A screen ruler can help measure thin items like shims or washers. For very thin gaps, consider using a known object thickness (like a coin) and measure the coin instead.
3) Planning furniture placement
AR measuring can help you decide if a bookshelf is likely to fit between a door frame and a window trim. For best results, measure multiple times and average the readings.
Troubleshooting: why your measurement looks wrong
The app shows the right unit, but the numbers are off
- Re-run calibration (screen rulers).
- Disable display zoom modes if they affect scaling (varies by iOS settings and app).
- Try measuring a known-length object (e.g., a physical ruler segment) as a control.
AR points jump around
- Improve lighting and avoid reflective surfaces.
- Move the phone slowly; allow time for tracking to stabilize.
- Choose textured surfaces (wood grain, fabric) instead of plain glossy paint.
Photo measurement changes depending on angle
- Re-take the photo from straight-on (90° to the surface).
- Keep the reference object close to what you measure.
- Avoid wide-angle distortion: step back slightly and zoom in a bit (optical/digital zoom can reduce edge distortion).
Handy conversions for DIY (and a tiny code snippet)
If your iphone ruler app shows millimeters but your project plan uses inches (or the other way around), these conversions help:
- 1 inch = 25.4 mm
- 1 cm = 10 mm
- 1 inch = 2.54 cm
If you like automating quick conversions, here’s a simple snippet you can run in many environments (or adapt into a Shortcut):
// Convert inches to millimeters and vice versa
function inchesToMm(inches) {
  return inches * 25.4;
}

function mmToInches(mm) {
  return mm / 25.4;
}

console.log(inchesToMm(3));   // 76.2
console.log(mmToInches(100)); // 3.937...
When not to rely on an iPhone ruler app
Use a physical measuring tool (or verify with one) when:
- You’re cutting material where mistakes are expensive (countertops, hardwood, tile layouts).
- You need repeatable precision across multiple pieces (production-style woodworking).
- You’re measuring high-heat, sharp, or delicate items that shouldn’t touch a phone screen.
- The object is curved or irregular and can’t be referenced consistently.
Offline matters: measuring anywhere, anytime
A practical benefit of many ruler and measuring tools on iOS is that they can work offline. That matters in basements, garages, job sites, or outdoors where reception is weak. If you prefer keeping multiple measurement utilities in one place (ruler, bubble level, compass, etc.), an offline toolkit app can streamline DIY and navigation tasks—Level Tool is one example that combines several sensor-based tools alongside a ruler.
Bottom line: an iphone ruler app is excellent for fast, convenient measurements—especially when you choose the right method (screen, photo, or AR), calibrate when needed, and double-check critical cuts with a physical tool.
