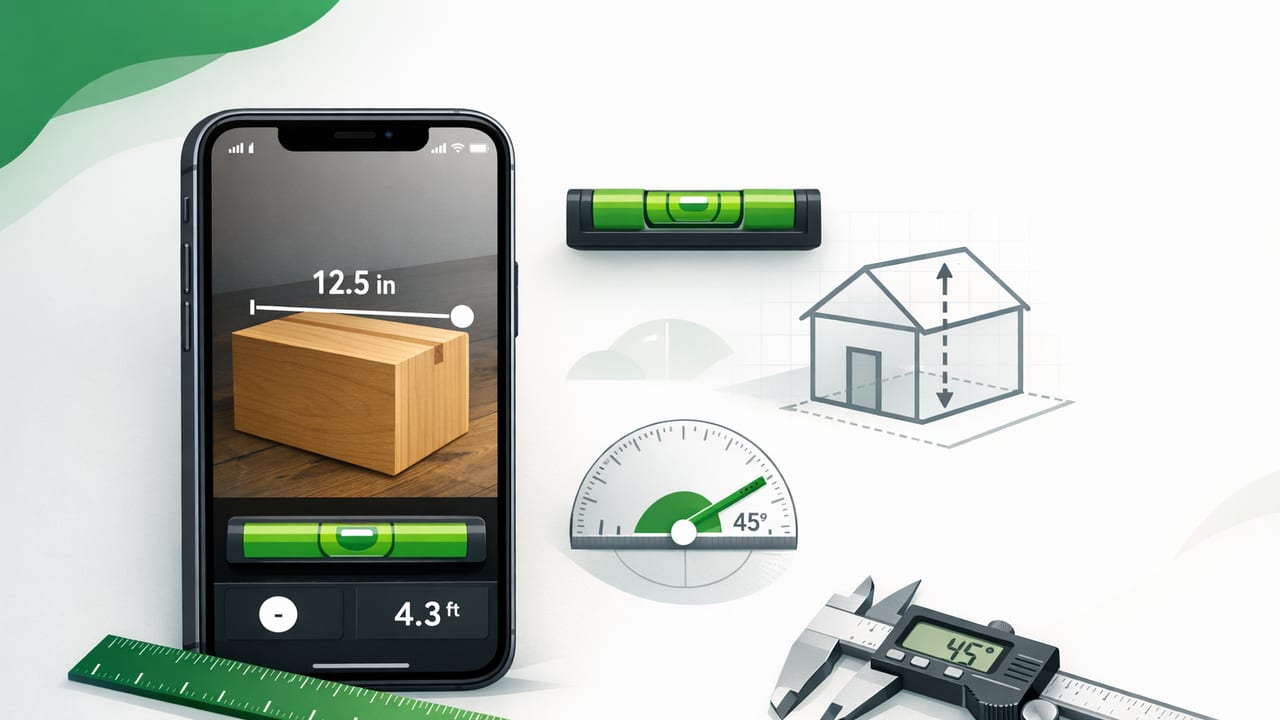
Your iPhone already contains a surprisingly capable set of sensors—accelerometers, gyroscopes, magnetometers, GPS, and more. When paired with the right apps and a few good habits, those sensors turn into practical iPhone measurement tools for everyday DIY, home improvement, and outdoor navigation.
This guide explains what iPhone measurement tools can do, how accurate they can be, when to trust them, and how to get better results—whether you’re hanging shelves, checking slopes, mapping bearings, or doing quick checks in the field. You’ll also learn which tool to use for which job, plus repeatable workflows that reduce error.
What counts as “iPhone measurement tools”?
Most iPhone measurement tools fall into three categories:
- Orientation & angle measurement: bubble level, dual-axis level, angle finder, inclinometer, pitch/roll.
- Distance & size measurement: ruler-style tools, AR measuring tools, or on-screen calibration-based rulers.
- Environmental & navigation measurement: compass/bearing tools, barometer/altimeter tools, and GPS-based direction.
Each category depends on different sensors and therefore has different strengths and failure modes. Understanding those differences is the fastest route to better accuracy.
Quick chooser: which tool should you use?
Use the table below as a practical “grab-and-go” reference. (Your exact tool names may differ by app.)
| Task | Best iPhone tool | Typical accuracy | Common pitfalls |
|---|---|---|---|
| Level a shelf, picture frame, or appliance | Bubble level / dual-axis level | High for short spans | Uncalibrated surface, phone case bumping corners |
| Match an existing angle (stairs, trim, miter) | Angle finder / inclinometer | High if calibrated | Not zeroed on a reference plane |
| Measure small objects (hardware, gaps) | On-screen ruler | Moderate to high | Incorrect screen calibration, parallax |
| Get a bearing while hiking | Compass + GPS assist | Moderate (varies) | Magnetic interference, uncalibrated magnetometer |
| Estimate elevation changes / pressure trends | Barometer / altimeter | Good for trends | Weather pressure shifts, no reference altitude |
Accuracy basics: why technique matters more than the app
Even excellent iPhone measurement tools can produce poor results if your setup introduces avoidable error. The following factors make the biggest difference:
1) Calibration and “zeroing”
For levels and angle tools, zeroing on a known reference (like a countertop you’ve already verified with a physical level) dramatically improves repeatability. For compass tools, periodic calibration helps reduce heading drift.
Rule of thumb: If a measurement needs to be right, take 10 seconds to zero/calibrate first. It usually saves 10 minutes of rework later.
2) Surface contact and phone cases
A thick case or raised camera bump can keep the phone from sitting flat. That’s a hidden source of error for levels and angle finders. If you’re chasing precision, remove the case or use a flat edge of the phone that contacts the surface cleanly.
3) Magnetic interference (compass tools)
Magnetometers are sensitive. Metal tables, speakers, vehicle frames, power tools, and even magnetic fasteners can distort readings. If your heading jumps or seems “sticky,” move a few steps away from metal objects and try again.
4) Repeatability beats single readings
A single measurement can lie; a pattern is more trustworthy. For critical tasks, take three readings—rotate the phone 180° and compare. If results diverge significantly, recalibrate and re-check.
DIY essentials: leveling and angles without guesswork
For home improvement, the most-used iPhone measurement tools are usually the level and angle finder. Here’s how to get pro-grade results on common projects.
Hanging frames and aligning shelves
- Pick a reference plane: If the wall is uneven, referencing the wall can mislead you. When possible, reference a known level surface (like the floor) and transfer marks.
- Check the mounting points: Measure level across the two screw points before hanging the item.
- Verify after load: Shelves can sag slightly once weight is added. Re-check with the shelf loaded.
Setting a consistent slope (drainage, ramps, patio pitch)
When you need a slope (not level), an inclinometer is the right tool. Decide your target angle or percentage slope first, then work to it.
- Percent slope to degrees (quick approximation): 1% ≈ 0.57°
- Common targets: 1–2% for drainage; steeper for accessibility ramps depending on local guidelines
Tip: Mark the target angle and take a photo of the inclinometer reading on your first “good” section. Use that image as your reference while you work down the line.
Duplicating angles for trim and cuts
If you’re matching an existing angle (old trim, stair stringers, or an odd corner), use an angle finder to capture the angle, then record it with context.
- Place the phone edge against the angle surface.
- Let the reading settle for a second (avoid wobble).
- Record the angle plus the orientation (e.g., “left wall to ceiling, facing window”).
Measuring length on iPhone: ruler tools vs AR measuring
There are two broad ways to measure length:
- On-screen ruler tools (calibrated to your display): Great for small objects, quick checks, and consistent repeatability.
- AR measuring (camera-based): Useful for larger objects, but accuracy depends heavily on lighting, distance, and tracking quality.
Best use cases for a ruler-style tool
A calibrated ruler is often the most reliable for small measurements, such as:
- Checking screw length, drill bit size, or anchor dimensions
- Measuring gaps for shims or spacers
- Confirming label sizes, screen cutouts, or small hardware
How to reduce error when measuring small items
- Use a high-contrast background so edges are easy to see.
- Align the object carefully to the ruler baseline—avoid diagonal placement.
- Minimize parallax: look straight down; don’t view at an angle.
Navigation tools: compass, bearings, and offline readiness
Navigation is where iPhone measurement tools shine—especially when you prepare for limited connectivity. Many hiking areas and job sites have poor signal, so prioritize tools that work offline and don’t rely on streaming map tiles for basic functionality.
Using a compass responsibly
A compass app can provide a heading, but “accurate enough” depends on context:
- Great for: following a general bearing, orienting a map, quick direction checks.
- Not ideal for: precision land navigation in tight terrain without cross-checks.
For best results:
- Calibrate if the app prompts you or if headings look unstable.
- Hold the phone away from metal and electronics.
- Use two references: compass bearing + a visible landmark (ridge line, trail junction, peak).
Barometer/altimeter tools: use trends, not absolutes
Barometric pressure is useful, but it changes with weather. That’s why altitude estimates can drift over time unless you set a known reference altitude (like a trailhead sign or a known benchmark).
- Best for: seeing pressure trends, detecting rapid weather shifts, estimating ascent/descent over short periods.
- Tip: If your app allows it, set a reference altitude at the start of your hike or workday.
A repeatable workflow: logging measurements like a pro
If you often measure angles, slopes, or readings across multiple rooms or job sites, consistency matters as much as accuracy. A simple log avoids “I’ll remember that” mistakes.
Here’s a minimal CSV template you can paste into Notes, Numbers, or a cloud file:
date,location,tool,reading,units,reference,notes
2026-06-17,Kitchen,bubble_level,0.2,degrees,Countertop,Left-to-right
2026-06-17,Backyard,inclinometer,1.1,degrees,Patio edge,Slope to drain
2026-06-17,Trailhead,compass,274,degrees_true,Map check,Winds increasing
This tiny habit makes it easier to verify work later, share readings with a contractor, or replicate a setup on a second project.
Troubleshooting: when your iPhone measurement tools seem “wrong”
Level readings don’t match your physical level
- Re-zero on the same surface and repeat with the phone rotated 180°.
- Ensure the phone sits flat (case/camera bump can throw it off).
- Check the surface: countertops and trim aren’t always level—even in new builds.
Compass heading drifts or spins
- Move away from vehicles, tools, steel beams, or rebar.
- Recalibrate the magnetometer if prompted.
- Switch between magnetic and true heading if your app supports it, and be consistent.
Distance/size measurements feel inconsistent
- For ruler tools, confirm calibration and measurement units (mm vs inches).
- For AR measurements, improve lighting, reduce glare, and avoid featureless surfaces.
When to use a dedicated tool instead
iPhone measurement tools are excellent for speed and convenience, but there are times you should reach for dedicated hardware:
- Long spans (e.g., leveling across several feet): use a long spirit level or laser level for fewer compounding errors.
- Code-critical work: use certified instruments when required.
- High-stakes navigation: carry a dedicated compass and offline map as backup.
Building your “one-phone toolkit”
The best setup is simple: keep a small set of reliable, offline-capable iPhone measurement tools for leveling, angles, quick ruler checks, and navigation. Combine them with calibration habits, repeatable logging, and a basic understanding of sensor limitations. You’ll measure faster, make fewer mistakes, and finish DIY projects with cleaner results.
If you’re looking for an all-in-one iOS option that bundles multiple offline tools (level, ruler, compass, barometer, and more) into a single app, Level Tool is one example worth exploring.
