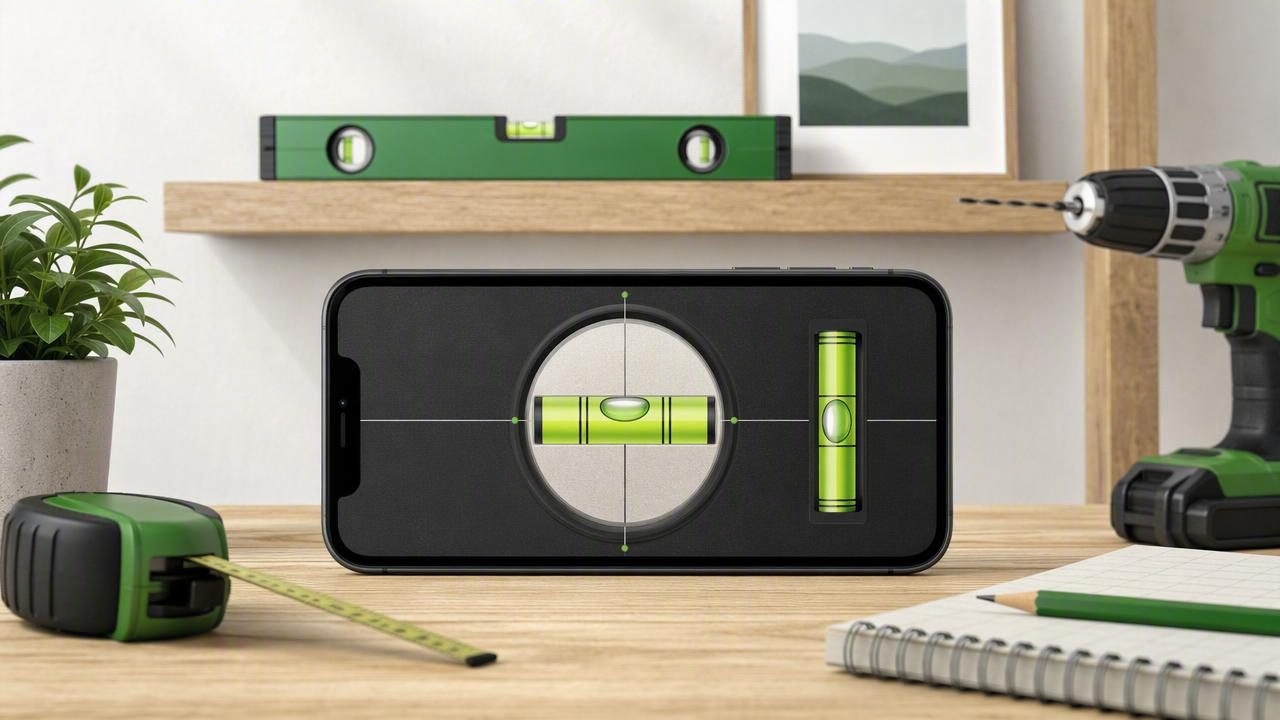
An iPhone bubble level can be a surprisingly useful tool for everyday DIY, home improvement, furniture setup, and quick alignment tasks. Instead of searching for a traditional spirit level, you can use the motion sensors already built into your phone to check whether a surface is level, plumb, or set at a specific angle.
That convenience does not mean you should use any digital level without thought. Your reading can be affected by phone cases, camera bumps, poor calibration, unstable surfaces, and the way the device is positioned. Understanding how an iPhone bubble level works—and where it works best—helps you get more dependable results.
This guide explains how to use a digital bubble level on iPhone, how to calibrate it, which projects it suits, and when a physical level remains the better choice.
How an iPhone Bubble Level Works
A traditional spirit level uses a sealed vial containing liquid and an air bubble. When the bubble sits between marked lines, the tool is level. An iPhone bubble level recreates that visual experience digitally, but it relies on your device’s internal accelerometer and gyroscope.
These sensors detect the device’s orientation relative to gravity. A level app converts that sensor information into a readable display, such as:
- A virtual bubble inside a circular vial
- A horizontal or vertical line indicator
- A numeric angle in degrees
- A percentage slope or rise-over-run measurement
- Audio or haptic feedback when the target angle is reached
For most indoor tasks, the sensors can provide a fast and useful indication of whether something is level. The key is to treat your phone as a measuring instrument: place it consistently, keep it steady, and verify important readings.
What Affects iPhone Bubble Level Accuracy?
Phone sensors are highly capable, but the result you see is only as reliable as the setup. Before trusting a reading, consider the following factors.
Phone Cases and Camera Bumps
Many iPhones have raised camera modules, while some protective cases have uneven edges, textured backs, or thick lips around the screen. If the phone does not sit flat against the measured surface, the angle shown may be slightly off.
For the best reading, use a flat edge of the phone where appropriate, remove a bulky case if practical, or place a known-flat straightedge between the phone and the surface. Never force your phone into a tight gap or place it where it could fall.
Surface Condition
A level app cannot correct for a surface that is dirty, flexible, warped, or unstable. Sawdust, loose tile spacers, uneven paint drips, carpet pile, and protruding hardware can all alter the result.
Check a clean, solid portion of the item. When measuring a long shelf, countertop, or floor area, take readings at several points rather than assuming one spot represents the whole surface.
Movement and Vibration
Sensor readings can shift while you are walking, adjusting a bracket, closing a cabinet, or moving the object being measured. Set the phone down gently and wait a moment for the display to stabilize. If an app offers a hold feature, use it after the reading has settled.
Calibration
Calibration aligns the app’s reference point with a known position. It is particularly important after changing cases, updating the app, dropping the phone, or noticing inconsistent readings. A well-calibrated iPhone bubble level is more useful than one that is simply opened and used immediately.
How to Calibrate an iPhone Bubble Level
Calibration procedures vary slightly by app, but the basic process is straightforward. You need a surface that you reasonably trust to be level, such as a verified workbench, a countertop checked with a quality spirit level, or a stable table.
- Find a stable reference surface. Avoid soft furniture, carpet, a folding table, or a surface that rocks.
- Clean the area. Remove debris, tools, and anything that could lift one side of the phone.
- Place the iPhone in the intended orientation. Set it flat or against an edge, depending on how you plan to use it.
- Open the calibration option. Follow the app’s on-screen instruction to set zero or establish the reference angle.
- Reverse the phone 180 degrees. Place it in the same location facing the opposite direction, if the app requests this step.
- Compare the two readings. If they differ noticeably, recalibrate or inspect the surface and phone case.
The reverse-position test is one of the simplest ways to catch an unreliable setup. On a truly level surface, rotating the phone should not create a dramatically different result. If it does, something in the contact surface, case, or calibration process needs attention.
Practical rule: For a finish-critical task, verify the digital reading with a second position, a second tool, or both.
Best DIY Uses for an iPhone Bubble Level
An iPhone level is most valuable when you need a quick reading, are working in a compact space, or want to confirm a setup before making a permanent change. Here are practical ways to use one around the home.
| DIY task | How the level helps | Best practice |
|---|---|---|
| Picture frames and wall art | Checks whether the top edge is horizontal. | Measure the frame itself, not an uneven wall detail. |
| Shelves | Helps align the shelf before tightening hardware. | Check across the full shelf length after installation. |
| Appliances | Checks a washing machine, refrigerator, or range. | Use the appliance manufacturer’s leveling instructions. |
| Furniture | Identifies a tilted desk, table, or cabinet. | Test the top surface and check for floor irregularities. |
| Planters and outdoor tables | Helps create a stable, attractive setup. | Recheck after adding soil, water, or weight. |
| Small woodworking setups | Checks a work surface or tool position. | Use a precision physical tool for final machine alignment. |
Hanging Frames and Gallery Walls
For a single frame, place the phone carefully along the top edge after positioning it on the wall. For a gallery wall, use the level to establish a horizontal reference line before hanging multiple pieces. This can reduce the common problem of frames looking aligned individually but drifting across the wall as a group.
Remember that ceilings, baseboards, and older architectural features may not be level. In some rooms, aligning artwork with a visible architectural line can look better than aligning it perfectly to gravity. Decide whether you want mathematical level or visual alignment before drilling.
Leveling Appliances
A washing machine that is not level may vibrate excessively, and a refrigerator may not sit as intended. A digital level can help you identify which direction needs adjustment. However, always consult the manufacturer’s guidance because some appliances require a slight front-to-back tilt for proper door closing or operation.
Place the phone on a clean, flat section of the appliance top. Do not measure a curved lid, control panel, or removable tray. Adjust the appliance feet gradually, then recheck in both directions.
Checking Slopes for Drainage
Numeric angle or slope views are useful for checking whether a small outdoor surface directs water away from a building. For example, you can compare several points along a patio edge or planter border to identify a low spot.
For major drainage, roofing, structural, accessibility, or code-sensitive work, consult a qualified professional and use purpose-built surveying or construction equipment. An iPhone bubble level is excellent for a preliminary check, not a substitute for engineered measurements.
How to Get More Reliable Readings
Good technique often makes a bigger difference than the app itself. Use these habits to improve consistency.
- Measure twice in different positions. Shift the phone a few inches and compare the result.
- Use the same phone edge each time. Different sides may contact a surface differently.
- Take readings in both axes. A shelf can be level left to right but tilt front to back.
- Allow the display to settle. Wait until the numbers stop changing before recording a result.
- Check long objects at multiple locations. A board or countertop can be locally level but warped overall.
- Protect the device. Keep it away from wet mortar, sharp metal edges, paint, and unstable ladders.
iPhone Bubble Level vs. Traditional Spirit Level
Both tools have a place in a practical DIY kit. The best choice depends on the job, the required precision, and the size of the surface.
| iPhone bubble level | Traditional spirit level |
|---|---|
| Always available when your phone is charged | Designed specifically for physical leveling work |
| Can show exact angles and slopes | Often easier to read across long edges |
| Useful for quick checks and small projects | Better for rough job-site conditions and wet work |
| May be affected by cases and uneven phone contact | May be more dependable for finish-critical installation |
| Can combine with other digital measurement features | Does not need batteries, charging, or an app |
For hanging decor, adjusting furniture, checking an appliance, or confirming a quick setup, an iPhone is often enough. For installing cabinets, setting posts, framing walls, laying tile, or aligning long runs, a quality physical level is usually the safer primary tool. Many experienced DIYers use both: the phone for convenience and the spirit level for final verification.
Common Mistakes to Avoid
- Using the camera bump as a contact point: This can create a false angle.
- Measuring over carpet or padding: Soft material compresses unevenly.
- Trusting one reading on an uneven surface: Always check another spot.
- Ignoring calibration after a drop: Recalibrate before an important project.
- Using a phone for high-risk work: Do not rely on it alone for structural, safety, or code compliance decisions.
- Forgetting visual context: A perfectly level item can look crooked next to an unlevel ceiling or trim line.
Choose an Offline Measurement App for Practical DIY
When selecting an iPhone bubble level app, look for a clear display, dual-axis readings, easy calibration, and a way to view degrees as well as a traditional bubble-style indicator. Offline functionality is also valuable: a measurement tool should remain available in a garage, basement, workshop, remote campsite, or job location with weak service.
An all-in-one offline app can be especially convenient when a project calls for more than leveling, such as checking direction with a compass, measuring a small item with a ruler, or reviewing local pressure trends with a barometer. For users who want those tools in one place, Level Tool offers an offline iOS measurement toolkit without requiring an ongoing subscription.
Final Thoughts
An iPhone bubble level is a capable everyday helper when used thoughtfully. Calibrate it, place the phone on a stable and clean surface, account for cases and camera bumps, and verify important work from more than one position. With those simple precautions, your phone can help you level shelves, align decor, adjust appliances, and check small slopes without adding another tool to your bag.
Use the digital reading as informed guidance, pair it with a physical level when precision matters, and you will get the best of both convenience and confidence.
