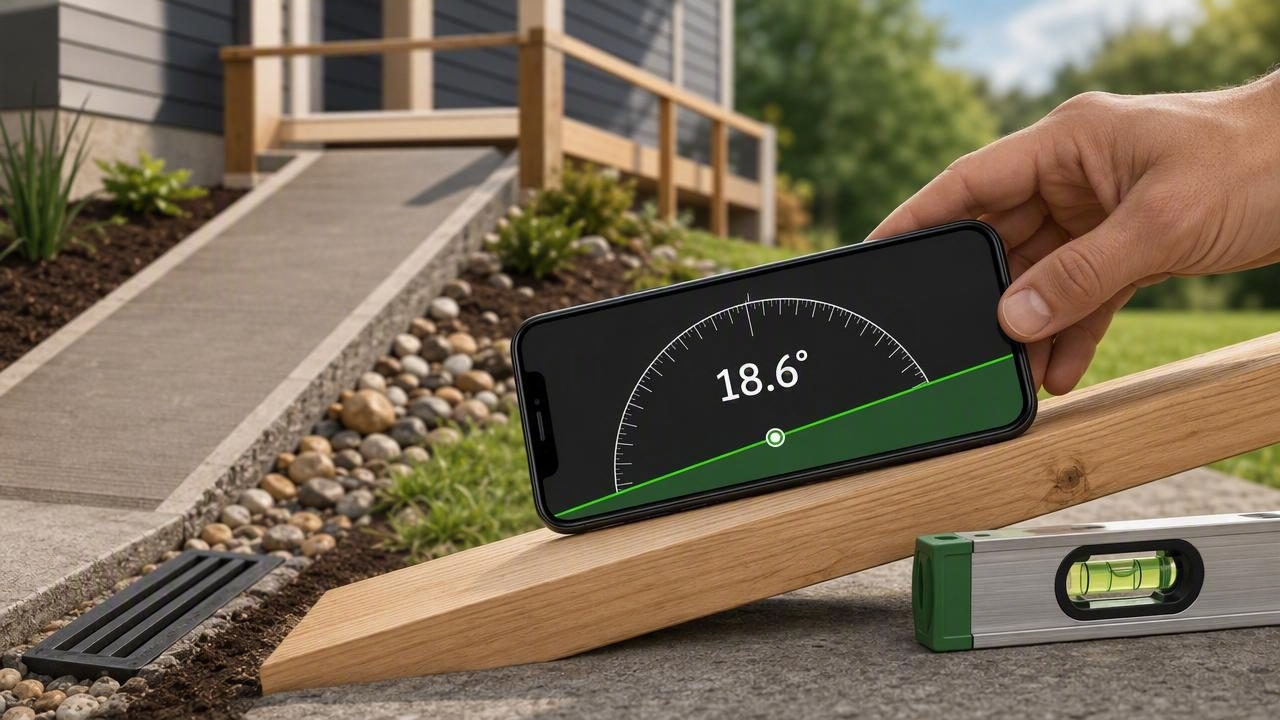
An iPhone angle finder for precise slope readings can be a practical addition to a DIY toolkit. Whether you are checking the pitch of a wheelchair ramp, planning patio drainage, setting fence posts, or installing a sloped shelf, knowing an exact angle helps you make better decisions before cutting, digging, or fastening materials.
Modern iPhones include motion sensors that can detect tilt relative to gravity. A quality angle finder or level app translates those sensor readings into useful measurements, such as degrees, percent grade, and rise-over-run values. While a phone should not replace specialized surveying equipment for major construction work, it can provide reliable, convenient readings for many home improvement, workshop, and outdoor tasks.
This guide explains how iPhone angle measurement works, how to take dependable slope readings, and how to use those measurements in real-world projects.
What Is an iPhone Angle Finder?
An iPhone angle finder is an app feature that uses the device's internal accelerometer and gyroscope to measure how far a surface is tilted from level. If a board, floor, pipe, or ramp is perfectly horizontal, the reading is generally 0°. As the surface rises or falls, the displayed angle changes.
Most angle finder tools can show slope in more than one format:
- Degrees: The angle from level, such as 5° or 12°.
- Percent grade: Vertical rise divided by horizontal run, multiplied by 100.
- Rise over run: A practical construction format, such as 1 inch of rise per 12 inches of run.
The best format depends on the task. Roof pitch and woodworking layouts often use degrees or rise-over-run, while landscaping, drainage, roads, and accessibility ramps commonly use percent grade.
Why Accurate Slope Readings Matter
A surface that looks level can still have enough slope to create problems. Even a small angle can affect how water drains, whether a cabinet door closes properly, or how safely someone can walk up a ramp.
Precise slope measurement is useful for:
- Drainage: Directing water away from foundations, patios, and walkways.
- Ramps: Checking that an access ramp is not uncomfortably or dangerously steep.
- Decks and patios: Creating a slight fall so rainwater does not pool.
- Roof and gutter work: Verifying pitch and maintaining water flow.
- Woodworking: Setting saw bevels, angled supports, and machine tables.
- Landscaping: Planning paths, garden grading, retaining areas, and drainage channels.
Using a digital angle reading also reduces guesswork. Instead of relying on visual judgment alone, you can document the current slope, calculate the desired adjustment, and recheck your work as you go.
Understanding Degrees, Grade, and Pitch
Before measuring, it helps to understand the difference between the most common slope formats. They describe the same physical tilt but use different numbers.
| Measurement Format | What It Means | Example Use |
|---|---|---|
| Degrees | Angle from a perfectly level surface | Setting a 10° brace or checking a roof angle |
| Percent grade | Rise ÷ run × 100 | A 2% patio drainage slope |
| Rise over run | Vertical change for a fixed horizontal distance | 1/4 inch per foot for a drain line |
For example, a 5% grade rises or falls 5 units vertically for every 100 units horizontally. On a 10-foot run, that is a 6-inch change in height. A 5% grade is approximately 2.86°, demonstrating why small degree readings can still matter over a long distance.
If you need to convert an angle to percent grade, use this formula:
Percent grade = tan(angle in degrees) × 100For practical DIY work, an app that displays both degrees and grade saves time and avoids manual calculations.
How to Take a Precise Slope Reading on iPhone
Your results depend not only on the app, but also on how you position the phone. Follow a consistent process for more trustworthy readings.
- Choose a stable reference surface. Place the iPhone flat against the board, ramp, straightedge, or surface you want to measure. Avoid soft, warped, dusty, or uneven contact points.
- Remove a bulky case if necessary. Raised camera bumps, rounded cases, and uneven grips can prevent the phone from sitting flush. If the app supports edge measurements, use a straight phone edge consistently.
- Calibrate on a verified level surface. Many apps allow calibration or zeroing. Put the phone on a known level surface first, then set the reading to zero if required.
- Keep the device still. Wait a moment for the value to settle. Motion, vibration, and hand pressure can create fluctuating readings.
- Read the correct axis. For a ramp or board, measure in the direction of the slope. For a tilted surface, also check side-to-side tilt to identify unwanted cross-slope.
- Repeat the reading. Take at least two or three readings, especially on long or critical surfaces. Similar results are a good sign that your placement is consistent.
For longer spans, place a straight board or long level across the surface and rest the iPhone on that reference. This method averages out small dips, bumps, or texture variations that could distort a reading taken directly on concrete, gravel, or rough lumber.
Calibration Tips for Better Accuracy
Calibration is one of the most important steps when using a phone as a measurement tool. The sensors may be highly sensitive, but the device still needs a reliable reference point.
Use the flip test
A simple way to check calibration is the flip test. Place the iPhone on a flat surface and note the reading. Rotate it 180 degrees on the same spot and compare the result. If the two readings differ noticeably, recalibrate the app or use an average of both readings when precision matters.
Check against a physical level
If you own a trusted bubble level or digital level, compare it with your iPhone before beginning. This does not mean both tools must match to an extreme decimal place. Instead, look for a consistent, sensible reading that is appropriate for the tolerance of your project.
Account for surface imperfections
Do not assume a single spot represents an entire floor, driveway, or deck. Measure at several points and in both directions. A driveway may slope correctly away from the garage overall while still containing a low spot where water collects.
Practical DIY Uses for an iPhone Angle Finder
Set a patio or walkway drainage slope
Patios and walkways generally need a gentle slope that carries water away from the building. Start by deciding the direction water should travel. Place a long straightedge along that path, set your iPhone on top, and verify the angle or percent grade. Check multiple points before laying pavers or pouring concrete.
Always consider local building practices, soil conditions, and the materials being installed. Drainage requirements vary, so use your measurement as one part of a complete installation plan.
Check ramp slope
For a ramp, measure along the travel direction from bottom to top. The angle finder can reveal whether the slope changes at different sections, which is common on temporary ramps or uneven ground. Because accessibility and safety standards can be regulated, consult applicable local codes and professional guidance rather than relying only on an app reading.
Install shelves with intentional angles
Not every shelf should be perfectly level. Display shelves, book stands, drying racks, and certain storage systems may need a deliberate tilt. Zero the angle finder on a level surface, then use the desired degree reading as you position the bracket or support board. Confirm the left and right sides match before tightening hardware.
Measure roof, gutter, and pipe fall
Angle readings can help you estimate roof pitch or verify that gutters and drain pipes have continuous fall. Use a straight board as a reference when measuring curved or irregular materials. For roof work, prioritize safe access: measure from a secure location whenever possible and never use an app as a reason to work unsafely at height.
Common Mistakes to Avoid
- Measuring on the wrong direction: A surface can be level lengthwise but tilted sideways.
- Trusting one reading: Repeat measurements to spot inconsistent placement or an uneven surface.
- Using a phone case as the contact surface: The case may introduce a small but meaningful offset.
- Ignoring the length of the run: A slight slope across a long distance can create a large height difference.
- Relying on an app for regulated work: Use professional tools and qualified advice where codes, structural loads, or safety requirements apply.
Choose an Angle Finder That Works Offline
For garage projects, remote properties, hiking routes, and job sites with weak reception, offline functionality is valuable. An angle finder relies primarily on your iPhone's built-in sensors, so it should not need a connection to provide a basic tilt reading. Offline access also means you can measure when you need to, without signing in or waiting for a page to load.
Look for an app with clear degree and grade displays, calibration controls, dual-axis leveling, readable contrast, and a stable interface. A tool that combines angle measurement with a ruler, compass, or barometer can also be useful when one project involves both home improvement and outdoor navigation.
Make Better Decisions With Reliable Slope Measurements
An iPhone angle finder makes it easier to turn a vague visual impression into a number you can use. By calibrating carefully, measuring on a stable reference, checking both axes, and repeating important readings, you can plan slopes with greater confidence for DIY and home improvement work.
For users who want several sensor-based measurement tools in one offline iOS app, Level Tool offers angle and leveling features alongside practical tools for projects and navigation.
