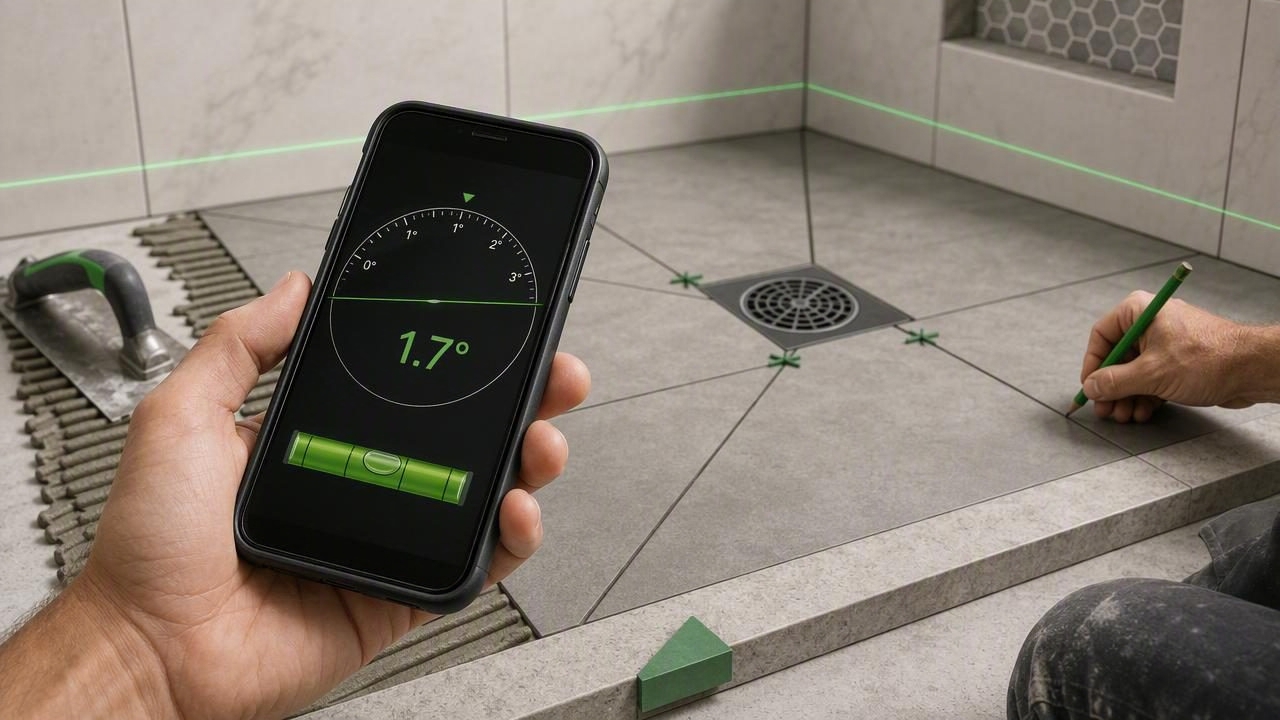
An iPhone angle finder for tile setters can be a practical addition to a professional or DIY tiling kit. While a phone cannot replace every purpose-built construction instrument, its onboard motion sensors can help you check angles, verify slopes, plan cuts, and spot layout issues before mortar is spread.
Tile work rewards preparation. A wall that is slightly out of plumb, a floor that falls the wrong direction, or a shower pan with inadequate drainage can lead to uneven grout lines, lippage, standing water, and costly rework. An angle finder app gives you fast readings from a device already in your pocket, making it useful during measuring, dry fitting, and final inspections.
This guide explains how to use an iPhone angle finder effectively for tile installation, where it is most useful, and how to avoid common accuracy mistakes.
What Is an iPhone Angle Finder?
An iPhone angle finder uses the device’s accelerometer and gyroscope to detect its orientation relative to gravity. Depending on the app, the display may show an angle in degrees, a slope percentage, a rise-over-run ratio, or a virtual bubble level.
For tile setters, these readings are especially useful when checking whether a surface is:
- Level — horizontal from side to side.
- Plumb — vertically straight.
- Sloped — intentionally pitched toward a drain or away from a structure.
- At a repeatable angle — such as a diagonal tile layout, stair skirt, niche edge, or transition.
Many apps also include a two-axis bubble level. This is valuable because a surface can look level in one direction while being noticeably off in the other.
Why Tile Setters Need Accurate Angle and Slope Checks
Tile installation is not only about making individual tiles look straight. It is about creating a finished surface that performs correctly. This is particularly important for wet areas, large-format tile, and spaces where a small error becomes visible over a long run.
| Tile Task | What to Check | Why It Matters |
|---|---|---|
| Shower floor | Consistent pitch toward the drain | Helps water flow instead of pooling. |
| Wall tile | Plumb and level reference lines | Keeps grout joints visually consistent. |
| Large-format floor tile | Subfloor flatness and local high spots | Reduces lippage and poor mortar coverage. |
| Backsplash | Countertop and cabinet alignment | Helps determine where to start the layout. |
| Diagonal pattern | 45-degree layout lines | Creates a balanced, intentional pattern. |
How to Prepare Your iPhone Angle Finder Before Tiling
Reliable results start with setup. An iPhone can provide useful readings, but only when the phone is calibrated and placed against a suitable reference surface.
1. Calibrate on a Known Flat Surface
Open the angle finder or level feature and place the phone on a surface you trust, such as a verified level workbench, a quality spirit level, or a stable tile saw table. Follow the app’s calibration instructions. Some tools use a two-position calibration method: measure once, rotate the phone 180 degrees, then confirm the correction.
Calibration does not make an uneven surface level. It simply ensures the app’s zero reference is correct. Repeat it if the phone has been dropped, the case changes, or readings seem inconsistent.
2. Remove Thick or Uneven Phone Cases
A bulky case can keep the phone from sitting flat against tile, a straightedge, or a wall. It may also introduce a small but meaningful offset. For close checks, remove the case or use a flat, rigid adapter surface.
3. Use a Straightedge for Better Surface Readings
Placing a phone directly on small mosaic tiles, textured porcelain, or a grout joint can distort the measurement. Instead, lay a straightedge, screed, or long level across the area and place the iPhone on that tool. This averages the surface over a longer distance and produces a more relevant reading.
4. Lock Your Reference Direction
Before checking a shower floor or long wall, decide which direction you are measuring. For example, check a shower pan from the perimeter toward the drain, not diagonally across random points. Consistent measurement direction makes it easier to identify low spots and compare readings.
Using an iPhone Angle Finder for Shower Floor Slope
One of the most valuable uses for an iPhone angle finder is confirming shower-floor pitch. A shower assembly should be designed and installed according to applicable local code, the waterproofing system manufacturer’s instructions, and the drain manufacturer’s requirements. In many installations, a commonly used target is approximately 1/4 inch of fall per foot toward the drain.
That slope is roughly 2%, which equals about 1.43 degrees. Small differences may be hard to see by eye, especially with a compact shower floor, so a digital angle display can make checks faster.
Percent slope = (vertical drop / horizontal run) × 100

Example:
1/4 inch drop over 12 inches of run
(0.25 / 12) × 100 = approximately 2.08%
To inspect the pitch, place a straightedge from a wall or curb-side area toward the drain. Set the phone on the straightedge and note the angle or slope. Repeat this from several directions around the drain. The goal is not necessarily identical readings everywhere; different runs may have different lengths. The goal is a continuous, deliberate fall toward the drain with no reverse pitch or birdbaths.
Practical reminder: An angle reading verifies pitch, but it does not prove waterproofing integrity. Flood tests and system-specific installation requirements remain essential.
Checking Tile Layout Lines and Diagonal Patterns
An iPhone angle finder is also useful before the first tile is set. For a standard straight layout, use it to verify that a ledger board, starter strip, or horizontal reference line is truly level. If the room itself is not square, this step helps you decide whether to follow a visual focal point, split cuts evenly, or use a planned adjustment.
For diagonal layouts, a 45-degree reference is crucial. Rather than relying only on a room corner, which may not be perfectly square, establish a baseline and use the angle finder to help confirm the direction of your guide. Mark your layout lines with a chalk line, then dry lay several tiles to verify that cuts remain balanced at the perimeter.
For wall installations, check both axes. A horizontal row can be level while a vertical stack drifts out of plumb. A dual-axis display makes these problems easier to notice before they affect multiple courses of tile.
Best Practices for Accurate Readings on Tile Jobs
- Measure more than one location. A single reading can miss a localized hump or dip.
- Use longer reference tools. A 4-foot or 6-foot straightedge reveals surface trends better than a phone alone.
- Check before, during, and after setting. Confirm the substrate, dry layout, and installed tile surface.
- Keep the device still. Wait for the reading to settle before recording it.
- Clean the contact surface. Mortar crumbs, spacers, and debris can affect the phone’s position.
- Compare with a trusted tool. For critical work, verify questionable readings with a quality spirit level, digital level, or laser.
Common Mistakes When Using a Phone as a Tile Angle Finder
The most common error is treating the phone itself as a long level. An iPhone is excellent for checking orientation, but it only samples the small area beneath it. A floor may read level at one spot yet still have dips elsewhere. Always use a straightedge or longer level when evaluating floor flatness.
Another mistake is measuring over grout joints, tile lugs, textured finishes, or debris. These uneven contact points can shift the phone enough to change a close reading. Similarly, avoid measuring on a freshly set tile before it is stable; pressure from the phone can move the tile or affect its position.
Finally, do not confuse level with properly installed. A shower floor should not be level—it needs slope. A wall may need to be visually centered rather than perfectly aligned with an out-of-level ceiling. Good tile work combines accurate measurement with sound layout judgment.
When a Dedicated Tool Is Still the Better Choice
An iPhone angle finder is best viewed as a convenient measurement companion. For demanding commercial work, inspection requirements, lengthy layout lines, or high-precision fabrication, dedicated tools remain important. A long box level, laser level, straightedge, slope gauge, and manufacturer-approved installation system each have their place.
Use your phone for quick verification, planning, troubleshooting, and repeat checks. Use professional-grade instruments when the job requires a documented tolerance, long-distance alignment, or a measurement that could affect compliance or warranty coverage.
Make Better Tile Decisions Before Mortar Goes Down
A well-calibrated iPhone angle finder helps tile setters catch issues early: a sloping countertop, a wall that leans, a shower pan with insufficient fall, or a diagonal layout that needs adjustment. The earlier these details are identified, the easier they are to correct.
For DIY renovators and trade professionals who want offline access to practical sensor-based measurements, an app such as Level Tool can keep angle, level, ruler, compass, and other everyday tools available on an iPhone without relying on a connection. Pair those quick readings with proven tile-setting methods, careful substrate preparation, and the right dedicated tools for a cleaner result.
