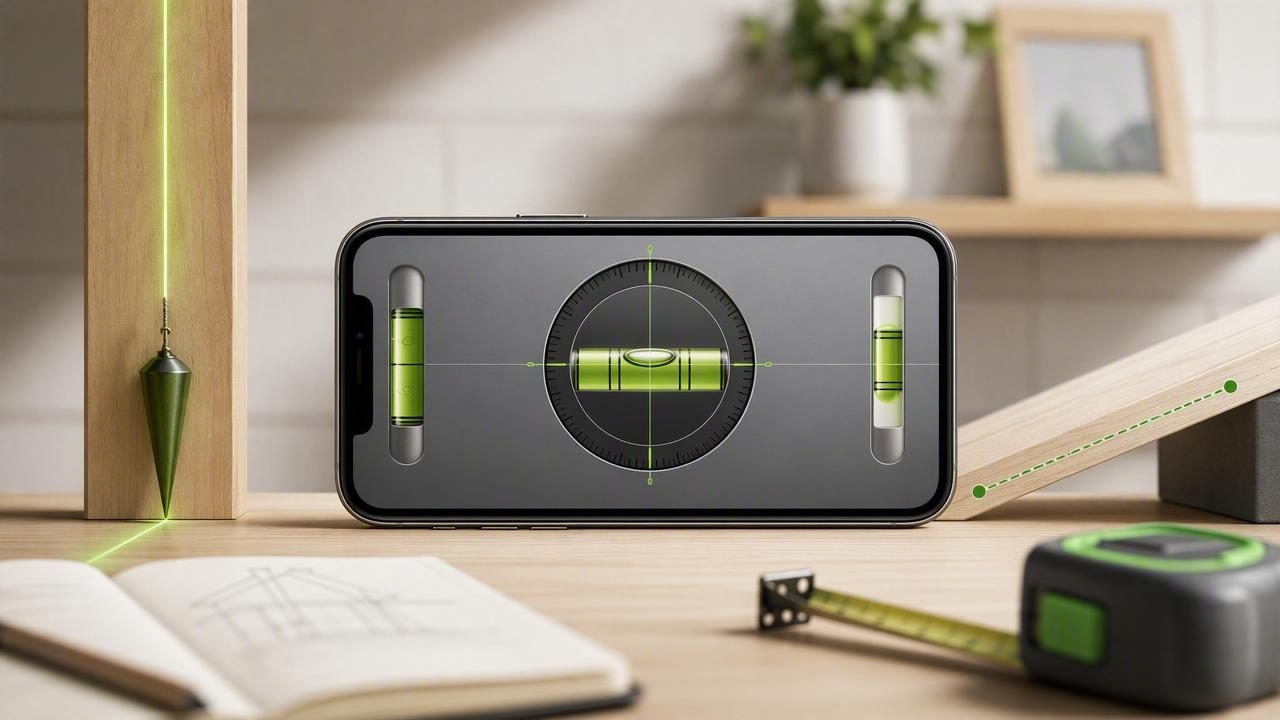
An iOS bubble level turns your iPhone into a practical tool for checking whether something is level (flat), plumb (vertical), or set to a specific slope (pitch). For DIY projects and quick site checks, it can save time—especially when you don’t want to hunt for a physical level or you need a second reference point.
This guide explains how an iOS bubble level works, when it’s accurate enough, and how to get consistently reliable readings for home improvement, woodworking, appliance setup, and more.
What an iOS bubble level measures (and what it doesn’t)
A traditional bubble level uses a vial of liquid with a bubble. Your iPhone doesn’t have a liquid vial; instead, it uses internal sensors (primarily the accelerometer and gyroscope) to calculate orientation relative to gravity. The app then displays a “bubble” or numeric angle.
- Level (0° pitch/roll): A surface is flat—useful for shelves, tabletops, saw setups, and countertops.
- Plumb (90° relative to level): A surface is vertical—useful for posts, door frames, and wall-mounted items.
- Slope/pitch: A surface is intentionally angled—useful for drainage, ramps, and certain roof or deck checks.
What it doesn’t do: it can’t magically flatten a bowed board or fix an uneven wall. It measures the phone’s orientation—not the “straightness” of the object—so your results depend on contact, positioning, and calibration.
When an iOS bubble level is accurate enough
For many household and jobsite tasks, an iOS bubble level provides excellent practical accuracy—especially for relative checks (e.g., “this shelf matches that shelf”) and quick diagnostics (e.g., “is this fridge leaning?”).
Use an iOS bubble level confidently for:
- Hanging pictures, frames, mirrors, and curtain rods
- Leveling appliances (fridge, washing machine, range)
- Squaring up work surfaces and benches
- Aligning mounting rails, cleats, and brackets
- Checking pitch for basic drainage and ramps
Consider a quality physical level (or a laser level) when:
- You need to verify long spans (doors, long walls, long countertops)
- You’re doing finish carpentry where tiny errors accumulate
- The surface is too irregular for good phone contact
- You need a straightedge and a level in one tool
How to use an iOS bubble level (step-by-step)
1) Prepare the contact surface
Accuracy starts with contact. The phone must sit firmly without rocking.
- Clean dust/debris from the surface and from your phone case edges.
- If the object is rough (e.g., textured wood), place the phone on a flatter reference area.
- Remove a bulky case if it causes wobble. Even slight rocking can change the reading.
2) Choose the right orientation: face-down vs. edge
Most iOS bubble level apps support at least two modes:
- Face-down (screen up): Best for checking a horizontal surface like a shelf or countertop.
- On an edge (portrait/landscape): Best for checking plumb on a wall, stud, or post.
3) Let the reading settle
Hold the phone still for a moment. Sensor readings can fluctuate slightly if your hand moves or the surface vibrates (think: laundry machines, fans, footsteps on a deck).
4) Use “relative leveling” when the surface itself isn’t trustworthy
If you’re matching something to an existing feature (like aligning a new shelf to an older shelf), don’t assume the older shelf is level. Instead:
- Place the phone on the existing shelf and note the angle.
- Move the phone to the new shelf location and adjust until it matches the same angle.
Pro tip: In remodeling, “level” isn’t always the goal. Often the goal is “looks aligned with the room.” Matching the existing reference can produce a better visual result.
Calibration: the difference between “pretty close” and “trustworthy”
Most issues people blame on sensor accuracy are really calibration or setup problems. Calibration aligns the app’s 0° reference with the real world.
A simple calibration method (flip test)
If your app supports calibration, try this:
- Place the phone on a stable, reasonably flat surface (a countertop is fine).
- Note the reading.
- Rotate the phone 180° on the same spot (so the top becomes the bottom) and note the reading again.
- If the two readings aren’t equal and opposite (for example +0.4° and -0.4°), calibrate and repeat.
This helps cancel out surface imperfections and reveals whether the app’s “zero” is centered correctly.
After calibration, verify on a known reference
For confidence, compare the phone to a physical level you trust:
- Check a short span (like a sturdy table edge).
- Compare readings in both directions.
- Repeat once after restarting the app (some users notice small differences if the device was recently rotated a lot).
Common DIY tasks where an iOS bubble level shines
1) Leveling appliances (fridge, washer, dryer)
Uneven appliances can cause noise, vibration, poor drainage, and door swing issues. Use the iOS bubble level on:
- The top front edge (left-to-right level)
- The side edge (front-to-back pitch)
Adjust feet a little at a time, then re-check. If the floor is uneven, your goal may be “stable with slight back tilt” (common for refrigerators) rather than perfect 0.0°.
2) Installing a wall shelf with consistent results
When you set wall anchors or brackets, a tiny tilt becomes noticeable across the shelf length. An iOS bubble level is great for checking:
- Bracket-to-bracket alignment
- Shelf pitch after loading weight
- Whether the shelf sags (compare left and right readings)
3) Aligning fence posts or pergola uprights (plumb checks)
Checking plumb is easier when you can read two axes (left-right and forward-back). Place the phone against the post in one direction, then rotate 90° and check again. For better contact, press the phone gently against a flat side of the post (not a rounded corner).
4) Setting a slope for drainage
For outdoor projects (pavers, simple ramps, drainage channels), you often need a consistent pitch. Many guides target something like about 1–2% slope depending on the application. Rather than guessing, use your iOS bubble level to measure angle directly.
| Goal | What to check | Practical tip |
|---|---|---|
| Level shelf | 0° across the shelf depth and width | Check empty, then check again after loading weight |
| Plumb post | Vertical in two directions | Check, rotate phone 90°, check again |
| Consistent drainage slope | Same pitch along the run | Measure at multiple points; don’t rely on one spot |
| Picture frame | Frame top edge level | Also step back and confirm visually (walls can be out of level) |
Getting better readings: advanced tips
Use a straightedge when the surface is short or uneven
If the object is too narrow for stable placement (thin trim, narrow rails), place the phone on a straight, flat spacer (like a short piece of MDF or a known-flat ruler) that bridges the area. This improves contact and reduces rocking.
Measure the object, not your hand
Holding the phone in mid-air and trying to “match” an angle is less reliable than placing it down. Whenever possible, set the phone on the surface or against the vertical plane you’re measuring.
Watch for case and camera-bump wobble
Modern iPhones have pronounced camera bumps. If the phone rocks, readings will vary. Solutions:
- Remove the case (temporarily)
- Place the phone so the bump hangs off the edge (when safe)
- Use a thin, flat shim under the phone to stabilize contact
Use the “flip-and-check” habit in the field
Even without formal calibration, quickly flipping the phone 180° on the same surface is a powerful sanity check. If the numbers don’t mirror each other closely, something about the setup (or calibration) needs attention.
Troubleshooting: why your iOS bubble level seems “wrong”
- Reading changes when you lift your finger: You’re applying pressure that slightly tilts the phone. Let it rest freely.
- Different results on different spots: The surface isn’t flat (common on older counters, bowed shelves, textured materials).
- Plumb reading is inconsistent: The phone isn’t sitting flush against the vertical surface (baseboard trim, uneven drywall, corner beads).
- Numbers jump around: You’re on a vibrating surface or moving slightly. Wait a second or stabilize the phone.
- It’s perfect in one direction but off in another: Re-calibrate, then verify using the flip test.
Offline matters: using an iOS bubble level anywhere
One underrated benefit of a bubble level app is that it can work completely offline. That’s useful in basements, remote cabins, garages with weak signal, or job sites where you don’t want distractions. Because leveling relies on device sensors—not the internet—offline functionality keeps the tool consistent and fast.
Quick checklist: best practices for accurate results
- Stabilize contact: no rocking, no debris, minimal case interference.
- Calibrate: especially before a project where small errors matter.
- Measure twice: check in both directions (and both axes for plumb).
- Confirm visually: rooms are often out of square/level—align to what looks right when needed.
- Use a reference: a known-flat board or straightedge boosts reliability.
A note on choosing an iOS bubble level app
Look for an app that offers:
- Clear angle readouts (degrees) and an easy-to-read bubble display
- Dual-axis leveling for more informative readings
- Calibration controls (or at least consistent readings with flip testing)
- Offline use with no account required
If you prefer a broader offline toolkit (level plus other measurement utilities) you can explore an all-in-one iOS option like Level Tool, which bundles multiple sensor-based measuring tools in one place.
