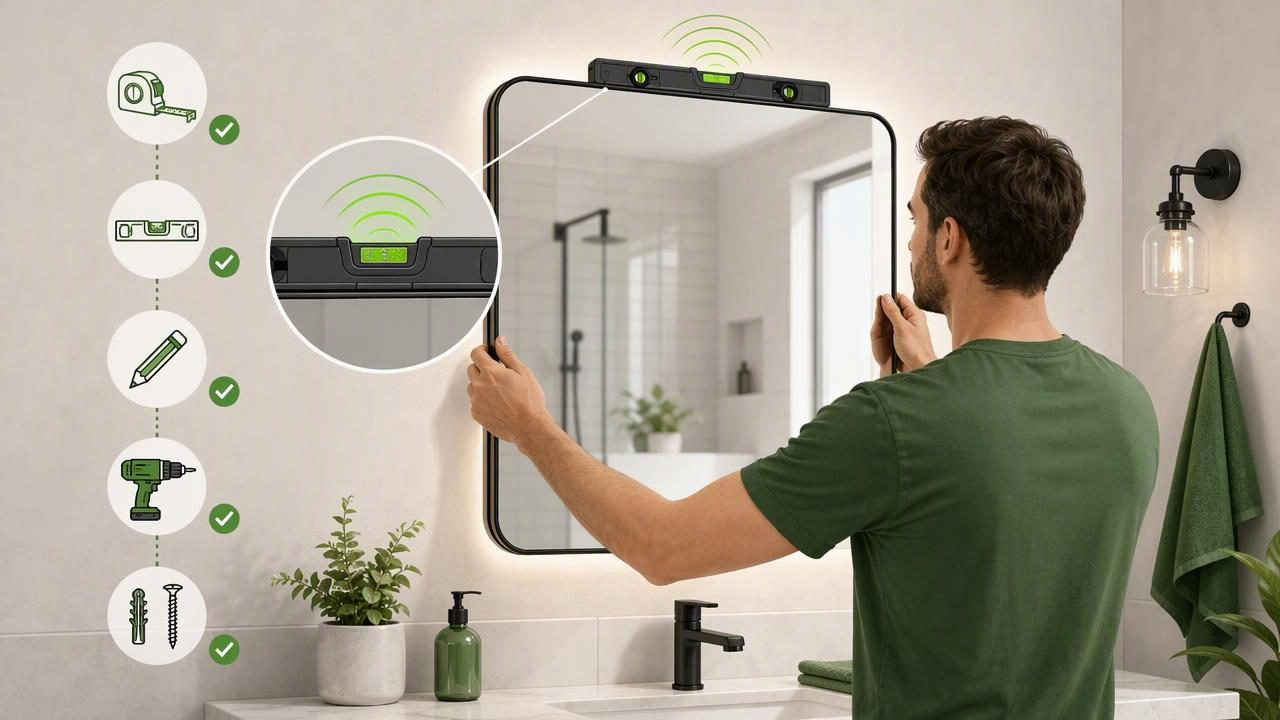
Installing a bathroom mirror can transform a vanity area, improve everyday usability, and make a small bathroom feel brighter. Yet a mirror that is only slightly crooked is immediately noticeable—especially when it sits above straight tile lines, a backsplash, or a vanity countertop. A careful setup process matters more than rushing to drill the first hole.
This practical guide explains how to install a bathroom mirror checklist with haptic level tool support, including preparation, calibration, marking, mounting, and final checks. A phone-based bubble level and angle meter can be useful for confirming horizontal alignment, particularly when haptic feedback lets you keep your eyes on the wall rather than the screen. However, the phone still needs stable, flat contact with the mirror or a straight reference surface for meaningful readings.
Before You Start: Choose the Right Mounting Method
The correct installation method depends on your mirror’s weight, frame, and supplied hardware. Read the manufacturer’s instructions before selecting screws, anchors, or adhesive. A light frameless mirror may use clips or rated adhesive, while a heavy framed mirror often needs D-rings, a cleat, or brackets fastened into studs.
Do not assume that drywall anchors alone can support every mirror. Bathrooms also introduce moisture, painted surfaces, tile, plumbing lines, and electrical cables. When in doubt, use suitable hardware for the wall material and mirror weight, or ask a qualified installer for advice.
Tools and Materials Checklist
- Bathroom mirror and its mounting instructions
- Tape measure
- Pencil or removable painter’s tape
- Stud finder, where appropriate
- Drill and correct drill bits for drywall, masonry, or tile
- Screws, anchors, mirror clips, brackets, or a cleat rated for the mirror
- Screwdriver
- Safety glasses and work gloves
- A straightedge or straight timber strip
- A bubble level or iPhone haptic level tool
- A second person for large or heavy mirrors
Plan the Mirror Position First
Start by deciding where the mirror should sit in relation to the vanity, faucet, light fixture, and backsplash. In many bathroom layouts, centering the mirror on the vanity looks balanced. That does not always mean centering it on the entire wall: the vanity is usually the more useful visual reference.
Measure the vanity width, find its midpoint, and mark that center point lightly with pencil or a short piece of painter’s tape. Then measure the mirror width and divide it by two. Aligning these center points gives you a reliable starting position.
Next, choose the mirror height. Ensure people using the bathroom can see themselves comfortably, while leaving enough clearance above the faucet and below light fixtures. Check that the planned top edge does not interfere with a medicine cabinet door, wall light, or outlet cover.
| Planning Check | What to Confirm | Why It Matters |
|---|---|---|
| Centerline | Mirror center aligns with the vanity center | Creates a balanced appearance |
| Bottom clearance | Enough space above the backsplash and faucet | Prevents a cramped, awkward layout |
| Top clearance | Room below lights, cabinets, and ceilings | Avoids obstruction and crowding |
| Wall structure | Stud locations and wall material are identified | Supports safer mounting choices |
How to Set Up a Haptic Level Tool for Mirror Installation
A haptic level tool can provide a vibration when the device reaches level or comes within a selected tolerance. This is helpful when holding a straightedge against the wall, because you can feel the alignment cue without constantly shifting your attention from the pencil marks to the screen.
Before relying on any digital level, calibrate it on a stable, known-flat surface. A countertop may look level but can have a slight slope, and a tiled wall may not be perfectly flat. Calibration establishes a reference point; it does not correct a bowed wall, an uneven mirror frame, or inaccurate mounting hardware.
Calibration and Repeatability Steps
- Place the iPhone flat against a clean, stable surface.
- Open the level function and follow the app’s calibration process, if available.
- Rotate the phone 180 degrees in the same location and compare the reading.
- If the readings differ noticeably, recalibrate or use another reference surface.
- Test the phone against a straightedge before marking the wall.
This simple reversal test is useful because it checks repeatability. A measurement is more trustworthy when you can place the device back in the same position and obtain a very similar result. If the number changes every time, check for uneven contact, a moving straightedge, a phone case that prevents flat placement, or a surface that is not actually flat.
Important: Haptic feedback is a convenience feature, not a substitute for secure mounting or careful verification. It tells you when the device reaches a chosen level target; it cannot tell you whether a screw is in a stud or whether the wall can carry the mirror’s weight.
Mark a Level Reference Line on the Wall
Instead of trying to hold the mirror in place while marking holes, make a level reference line first. This is especially useful for wide mirrors and mounting brackets.
- Measure from the planned bottom edge of the mirror to the location of its hanging hardware.
- Transfer that measurement to the wall from your desired mirror height.
- Place a straightedge horizontally at that point.
- Hold the phone firmly against the straightedge, with full, stable contact.
- Adjust the straightedge until the level tool indicates level through the visual target, sound, or haptic cue.
- Draw a light pencil line along the straightedge.
For a concrete example, imagine a 30-inch-wide mirror with two D-rings located 3 inches below its top edge. If the desired top of the mirror is 72 inches above the floor, your hanging-point line should be 69 inches above the floor. Mark the vanity centerline, measure 15 inches left and right from that centerline, then transfer the D-ring spacing from the back of the mirror onto the 69-inch level line.
Measure the hardware spacing directly from the mirror rather than relying on a product diagram. Even a small difference between the stated and actual D-ring positions can make the mirror hang off-center.
Drill and Install the Hardware Safely
Once your marks are confirmed, check them one more time before drilling. Hold the mirror—or a cardboard template matching its outline—against the wall to verify that the planned height and centerline look right.
If a screw location lines up with a stud, use a screw appropriate for the stud and mounting hardware. If it does not, choose an anchor specifically rated for the wall type and load. For tile, use an appropriate tile or masonry bit, drill slowly, and avoid hammering directly on the tile. Be aware that bathroom walls may contain pipes or electrical wiring, particularly near sinks and outlets.
- Wear safety glasses when drilling.
- Do not drill until you have checked for studs and likely utility paths.
- Use both mounting points when the mirror hardware provides them.
- Keep clips, brackets, and screws aligned with the manufacturer’s instructions.
- Do not overtighten fasteners against glass or a delicate frame.
Hang the Mirror and Check It From More Than One Reference
With help from another person if needed, lower the mirror onto its hardware carefully. Do not release it until you know both hanging points are fully engaged. If the mounting system includes locking clips or retaining screws, install them now.
Then check level in two ways. First, place the phone against a flat section of the mirror frame or against a straightedge held across the top edge. Second, step back and compare the mirror visually with nearby permanent references, such as the vanity, tile grout lines, or a backsplash edge.
Why use both checks? Walls, floors, vanities, and tile lines are not always perfectly level. A mirror can be mathematically level yet appear slightly wrong next to a noticeably sloping countertop. In that case, avoid making a large visual adjustment without considering the cause. Small perceived differences are often best resolved by checking the vanity and wall references carefully, then choosing the position that looks intentional and remains securely mounted.
Final Bathroom Mirror Installation Checklist
- Mirror is centered on the vanity or planned focal point.
- Mounting hardware matches the mirror’s weight and wall material.
- Studs or correctly rated anchors support the installation.
- Reference line was checked with stable device contact.
- Level calibration was checked and readings were repeatable.
- Mirror is fully seated on brackets, clips, or D-rings.
- Retaining hardware is installed where required.
- Mirror appears level from normal viewing distance.
- No sharp hardware, loose clips, or cracked tile surrounds the installation.
Common Mistakes to Avoid
The most common mistake is measuring from an assumption rather than the actual mirror hardware. Another is placing a phone on a curved frame, textured surface, or thick phone case and treating the result as precise. Digital leveling works best when the device has flat, consistent contact with the same reference surface each time.
Also avoid relying on adhesive for a mirror unless the mirror manufacturer and adhesive manufacturer both state that the combination is appropriate for the mirror, wall finish, moisture conditions, and load. Adhesive installation can be difficult to reverse and may damage drywall, paint, or tile during removal.
A Practical Digital Level Option for DIY Work
For DIY tasks that benefit from offline measurement tools, Level Tool’s guide to measuring angles on an iPhone explains how to use an iPhone as a contact-based angle and level reference. Use its readings alongside careful calibration, repeat checks, and properly rated mirror hardware—not as a replacement for safe installation practices.
