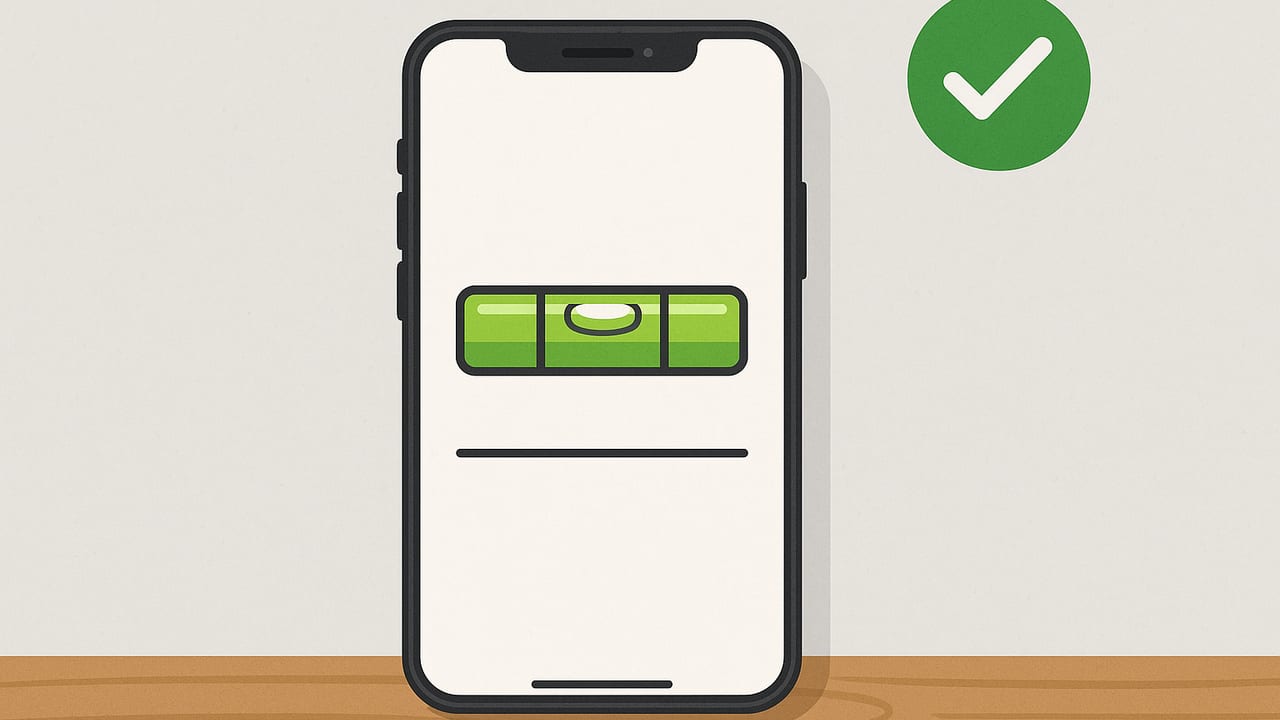
The bubble level on device sensors can turn your phone into a surprisingly capable leveling tool for carpentry, home projects, RV leveling, appliance installs, and more. When set up correctly, a device level delivers fast, repeatable results that rival compact torpedo levels for many everyday tasks. This guide explains how it works, what accuracy to expect, how to calibrate, and practical workflows so you can trust your readings.
How a Device Bubble Level Works
Modern phones include a tri-axial accelerometer that measures gravity’s direction. A level app translates this gravity vector into pitch and roll, simulating the behavior of a traditional spirit bubble. Some apps also use the gyroscope to smooth motion and filter vibrations, producing a steady readout. In landscape mode you’ll often see dual-axis indicators that show how far you are from level in both directions at once; in portrait mode, many apps focus on a single axis.
Most device levels support two reading modes:
- Absolute level: Shows angle relative to true horizontal (0°) or vertical (90°).
- Relative (zeroed) level: Lets you set a temporary reference. Zero the phone on one surface, then compare another surface to match that angle (useful for parallel alignment, stair handrails, or matching an existing slope).
With a flat back and crisp edges, your device can sit securely against walls, cabinets, tile, studs, and even round objects when paired with a small cradle or jig.
Expected Accuracy and Resolution
Accuracy depends on your device’s sensors, how flat the phone’s contact surface is, and your technique. For short spans (say, a cabinet face or a shelf), many phones can achieve ±0.1° to ±0.2° under stable conditions. That corresponds to roughly 1.7–3.5 mm per meter of run (1/16–1/8 inch over 6 feet). For long spans, tiny angular errors accumulate; use a straightedge or verify at multiple points.
| Tool | Typical Accuracy | Resolution | Best Use |
|---|---|---|---|
| Bubble level on device | ±0.1–0.2° (≈1.7–3.5 mm/m) | 0.1° (often finer display) | Cabinets, shelves, tripods, appliances |
| Torpedo spirit level | ±0.029° (0.5 mm/m) to ±0.057° (1.0 mm/m) | Visual bubble | Short spans, tough job sites |
| Digital angle finder | ±0.05–0.2° | 0.1° or 0.05° | Joinery, bevels, miter saw setup |
Take advertised numbers as guidance, not guarantees. The way you hold or place the phone often matters more than the sensor spec.
Setup for Reliable Readings
Before you rely on a device level, spend a minute preparing the phone and the work surface:
- Find a truly flat edge: The phone’s screen side, back, or a long case edge may be the best reference. Wobble or camera bumps can introduce error. If the phone rocks, rotate to a different side or remove the case.
- Clean contact areas: Dust and paint drips change the angle. Wipe the surface and the phone’s edge.
- Disable disturbances: Vibrations from tools or HVAC fans can jitter readings. Let the phone settle for a second before reading.
- Use a straightedge: On uneven walls or curved pipes, place the phone on a straight board, aluminum rule, or a pipe saddle for consistent contact.
- Zero to a reference when matching: If you’re aligning to an existing slope (e.g., shower pan pitch), set relative zero on the known surface, then match.
Quick-Start Checklist
- Place the flattest phone edge against the surface.
- Wait for the reading to stabilize; gently remove your hand pressure.
- Read both axes if available; prioritize the axis relevant to your task.
- Adjust the workpiece, recheck, and verify at multiple points.
- Use relative zero for parallel matches or repeated angles.
Pro tip: Average multiple measurements. Take three readings, lift and reset the phone each time, and use the median. This cancels small placement errors.
Calibration and Two-Position Error Cancellation
Even a tiny tilt in your phone’s back surface or case can bias readings. You can cancel much of this with a quick two-position method:
- Place the phone on a flat surface; note the angle (A).
- Rotate the phone 180° in the same spot; note the new angle (B).
- The true angle of the surface ≈ (A − B) / 2, and the bias ≈ (A + B) / 2.
Some apps provide an in-app calibration workflow that performs this automatically for multiple orientations. Redo calibration if you change cases, attach a magnetic accessory, or notice drift after a firmware update.
From Degrees to Slope: Fast Conversions
Levels often display in degrees, but builders and landscapers think in slope percent or ratio (e.g., 1/4 inch per foot). Here’s how to translate:
- Slope percent = tan(°) × 100
- Rise per foot (inches) ≈ 12 × tan(°)
- Ratio (1:n) = 1 : (1 / tan(°))
Example: A 2° slope ≈ tan(2°) × 100 ≈ 3.49%. That’s about 0.42 inches per foot and roughly a 1:28.6 gradient.
// Quick slope helpers (JavaScript)
const degToRad = d => d * Math.PI / 180;
const slopePercent = d => Math.tan(degToRad(d)) * 100;
const inchesPerFoot = d => 12 * Math.tan(degToRad(d));

console.log(slopePercent(2).toFixed(2));   // 3.49
console.log(inchesPerFoot(2).toFixed(2));  // 0.42
If your app supports switching units, choose the format that matches your task: degrees for joinery and saw setup; percent or in/ft for drainage and ramps.
Practical Workflows Where a Device Level Shines
- Hanging shelves and frames: Place the phone on the shelf board, adjust until 0.0°, then mark hole positions. Verify after mounting.
- Cabinet installation: Shim base cabinets to within ±0.1–0.2°. Lay a straightedge across multiple cabinets, check in several spots to avoid twist.
- Appliance leveling: For washers or refrigerators, check side-to-side and front-to-back. Small adjustments reduce vibration and door swing issues.
- Tile and shower pans: Aim for ~1/4 inch per foot (≈1.19°) toward the drain. Use relative zero to match continuous slopes.
- RV and van life: Level the vehicle for sleeping comfort and fridge efficiency. Mount a cradle near the dash; memorize your ideal “level” numbers for a packed van.
- Camera tripods and sliders: A quick check on the tripod head or slider rail reduces horizon corrections in post.
Common Sources of Error (and How to Fix Them)
- Wobbly contact: Camera bumps or curved cases cause tilt. Use the flattest edge; consider removing the case.
- Surface irregularities: Painted walls, textured tile, and bowed wood can mislead. Use a known straightedge as the interface.
- Hand pressure: Pressing the phone against a surface can flex the case. Let go gently and read after it settles.
- Vibration and motion: Power tools and foot traffic add noise. Pause work briefly for a clean read or use an averaging mode.
- Thermal drift: Rapid temperature changes can shift sensors. Give the device a minute to acclimate on cold or hot job sites.
- Long-span expectations: Over many feet, tiny angles create larger drops. Verify at multiple points or use a string line/laser for long runs.
Advanced Techniques for Better Results
- Dual-axis leveling: When mounting a TV or installing a countertop, watch both axes. Correct the larger error first, then fine-tune the smaller one.
- Relative matching: Zero the phone on a reference board, then move to your workpiece. This is perfect for matching handrail pitches or repeating bevels.
- Capture and compare: Some apps let you “hold” a reading. Freeze the reference, then move the phone to the new surface to match it.
- Make a simple sled: For pipes or rounded trim, tape the phone to a short V-notch block or use a magnet-backed straightedge to stabilize contact.
- Sample averaging: If your app doesn’t average, take three quick placements and use the middle value to remove outliers.
When to Reach for a Dedicated Level
A phone is excellent for most light-to-moderate tasks. Choose a dedicated tool when:
- Harsh environments: Mud, high heat, or impacts risk your phone; a rugged spirit level is safer.
- Long spans: For decks and beams, a 4–6 ft spirit level, string line, or rotary laser handles accumulated error better.
- Code inspections: When a project demands documented tolerances, a calibrated digital level or laser ensures traceable results.
- Hands-free setups: Magnetic levels that stick to steel studs or beams are more convenient on vertical work.
Frequently Asked Questions
Does the bubble level on device work offline?
Yes. Leveling relies on the accelerometer and gyroscope, which do not require internet or GPS. You can use it anywhere, including basements and remote sites.
Do magnets or metal interfere with readings?
Magnetic fields do not affect gravity measurements. However, magnetic cases or mounts can change how the phone sits, introducing a mechanical tilt. Ensure stable, flat contact.
Does compass calibration affect the level?
No. The compass uses the magnetometer; the level uses the accelerometer. They are separate. Calibrate the level within the app if it provides a procedure.
How can I tell if my phone’s back is flat enough?
Place it on a truly flat surface, note the reading, rotate 180°, and compare. A large difference suggests the back or case isn’t flat; use another edge or remove the case.
What tolerance should I aim for?
For shelves and cabinets, ±0.1–0.2° is typically invisible to the eye. For drainage, follow local code (often around 1/4 in/ft ≈ 1.19°). For precision joinery, use relative matching and verify with a secondary tool.
Key Takeaways
- A bubble level on device sensors is accurate enough for most household and light professional tasks when you respect setup and technique.
- Use two-position checks and relative zeroing to cancel bias and match angles reliably.
- Translate degrees to slope percent or in/ft when working with drainage, ramps, and landscaping.
- For long spans, harsh conditions, or inspections, a dedicated spirit or laser level remains the better choice.
If you prefer an all-in-one iOS toolkit that includes a bubble level alongside a ruler, compass, barometer, and even a metal detector—fully offline with no subscriptions—consider Level Tool for precise, dual-axis leveling and practical field workflows.
