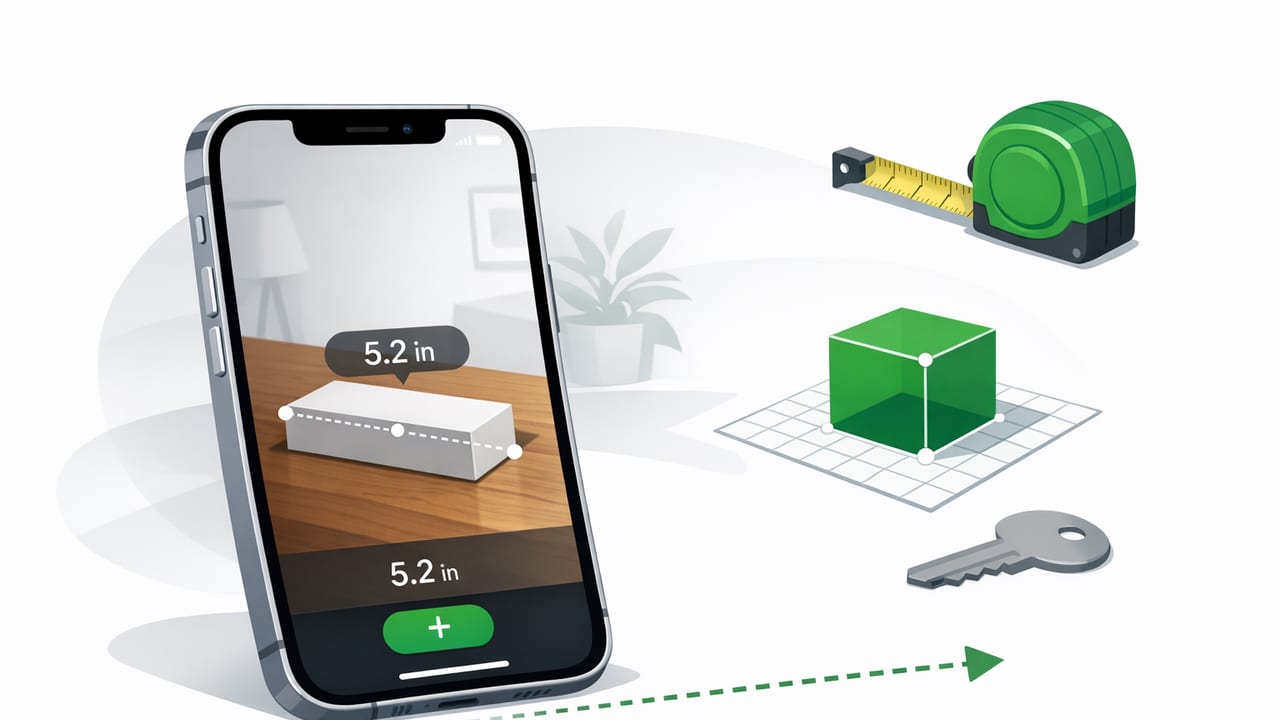
An iPhone ruler app can be surprisingly useful when you need a quick measurement for DIY, home improvement, or everyday tasks—like checking whether a frame fits a wall space, confirming a drill bit clearance, or measuring the width of a shelf. But accuracy depends on how you use it. The right technique can get you close to a real ruler (sometimes within a few millimeters), while the wrong setup can be off by a lot.
This guide explains how an iPhone ruler app works, the most accurate ways to measure, common error sources, and practical tips to get consistent results—especially when you’re offline or working on-site.
What an iPhone ruler app actually measures
“Ruler” features on iPhone generally fall into two categories:
- Screen ruler: Uses the physical size of the display (pixels + screen scale) to show an on-screen ruler. You place a small object directly on the screen.
- Camera/AR measuring: Uses the camera with depth/AR estimation to measure distances in the real world (e.g., from point A to point B on a wall).
Both can be useful, but they excel at different tasks. A screen ruler is best for small, flat items. AR-style measurement is best for larger objects and room-scale distances.
When an iPhone ruler app is a good idea (and when it’s not)
Great use cases
- Measuring small objects quickly (screws, tiles, electronics, trim samples)
- Checking approximate clearances (gap width, bracket spacing)
- Confirming rough cut lengths before you fetch a tape measure
- Travel/light packing (luggage dimension estimates)
Situations where you should switch to a tape measure or caliper
- Any task requiring tight tolerances (cabinetry joins, machining)
- Long spans where small angle errors grow (over ~2–3 meters)
- Soft or irregular surfaces that are hard to “point” precisely
- Measuring thickness/diameter precisely (use calipers)
Rule of thumb: Use an iPhone ruler app for speed and convenience; use physical tools when precision is critical.
How to get accurate results with a screen-based iPhone ruler app
A screen ruler can be very consistent—if it’s calibrated correctly and you measure within its intended range.
Step-by-step method
- Clean the screen so your object sits flat.
- Disable Display Zoom (if your ruler app depends on default scaling). Some apps handle this automatically, but if measurements seem “off,” check your display settings.
- Calibrate once using a known reference (credit card width, a real ruler, or a standard-size card).
- Place the object flat on the screen, aligned to the ruler’s start line.
- Read at eye level to avoid parallax—don’t read from an angle.
Best practices
- Measure the longest dimension in one go rather than “moving” the item in sections.
- Prefer mm over inches for more granular reading, then convert if needed.
- Use the center of thick markings if the app uses wide tick marks.
How to get accurate results with camera/AR measuring
Camera-based measuring is convenient for walls, furniture, and rooms, but it’s more sensitive to environment. Your results depend heavily on lighting, texture, distance, and how you define measurement points.
Step-by-step method
- Improve lighting (avoid harsh shadows and very dim rooms).
- Choose a textured surface when possible. Plain glossy walls can reduce tracking accuracy.
- Hold the phone steady and let it “lock” onto the surface before setting your first point.
- Set points carefully: tap corners or edges where you can visually confirm the exact spot.
- Measure twice from slightly different angles and compare results.
Tips that reduce AR measuring error
- Avoid extreme angles. Try to face the surface more directly.
- Keep consistent distance from the surface while placing points.
- Use reference objects (a sheet of paper, a book) to help the camera detect scale in tricky scenes.
Accuracy pitfalls: why measurements can be off
If your iPhone ruler app is giving inconsistent results, one of these is usually the cause:
1) Calibration mismatch (screen ruler)
Different iPhone models have different screen sizes and pixel densities. A good ruler app accounts for this automatically, but any mismatch (or unusual display scaling settings) can introduce error.
2) Parallax (screen ruler)
If you read the scale from an angle, the object’s edge won’t line up with the same tick mark you’d see from directly above.
3) Poor tracking conditions (AR measuring)
Low light, reflective surfaces, and featureless walls can cause the camera to “drift,” shifting the start or end point without you noticing.
4) User-defined points (AR measuring)
Even if AR tracking is perfect, tapping the exact corner pixel-by-pixel is hard. A 2–3 mm point-placement error at both ends becomes a 4–6 mm total error.
Quick comparison: screen ruler vs AR measuring
| Method | Best for | Typical accuracy | Main limitations |
|---|---|---|---|
| Screen ruler | Small objects placed on screen | Often very consistent after calibration | Limited to screen size; not for large objects |
| Camera/AR | Walls, furniture, room dimensions | Varies with lighting/surface; best with good conditions | Point selection + tracking drift; harder in dim/glossy areas |
DIY scenarios: choosing the right measuring approach
Hanging frames and artwork
Use AR measuring to estimate the wall spacing, then confirm with a tape measure before drilling. If you’re marking multiple holes, measuring twice from different angles can catch drift.
Checking if a part fits (brackets, spacers, adapters)
Use a screen ruler for quick checks of width/length, especially if the item is flat and small. If the part has thickness or a curved profile, consider using calipers instead.
Cutting trim or shelf liners
AR measuring is useful to get a fast estimate, but for final cut lengths, switch to a physical tape—wood movement, corner squareness, and real-world constraints can make “perfect AR numbers” misleading.
Offline matters: why an offline iPhone ruler app is useful
Measurement should be available anywhere you work: garages, basements, job sites, outdoors, or during travel. An offline iOS app avoids slow loading, login prompts, ads that block the scale, and connectivity-related glitches. Offline tools also tend to be faster to open—important when you’re mid-task and your hands are busy.
Simple unit conversions (mm ↔ inches) you can paste into Notes
If your iPhone ruler app shows millimeters and you need inches (or the other way around), these are the standard conversions:
// Convert mm to inches
inches = mm / 25.4

// Convert inches to mm
mm = inches * 25.4
For quick mental math: 1 inch ≈ 25 mm (close enough for rough estimates).
Checklist: getting consistent measurements every time
- Calibrate your screen ruler once using a known object.
- Measure twice, especially with AR/camera methods.
- Improve lighting and avoid reflective surfaces for AR.
- Keep the phone steady and avoid extreme angles.
- Use the right tool: screen for small items, AR for larger spans, tape/calipers for precision.
FAQ: iPhone ruler app accuracy
Are iPhone ruler apps accurate enough for DIY?
Often yes for planning and quick checks. For final cuts, drilling patterns, or high-precision work, confirm with a tape measure or calipers.
Why does my iPhone ruler app change results when I move?
Camera/AR measuring can drift if tracking is unstable (low light, glossy surfaces, featureless walls). Re-measure from a steadier position and improve lighting.
Can I measure curved objects with an iPhone ruler app?
You can approximate by measuring straight segments, but you’ll usually get better results with a flexible tape measure for curves.
Is there a best practice for small items like screws?
Use a screen ruler for length, but for diameter or thread-related measurements, a caliper (even an inexpensive one) is far more reliable.
Optional: FAQ structured data (JSON-LD)
If you publish this article on a blog, adding FAQ structured data can help search engines understand the Q&A section. Here’s a template you can adapt:
{
  "@context": "https://schema.org",
  "@type": "FAQPage",
  "mainEntity": [
    {
      "@type": "Question",
      "name": "Are iPhone ruler apps accurate enough for DIY?",
      "acceptedAnswer": {
        "@type": "Answer",
        "text": "Often yes for planning and quick checks, but confirm with a tape measure or calipers for final cuts and precision work."
      }
    },
    {
      "@type": "Question",
      "name": "Why does my iPhone ruler app change results when I move?",
      "acceptedAnswer": {
        "@type": "Answer",
        "text": "AR measuring can drift due to unstable tracking in low light, reflective surfaces, or featureless areas. Re-measure with better lighting and steadier positioning."
      }
    }
  ]
}
Choosing a ruler app that fits your workflow
When you’re evaluating an iPhone ruler app, look for:
- Clear calibration options (especially for screen rulers)
- Offline functionality so it works anywhere without interruptions
- Readable scale marks (mm/inch toggles, crisp tick marks)
- Extra measurement tools you’ll actually use (level, compass) so you carry fewer apps
If you prefer having multiple offline measurement tools in one place (including a ruler), an iOS toolkit like Level Tool can be a convenient way to keep essentials together without relying on subscriptions or internet access.
