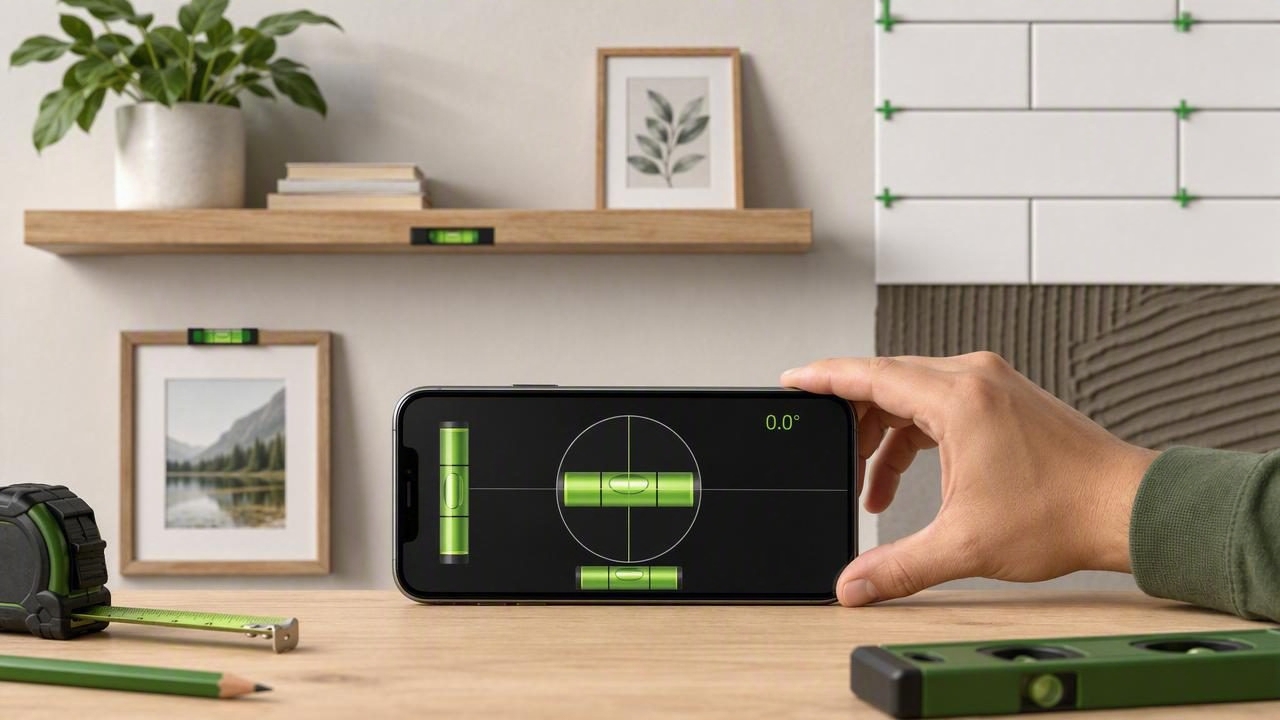
An iPhone level tool can be a practical addition to a DIY toolkit. Whether you are hanging a picture frame, checking a countertop, building a garden planter, or installing shelving, a digital level helps you identify small tilts that are difficult to judge by eye.
Modern iPhones include motion sensors that can measure orientation and tilt. With the right technique, these sensors can provide useful readings for many home improvement tasks. However, accuracy depends on more than opening an app: you need a stable surface, a clean contact point, and an understanding of what the displayed angle means.
This guide explains how to use an iPhone as a level, when it is reliable, how to improve measurement accuracy, and which DIY jobs benefit most from a pocket-sized leveling tool.
How an iPhone Level Tool Works
An iPhone level tool uses the device's built-in accelerometer and gyroscope. These sensors detect how the phone is positioned relative to gravity. When you place the phone on a surface, the app converts that sensor data into a degree reading, a bubble-level display, or both.
Most leveling interfaces show one of these measurement formats:
- Degrees: A numerical angle, such as 0.0°, 1.5°, or 90°.
- Bubble level: A visual representation similar to a traditional spirit level.
- Dual-axis level: Horizontal measurements across both left-to-right and front-to-back directions.
- Slope or grade: The rise or fall of a surface, sometimes expressed as a percentage.
A reading of 0.0° generally means the surface is level relative to gravity. For vertical work, the target is usually 90° or a centered vertical indicator, depending on the app's design.
When to Use a Digital Level Instead of a Traditional Spirit Level
A physical spirit level remains valuable for construction work, especially when checking long spans such as walls, floor joists, or cabinetry. Still, an iPhone level tool is often faster and more convenient for short, everyday tasks.
| Task | iPhone Level Tool | Traditional Spirit Level |
|---|---|---|
| Hanging frames and mirrors | Excellent for quick checks | Useful, but may be more than needed |
| Leveling furniture | Convenient for compact surfaces | Useful for larger pieces |
| Installing shelves | Helpful during marking and adjustment | Best for verifying long shelves |
| Tile layout and drainage slopes | Good for checking angles and pitch | Recommended for final professional verification |
| Framing or structural work | Helpful as a secondary reference | Preferred primary tool |
The best approach is not always choosing one tool over another. Use your phone for convenient, quick measurements, then confirm critical installations with a quality physical level when precision requirements are especially high.
How to Get Accurate Readings With an iPhone Level Tool
Small changes in placement can affect a digital reading. Follow these steps to get more dependable results before drilling holes, cutting material, or permanently securing an item.
1. Remove Anything That Creates Uneven Contact
Thick protective cases, grip accessories, card holders, and camera bumps can stop the phone from sitting flat. If possible, remove the case before measuring. If you cannot remove it, place the phone on a known flat straightedge or board instead of directly on the work surface.
Never assume the phone's screen side and back side produce identical results. Camera housings and cases can change the contact angle.
2. Use a Clean, Flat Reference Surface
Dust, screws, grout ridges, wood chips, and uneven paint can create a slight tilt. Wipe the surface and position the phone where it can rest steadily. For narrow items such as a shelf edge, lay a straight board or metal ruler across the item, then measure on top of that reference.
3. Let the Reading Settle
Hold the phone still for a few seconds. Sensor readings can fluctuate slightly if the device is moving, vibrating, or being pressed into a flexible surface. Once the number stops changing, record the value or use the app's hold feature if available.
4. Check From More Than One Position
For important work, measure the same surface in two or three locations. A shelf may be level at one end but dip in the middle. A countertop can also vary because of uneven cabinets or warped material.
For a rectangular surface, check both directions:
- Place the phone left to right to check horizontal level.
- Rotate it 90 degrees to check front-to-back level.
- Adjust the surface until both axes are within your acceptable tolerance.
5. Calibrate When Needed
Many level apps provide a calibration option. Calibration lets you set a known flat surface as your zero reference. This is useful when working on a site where you need to compare several pieces to the same baseline rather than to absolute level.
To calibrate, place the iPhone on a surface you know is level, keep it motionless, and follow the in-app instructions. Avoid calibrating on a table that only appears level; otherwise, every later reading will inherit that error.
Practical DIY Uses for an iPhone Level Tool
A digital level is particularly useful when you need immediate feedback while adjusting an object. Here are several common applications.
Hanging Pictures, Mirrors, and Wall Decor
After placing a frame on its hook, rest the phone along the top edge of the frame. Move one side slightly until the display reaches 0.0°. For wider artwork, check both the center and the ends because some frames have uneven edges.
If you are arranging a gallery wall, start by establishing one level reference line. Every frame does not need to be perfectly level with gravity if the design intentionally follows a stair-step layout, but the spacing and alignment should be deliberate.
Installing Floating Shelves
For floating shelves, use the level tool at two stages: while marking the bracket position and again after the shelf is installed. A shelf that looks level before mounting can shift when screws are tightened or when the shelf's weight settles onto the bracket.
Check the shelf near both ends. If a long shelf is slightly bowed, a center measurement can reveal a problem that end measurements miss.
Adjusting Tables, Appliances, and Furniture
Wobbly furniture can make a room feel unfinished and can affect appliances such as washing machines. Put the phone on the flattest accessible area, such as a tabletop or appliance lid. Adjust feet gradually, checking the reading after each change.
For appliances, consult the manufacturer's instructions first. Some models require specific leveling procedures, and the surface you measure may not be the same surface used for factory alignment.
Checking a Patio, Ramp, or Drainage Angle
Outdoor projects often require a controlled slope rather than a perfectly level surface. A patio, shower floor, or drainage channel may need to direct water away from a building. In this case, measure degrees or percentage grade rather than aiming for 0.0°.
For example, a 1% grade means the surface drops approximately 1 unit vertically for every 100 units horizontally. Always check local building codes and project-specific guidance before setting drainage slopes.
Common Mistakes to Avoid
- Measuring on a soft surface: Carpet, foam, and flexible wood can compress under the phone.
- Using the camera bump as a reference: The camera area may prevent flat contact.
- Ignoring surface irregularities: A textured tile or rough board can distort the reading.
- Checking only one axis: A surface can be level left to right but tilted front to back.
- Relying on a single reading: Repeat measurements before making permanent adjustments.
- Forgetting tolerance: Not every project requires laboratory-level precision; match your tolerance to the job.
What Accuracy Should You Expect?
An iPhone level tool is highly useful for general DIY alignment, but its accuracy can be influenced by device position, calibration, case design, and the condition of the surface. Treat it as a precision aid rather than a replacement for specialized surveying equipment.
For hanging decor or adjusting furniture, a small deviation may be unnoticeable. For cabinetry, tile, plumbing, structural framing, or drainage, even a minor error can matter. In those cases, compare your digital reading with a reliable physical level or project-specific measuring instrument.
Good DIY practice: Use the easiest tool to make fast adjustments, then use an appropriate secondary check before finalizing high-stakes work.
Choose an App That Works Where You Work
When selecting an iPhone level tool, look for a clear display, degree readings, calibration controls, and dual-axis support. Offline functionality is also important for garages, basements, workshops, rural properties, and outdoor areas where Wi-Fi or mobile coverage may be unreliable.
Apps that combine a level with other measurement tools can reduce the number of items you need to carry for routine projects. For example, having a ruler, compass, angle measurement, and leveling features available offline can be useful when moving between indoor DIY tasks and outdoor navigation.
For users who want those tools in one iOS app, Level Tool offers an offline collection of measurement features designed for practical home improvement and everyday field use.
Final Takeaway
An iPhone level tool makes everyday alignment faster, more accessible, and easier to repeat. Use it on stable surfaces, remove obstacles that prevent flat contact, measure in both directions, and double-check critical work. With those habits, your phone can become a dependable helper for shelves, wall decor, furniture, outdoor projects, and many other DIY jobs.
