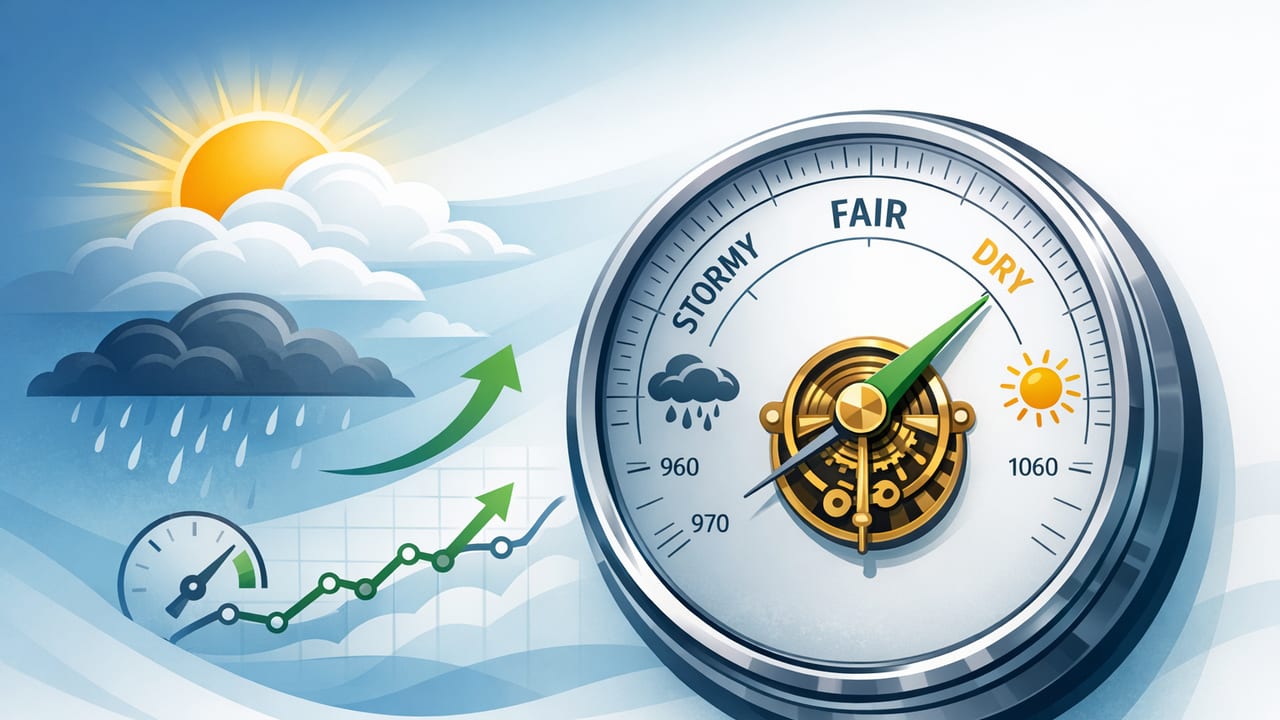
A barometer measures air pressure—one of the most practical signals for short-term weather changes and elevation estimates. Many modern iPhones include a built-in barometer, which means you can check pressure trends on the jobsite, at home, or on the trail without carrying extra gear. Used correctly, barometric pressure readings can help you spot incoming storms, understand why doors suddenly stick, and even make better calls about when to paint, pour, or hike.
This guide explains what iPhone barometer readings mean, how to interpret them, and how to use them in real-world DIY and navigation scenarios—especially when you’re offline.
What a barometer measures (and what it doesn’t)
Air pressure is the weight of the atmosphere pressing down at your location. A barometer reports that pressure in units such as:
- hPa (hectopascals) — commonly used in weather apps (1 hPa = 1 millibar).
- mbar (millibars) — essentially the same numeric value as hPa.
- inHg (inches of mercury) — common in the US.
Important limitations:
- A barometer does not directly measure humidity, rainfall, or temperature.
- It is best for trends (rising/falling) rather than a single “good/bad” number.
- Pressure changes because of both weather systems and altitude. Going up a hill will lower pressure even on a sunny day.
Does your iPhone have a barometer?
Most newer iPhones include a barometric sensor, but not every iPhone model does. The simplest way to confirm is to install a sensor-reading app and see whether a barometer field appears with live values.
Tip: If you’re testing indoors, pressure readings may change slowly. Try comparing readings near sea level vs. a higher floor in a building, or take the phone outdoors and walk up a hill.
How to read iPhone barometer values the right way
1) Know the difference: station pressure vs. sea-level pressure
Weather reports often show sea-level pressure (adjusted as if you were at sea level). Some sensor apps show station pressure (your actual local pressure). Station pressure is typically lower at higher elevations.
If your goal is storm tracking in one location, either can work—just focus on the trend. If you’re comparing against a weather report, you may need sea-level pressure.
2) Watch the trend over 3–6 hours
Single readings can be misleading. A practical approach is to record pressure every hour for a few hours and look at direction and speed of change.
| Pressure trend | What it often suggests | Practical takeaway |
|---|---|---|
| Steadily rising | Improving or stable weather | Better window for painting, roofing, or a longer hike |
| Steady / little change | Weather likely consistent | Use other cues (wind, clouds) for fine decisions |
| Steadily falling | Worsening weather / possible precipitation | Plan to cover materials, protect tools, shorten route |
| Fast drop (not due to climbing) | Front approaching; storms possible | Prioritize safety, avoid exposed ridges or ladders |
Note: Local geography matters. Coastal zones, mountains, and fast-moving systems can behave differently. Use barometer trends as an extra data point, not the only one.
3) Separate “weather pressure change” from “altitude change”
If you move vertically (stairs, hills, elevators), the barometer changes immediately. For weather tracking, try to measure from the same place each time (same room, same floor, or outdoors at the same spot).
Using a barometer offline: a reliable field workflow
An underrated benefit of iPhone sensor tools is that many work offline. Air pressure readings come from the device sensor, not the internet. That makes a barometer useful when you’re in a basement, on a remote trail, or during outages.
- Pick a reference location (e.g., your garage workbench or campsite).
- Record pressure at consistent intervals (every 30–60 minutes).
- Note your elevation changes. If you hiked 500 ft up, a pressure drop is expected even in good weather.
- Decide based on trend + conditions (cloud type, wind, temperature drop).
Practical DIY uses for an iPhone barometer
1) Timing outdoor painting and sealing (risk management)
Paint and many sealants are sensitive to changing conditions—especially if a front moves in faster than expected. A falling barometer trend can be a warning to:
- Stop before you’re halfway through an exposed surface.
- Prioritize finishing edges and high-risk areas first.
- Cover materials and move tools under shelter sooner.
This doesn’t replace checking a forecast, but it’s valuable when you’re offline or when the forecast is uncertain.
2) Explaining (and anticipating) door and cabinet misalignment
Wood moves as moisture changes, and shifting weather systems often coincide with changes you can feel in a house: doors sticking, latches misaligning, drawers dragging. While the barometer isn’t a humidity sensor, a pressure trend can help you connect the dots:
- Rapid weather changes often happen with a noticeable pressure shift.
- Those weather changes may bring humidity swings that affect wood and framing.
If you’re diagnosing intermittent issues, logging pressure trend alongside the symptom can help you decide whether you’re seeing seasonal movement or a true installation problem.
3) Concrete, mortar, and fast weather shifts
If you’re mixing or placing materials that are vulnerable to rain or rapid temperature changes, pressure trends can act as an early flag. A quickly falling barometer doesn’t guarantee rain, but it can justify:
- Staging tarps and covers before you start.
- Mixing smaller batches to reduce risk.
- Changing the order of tasks (prep first, then mix later).
4) Better ventilation decisions in basements and workshops
Pressure differences contribute to airflow patterns. While a barometer can’t tell you air quality, tracking pressure shifts can help you understand why a space suddenly feels “stale,” why odors move differently, or why a backdraft issue feels worse on certain days. Pair barometer notes with your ventilation setup to troubleshoot more systematically.
Outdoor navigation: barometer as an altitude and safety tool
Using pressure to estimate altitude change
As you go higher, pressure drops. Many devices (including phones and watches) use barometric pressure plus reference data to estimate altitude. Even without a perfect calibration, barometric altitude is excellent for tracking relative changes (how much you climbed or descended).
A simplified relationship (for educational purposes) between pressure and altitude is:
// Approximate altitude (meters) from pressure (hPa)
// Requires a reference sea-level pressure (hPa), often ~1013.25
alt_m = 44330 * (1 - (P / P0)^(1/5.255))
Where P is measured pressure and P0 is your assumed sea-level pressure. If P0 is off (common when offline), your absolute altitude will be off too—but relative changes remain useful.
| Scenario | What to do | Why it works |
|---|---|---|
| Trail climb tracking | Note pressure at trailhead, then at key points | Pressure changes capture ascent/descent well |
| Storm awareness | Stop and record pressure every hour | Rapid falls can precede wind/rain shifts |
| Map + compass navigation | Cross-check barometric altitude with contour lines | Helps confirm your approximate position |
Safety use: recognizing “unexpected drops”
If you’re not gaining elevation but your barometer drops noticeably over a short period, treat it as a caution signal—especially above treeline or on open water. Combine it with other indicators (wind increase, cloud thickening, temperature shift) and make conservative choices: turn back earlier, avoid exposed routes, or plan shelter.
How to improve barometer accuracy on iPhone
- Let the sensor stabilize: After moving between indoor/outdoor environments, give it a minute.
- Avoid blocking ports: Some cases or debris can affect airflow to sensor openings.
- Measure consistently: Same spot, similar temperature, minimal vertical movement for weather logging.
- Use a known reference when possible: If you can access a local station pressure or sea-level pressure reading beforehand, set it as
P0for better altitude estimates.
Common mistakes (and quick fixes)
“My pressure is lower than the weather report”
Likely you’re seeing station pressure while the report shows sea-level pressure. Focus on trends or switch the display mode if your app supports it.
“Pressure changes when I walk around the house”
Normal. Even small elevation changes (stairs, ladders) can shift pressure. For weather tracking, log readings from a fixed location.
“My altitude estimate is wrong”
Altitude depends heavily on your reference pressure (P0) and current weather system. Recalibrate using a known elevation (trailhead sign, topo map point, or a GPS-based estimate) when possible.
FAQ: iPhone barometer basics
Is a phone barometer good enough for DIY?
For trend awareness and relative changes, yes. It’s not a certified meteorological instrument, but it’s often accurate enough to support better timing and safer decisions.
Can I use a barometer without cell service?
Yes—sensor readings are local. The only piece you may miss offline is an updated sea-level reference value from the internet.
What pressure number means “bad weather”?
There isn’t a universal cutoff because altitude and local climate vary. In practice, falling pressure (especially a faster fall) is more meaningful than a specific number.
Putting it together: a simple, repeatable pressure log
If you want one habit that makes the barometer genuinely useful, do this:
- At the start of a job or trip: Record pressure and location.
- Midway: Record again, plus whether you changed elevation.
- Before committing to a risky step: Check whether pressure has dropped unexpectedly.
Over time you’ll learn what “normal” looks like where you live and how quickly pressure tends to move before rain or wind arrives.
One note on tools: if you prefer an offline iOS measurement toolkit that includes a barometer alongside other jobsite essentials (like level and compass), apps such as Level Tool bundle these sensor readings in one place.
