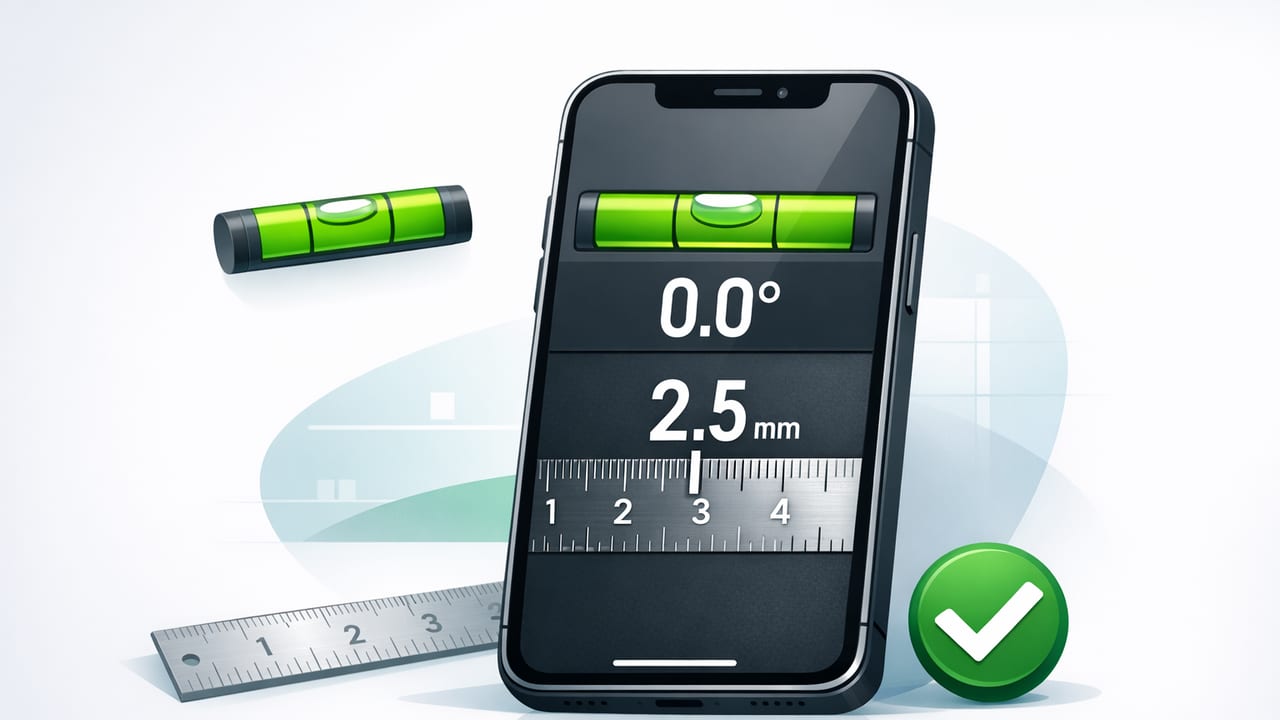
An iPhone app with ruler and level can replace (or at least back up) several tools you’d normally keep in a toolbox: a small spirit level, a short ruler, and sometimes even a compass for quick alignment. That’s especially useful for everyday home projects—hanging shelves, aligning frames, checking slopes, or confirming clearances—when you don’t want to hunt for a tape measure or you’re working in a tight space.
But getting reliable results isn’t automatic. Accuracy depends on calibration, how you place the phone, and understanding what phone sensors can (and can’t) measure. This guide walks through practical, real-world techniques to measure and level with confidence using iOS measurement tools—especially when you’re working offline.
What an iPhone “ruler” and “level” actually measure
Level: how the iPhone detects angle and plumb
A digital level uses your iPhone’s motion sensors (accelerometer and gyroscope) to estimate orientation relative to gravity. In practice, you’ll see results like:
- Level (0° on a horizontal plane)
- Plumb (90° on a vertical plane)
- Slope/tilt (any angle in between)
- Dual-axis leveling (tilt left/right and forward/back at the same time)
This is ideal for quick checks: a countertop, a washing machine, a picture frame, or a post. It’s also great for confirming that a surface is intentionally sloped (like a shower floor or exterior drainage).
Ruler: when your iPhone is a measuring reference
“Ruler” features typically fall into two categories:
- On-screen ruler: uses the display as a small ruler for short objects (best for screws, drill bits, small hardware).
- Sensor/AR-assisted measurement: estimates distance using camera-based techniques (varies widely in accuracy depending on lighting, texture, and distance).
For DIY accuracy, an on-screen ruler is predictable for short measurements; camera-based measuring can be useful for rough planning but should be verified with a tape measure for precision cuts.
When an iPhone app with ruler and level is the right tool (and when it isn’t)
Use your iPhone measurement tools when you need speed, convenience, or repeatable angle checks. Reach for dedicated tools when the project requires certified precision or longer spans.
| Task | iPhone Level | iPhone Ruler | Best Traditional Tool |
|---|---|---|---|
| Leveling a shelf bracket | Great (quick angle check) | Not needed | 24–48" spirit level |
| Aligning picture frames | Great | Sometimes (spacing) | Torpedo level, tape |
| Checking slope for drainage | Very useful (degrees) | Not needed | Level + spacer, inclinometer |
| Measuring screw length | Not needed | Great (short lengths) | Ruler/calipers |
| Cutting lumber to exact length | Not needed | Not recommended alone | Tape measure, square |
Rule of thumb: Use the iPhone for setup and verification. Use a tape measure and square for final cuts and joinery.
Calibration: the step most people skip (and why it matters)
Calibration isn’t just a “pro” step—it’s what turns a phone level from “close enough” into “trustworthy.” Small offsets can come from:
- Phone case thickness or uneven back
- Camera bump preventing flat contact
- Minor sensor drift over time
- Placing the phone on a slightly uneven reference surface
A practical two-position calibration method
- Place your iPhone on a surface you believe is level (a sturdy counter or a known-flat board).
- Note the reading (example: +0.4°).
- Rotate the phone 180° on the same spot (flip it end-to-end).
- Note the new reading (example: -0.2°).
- If your app supports calibration, set the offset so both positions average to 0°.
Why this works: flipping cancels out many placement errors and reveals sensor bias. Even if you can’t set an offset, you can still interpret results more intelligently (e.g., treat +0.3° as “level enough” for trim work).
Case-on or case-off?
If your case has a raised lip, textured back, or a protruding accessory (mag ring, kickstand), it can introduce tilt. For the most reliable leveling:
- Remove the case for calibration and for precision checks.
- If you keep the case on, calibrate with the case on and use a consistent placement method.
Best practices for using the iPhone level in real projects
1) Use a “bridge” to avoid the camera bump
On many iPhones, the camera bump prevents full contact with flat surfaces. A simple fix is to place the phone on something flat and rigid:
- A short piece of MDF
- A metal ruler
- A straight scrap of hardwood
Then place the bridge on the surface you’re testing. This improves repeatability and reduces rocking.
2) Take multiple readings (and average mentally)
For anything important (like a wall cleat or cabinet rail), take at least three quick readings, lifting and replacing the phone each time. If you see: 0.1°, 0.2°, 0.1°, you’re stable. If you see: -0.2°, +0.6°, +0.1°, your placement isn’t consistent—switch to a bridge or a longer reference surface.
3) Know what “good enough” means
Different tasks tolerate different error. Here’s a practical guide:
- Picture frames: within ~0.3° usually looks straight to the eye.
- Shelves (visible): aim for ~0.2° or better, especially over long spans.
- Drainage slope: precision matters; measure slope intentionally (don’t chase 0°).
4) Convert angle to rise/run when you’re setting slope
If you’re setting a slope (for a ramp, drain line, or outdoor runoff), degrees are helpful—but sometimes you need a simple “rise per foot” number. The relationship is:
rise = run × tan(angle)
// Quick conversion (conceptual): degrees to rise per 12" run
// risePerFoot = 12 * tan(angleInRadians)
Example: at 2° slope, the rise per 12" run is about 0.42" (roughly 7/16"). That’s a lot in finish carpentry, but normal for drainage planning.
Best practices for using the iPhone ruler function
1) Prefer on-screen ruler for small hardware
If your goal is to confirm whether a screw is 20 mm or 25 mm, or whether a drill bit is 3/16" or 1/4", an on-screen ruler is fast and surprisingly effective—especially if the app lets you switch between imperial and metric.
2) Keep the object flush and aligned
- Align the object with the ruler’s 0 mark precisely.
- Avoid measuring at an angle (parallax and alignment error add up quickly).
- Use good lighting to see the edge clearly.
3) Understand limitations for long measurements
Your phone is not a tape measure. If you must estimate something longer than the screen, measure in segments using a fixed reference (like the edge of a board) and mark as you go. For anything that will be cut, confirm with a tape measure.
Offline matters: measuring in garages, basements, and the outdoors
Many DIY jobs happen where signal is weak: basements, sheds, job sites, backcountry trails. An iOS measurement toolkit that works offline avoids interruptions and ensures you can:
- Open tools instantly without a login flow
- Use them in airplane mode (battery savings)
- Rely on sensors rather than network calls
Offline functionality also reduces “friction”—which matters when you’re repeatedly checking level, then measuring spacing, then checking level again.
A simple workflow: hanging a shelf using an iPhone ruler + level
- Plan spacing: Use the ruler to confirm bracket hole spacing and screw length.
- Mark the wall: Mark the first bracket height.
- Set level line: Use the iPhone level against a straight edge (bridge method) to confirm your guide line is level.
- Install first bracket: Tighten partially, re-check level, then fully tighten.
- Install second bracket: Measure from a fixed reference (corner, trim edge) and double-check level across both brackets.
- Final verification: Place the phone on the shelf surface and check for 0° (or your intentional slope).
This workflow reduces the most common DIY mistake: relying on a single measurement or a single level check.
Common mistakes that cause inaccurate readings
- Measuring on soft surfaces: carpet, cushions, or flexible boards can sag and lie.
- Ignoring edge conditions: a rounded countertop edge isn’t a good reference surface.
- Letting the phone rock: camera bump or case can create inconsistent angles.
- Assuming all apps behave the same: some show filtered (smoothed) readings; others are raw and jittery.
- Not re-checking after tightening: screws can pull parts out of alignment as you torque them down.
What to look for in an iPhone app with ruler and level
If you’re choosing (or evaluating) a measurement app, prioritize features that improve repeatability and real-world usability:
- Calibration controls (especially for level)
- Dual-axis leveling for compound tilt
- Clear units (degrees, % slope, mm/in)
- Offline operation with no forced accounts
- Sensor-based tools beyond the basics (compass for alignment, barometer/altimeter for outdoors)
Bottom line
An iPhone app with ruler and level is most valuable when you treat it like a real tool: calibrate it, use stable reference surfaces, take repeat readings, and verify critical dimensions with a tape measure. Used this way, it becomes a dependable helper for everyday DIY—especially for alignment, quick checks, and short measurements.
If you prefer a single offline toolkit that bundles these measurement functions (and more) into one place, apps like Level Tool are designed specifically for sensor-based checks on iOS.
